Part 1:
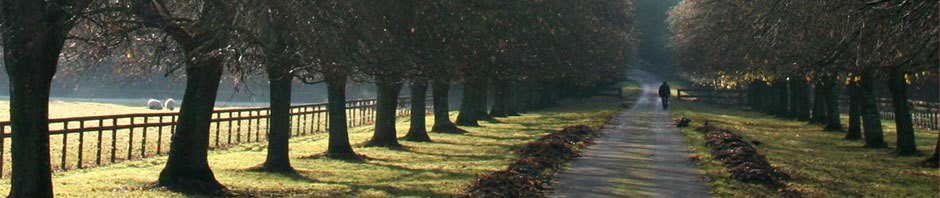
I followed the tutorial as it stated and took the temperature bar to 2950 and the tint slider to + 2. I made sure to take the white balance tool and select the grey area in the window to make sure the white balance was correct.
Part 2:

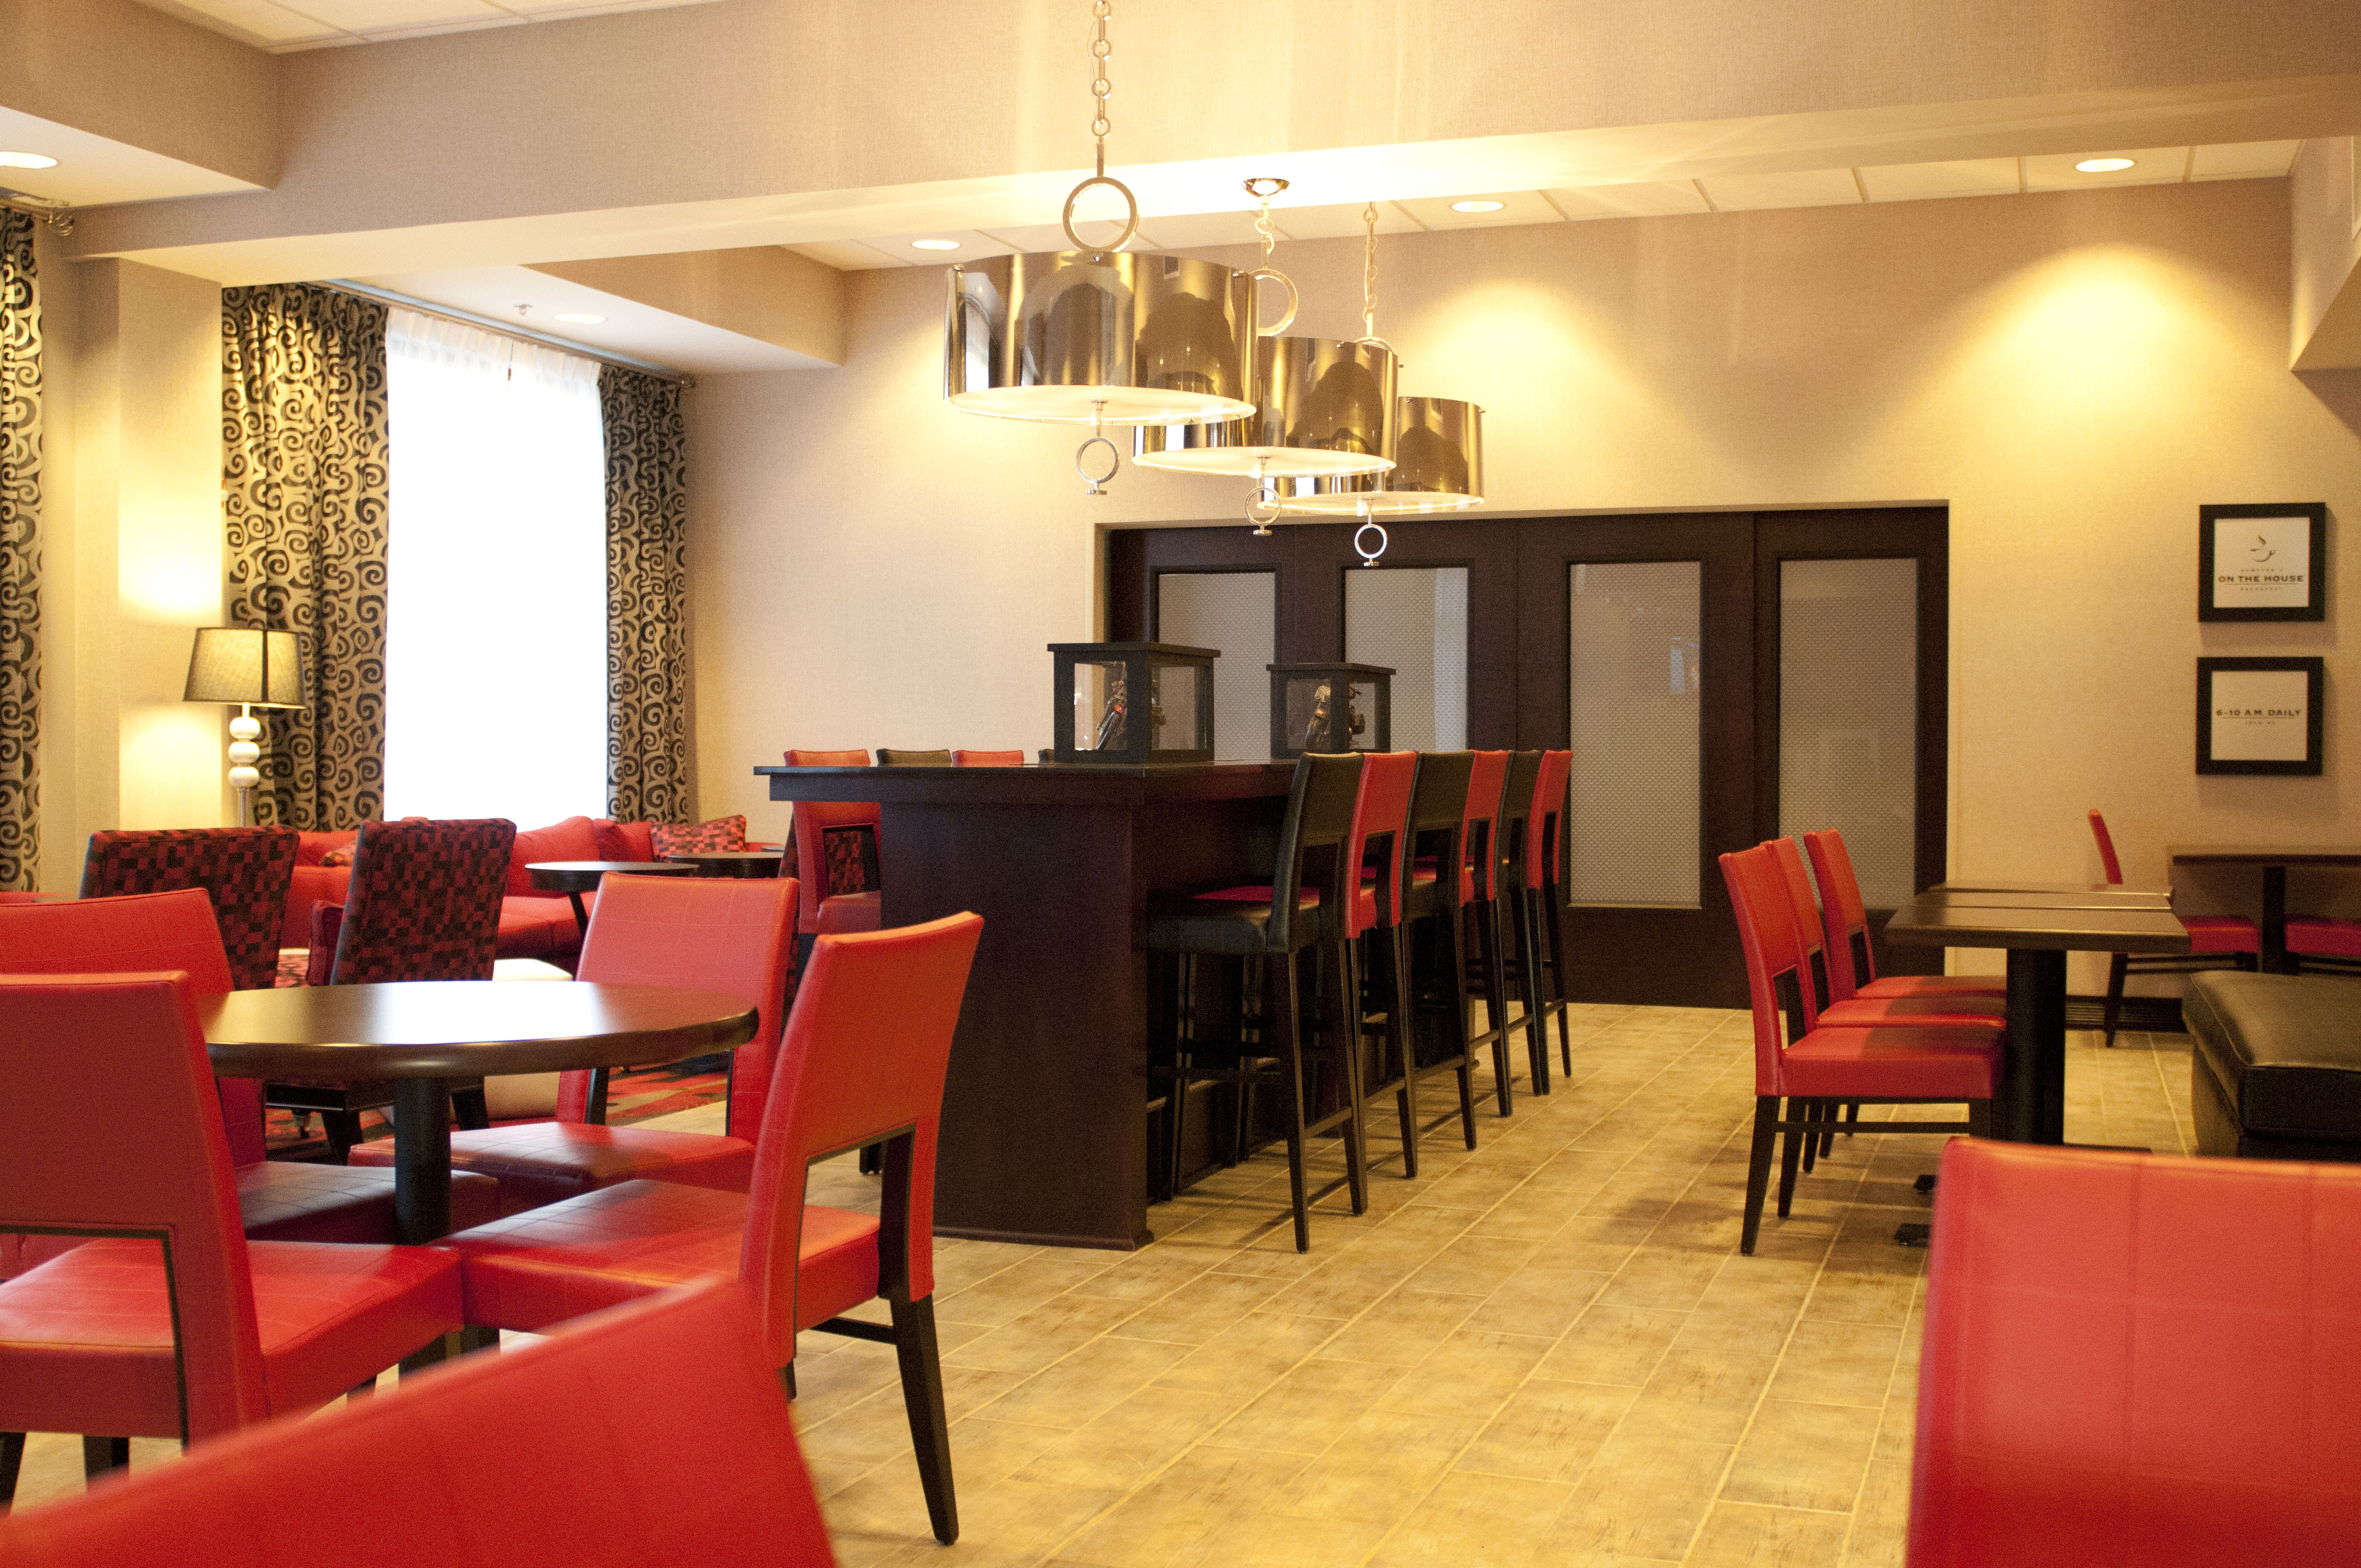
For these two images, I followed the tutorial as it stated and changed the exposure range so it made the images much better in the end. I also took the black slider tool for the second image and slid it till it gave it some deep shadows in the image.
Part 3:
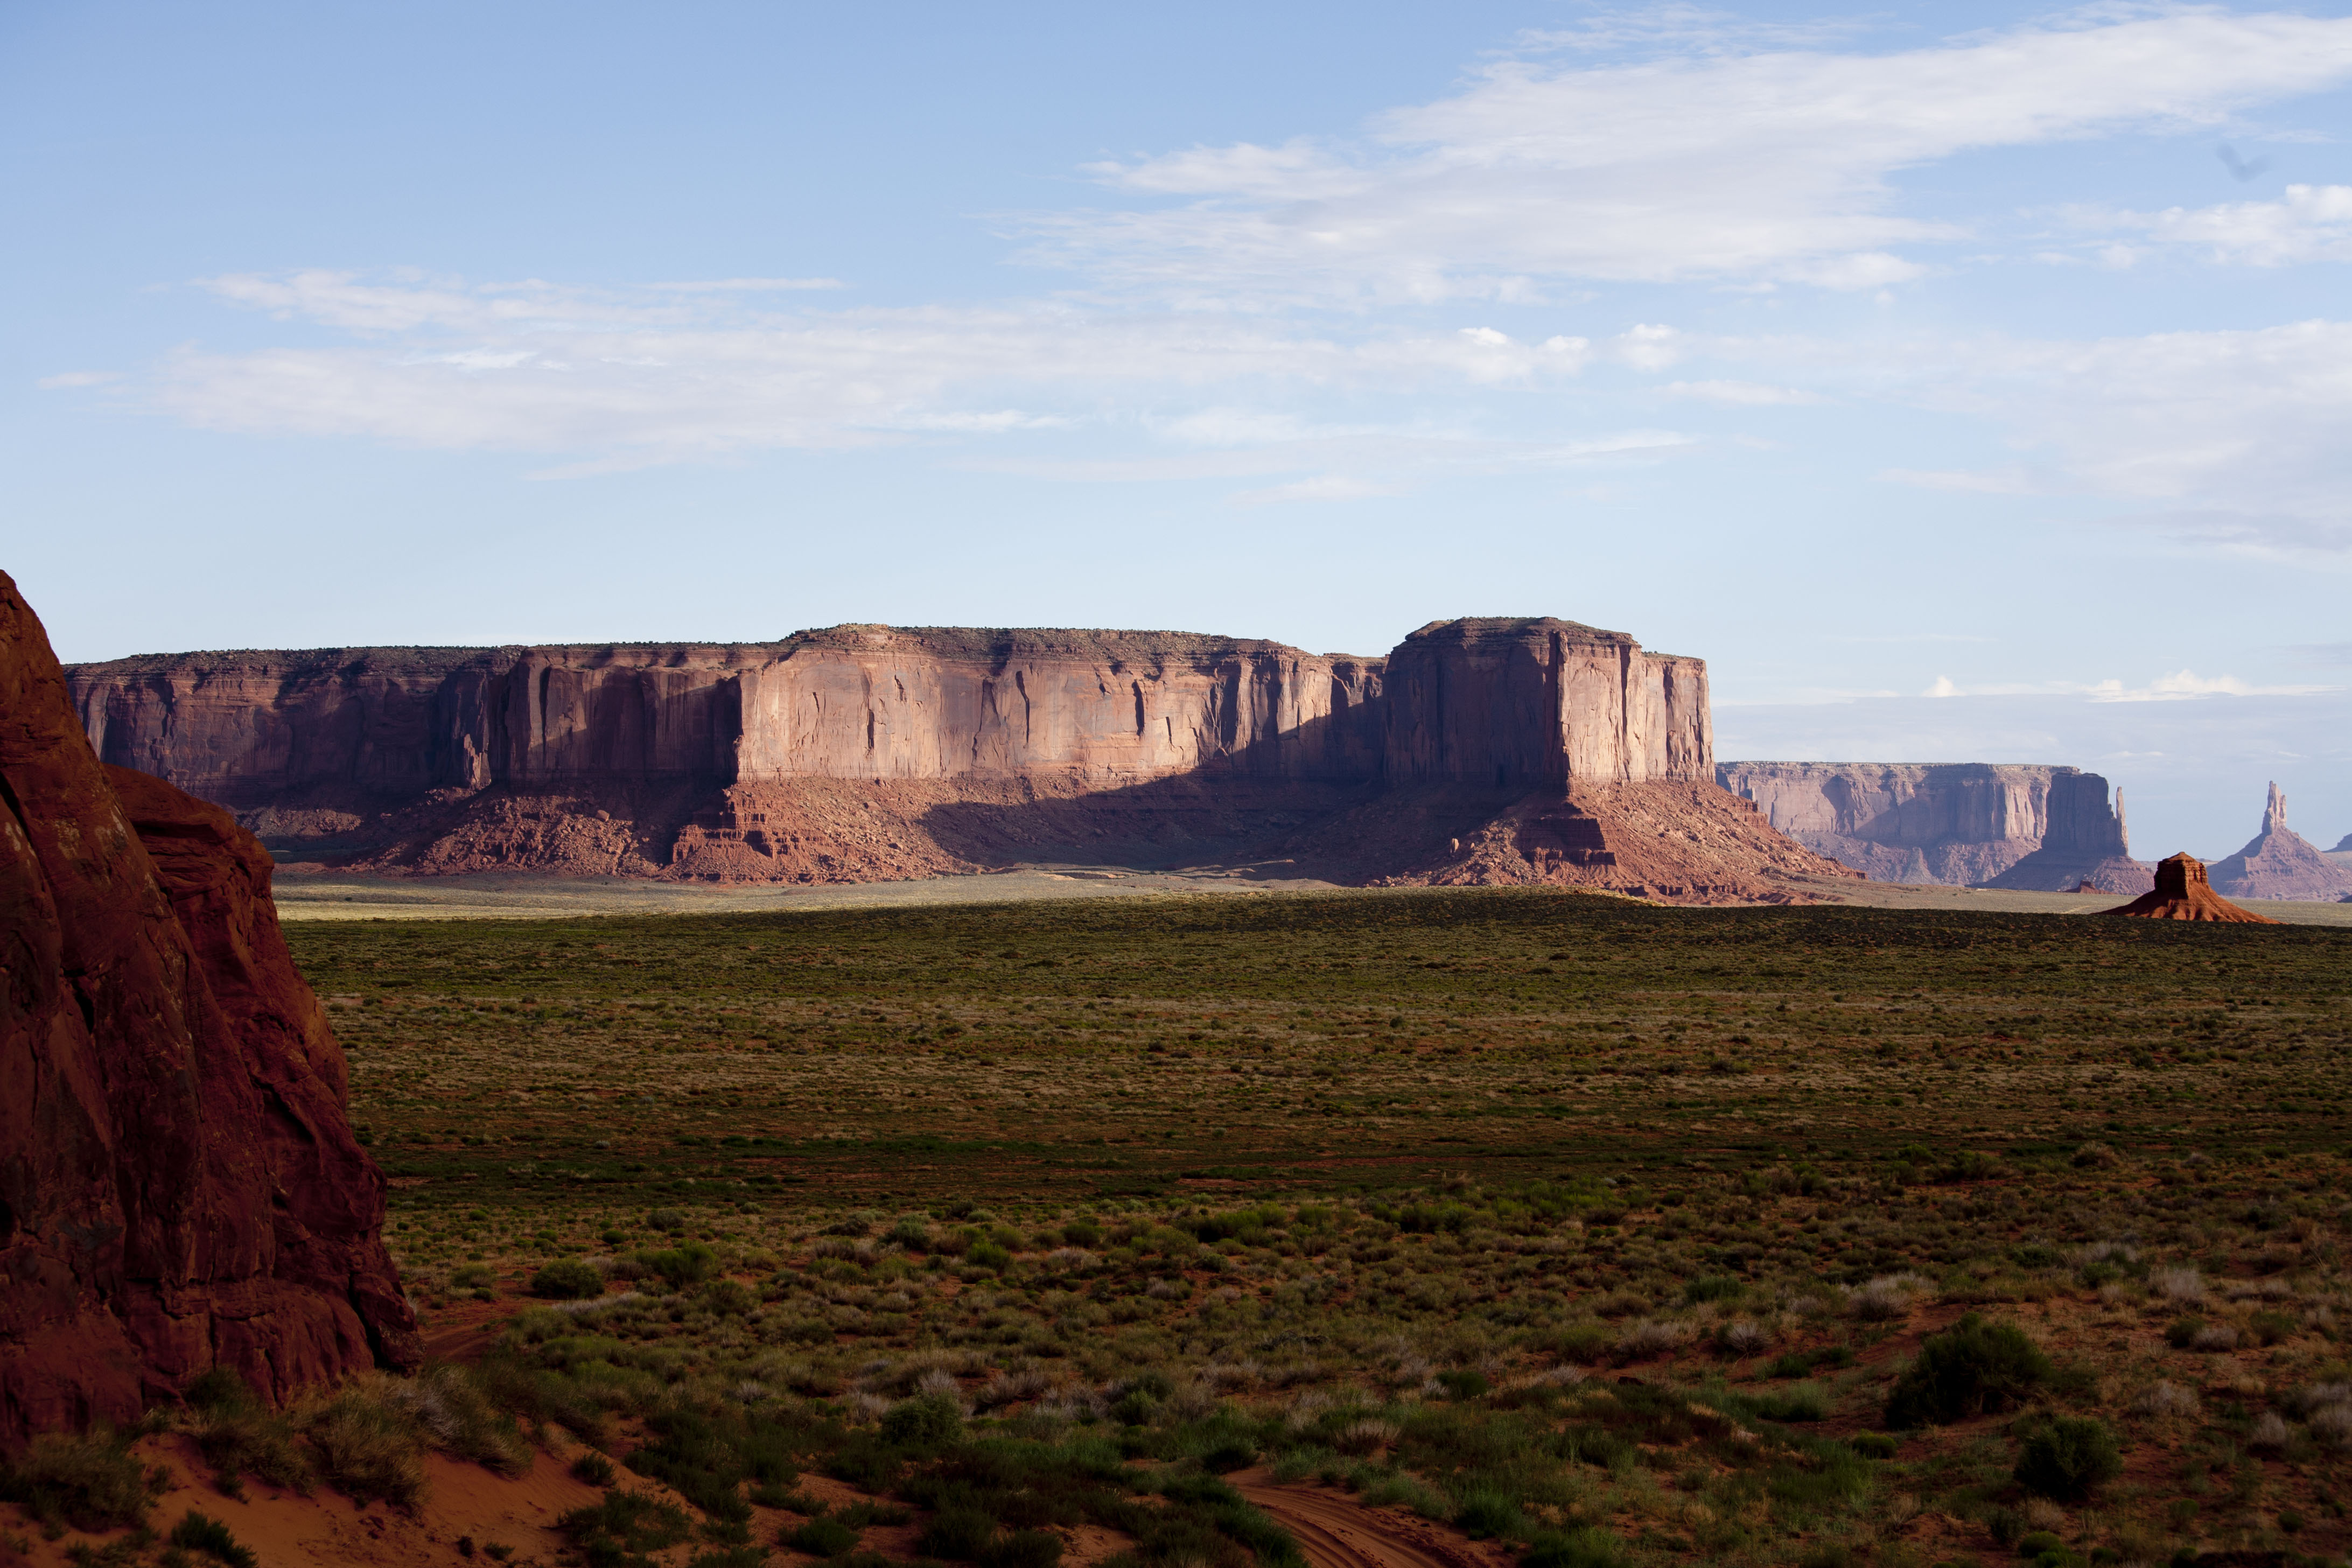
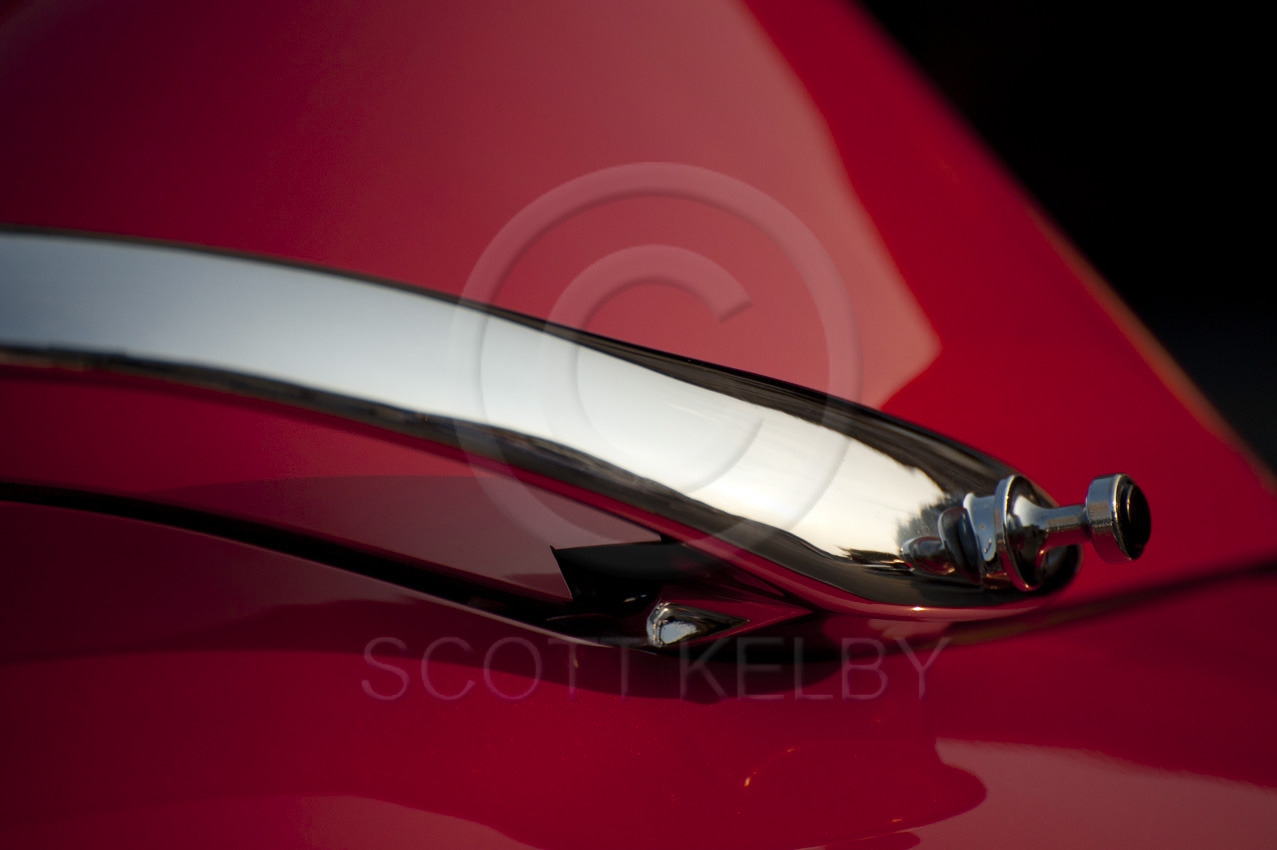
I took this one and took the camera raw format to use the clarity slider and slide it to +75 as the tutorial stated. Which in turn gave much sharper edges to the image.
Part 4:

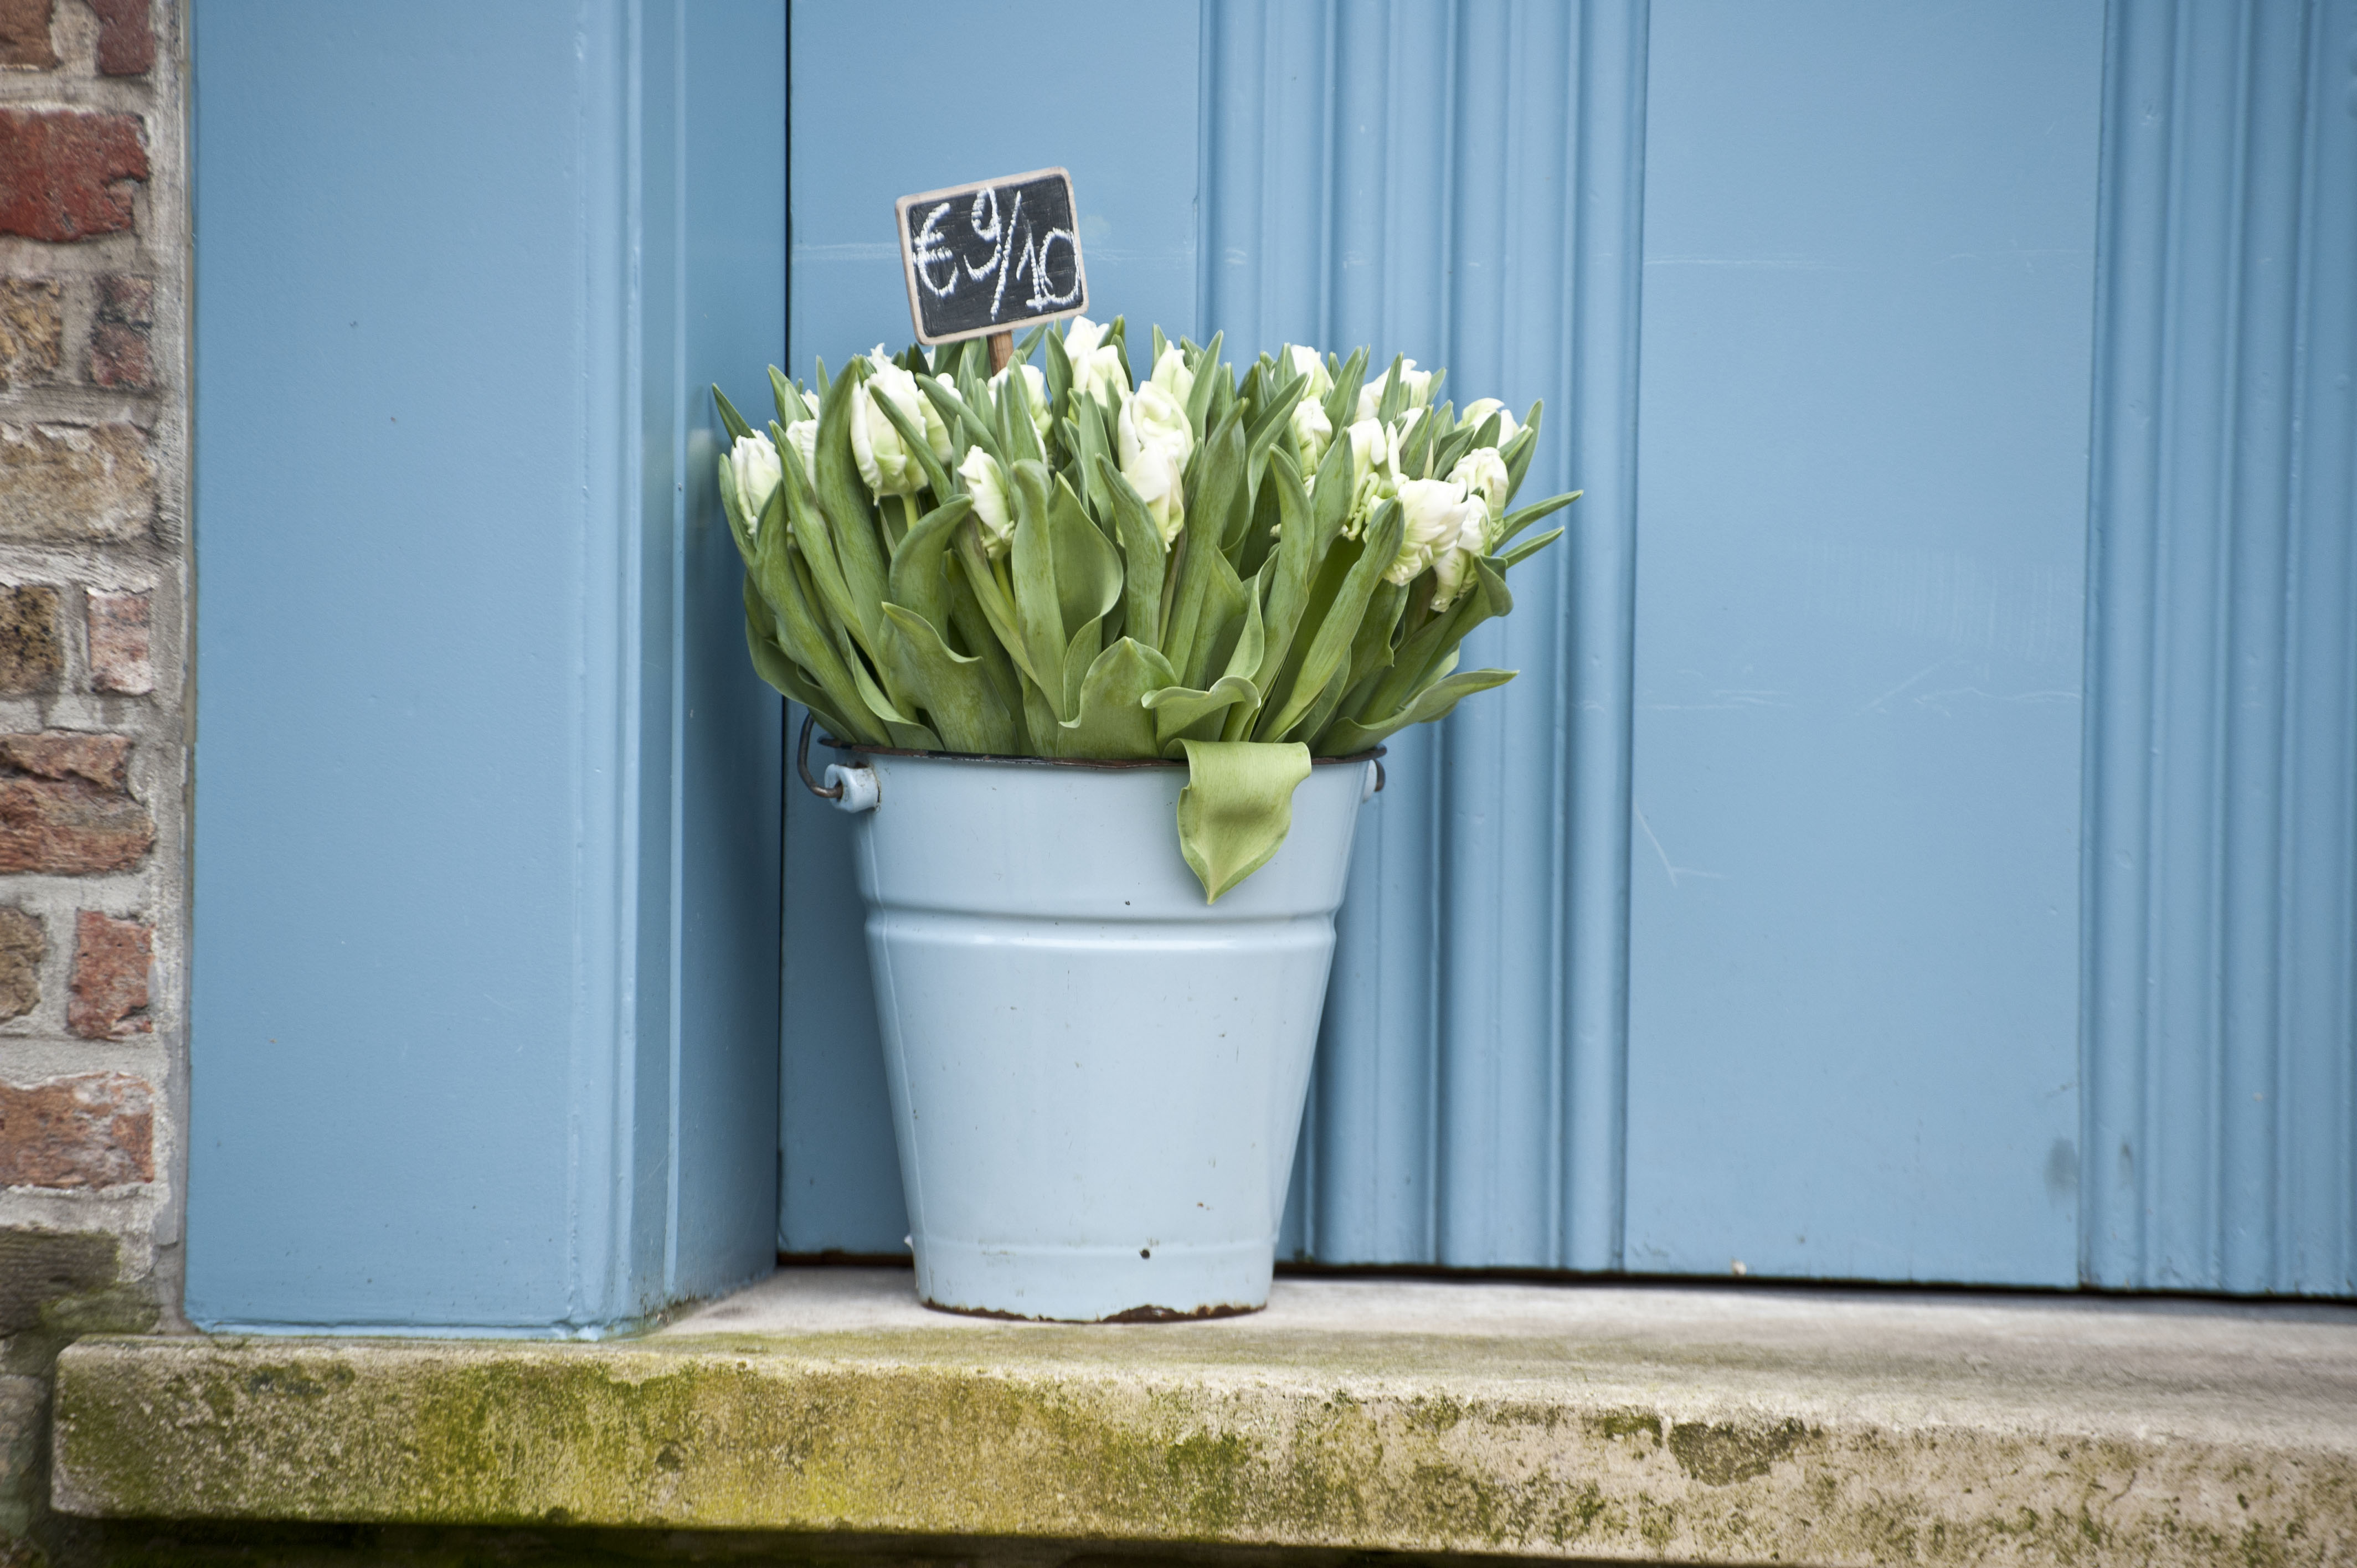
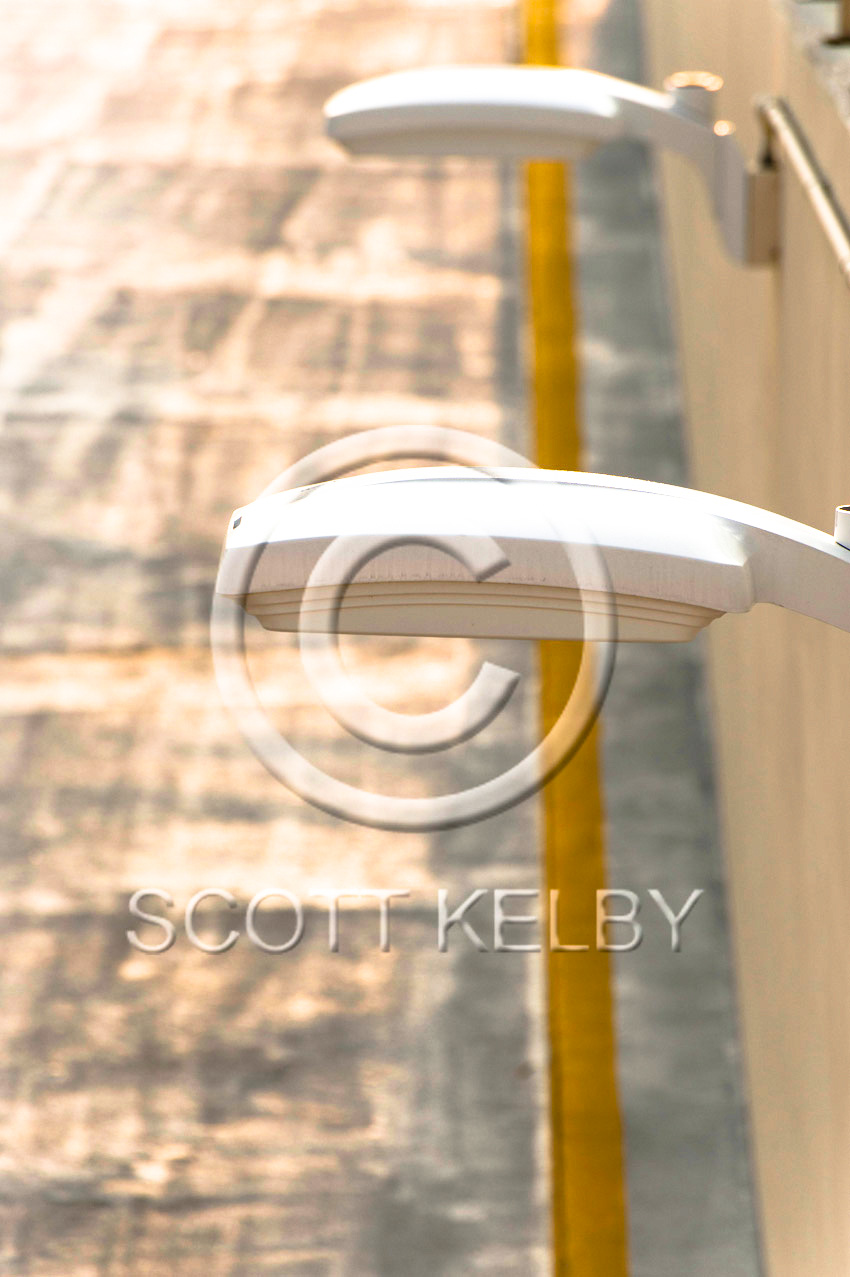
I took this image into camera raw and drug the clarity slider as stated in the tutorial to -50 to soften up the image.
Part 5:

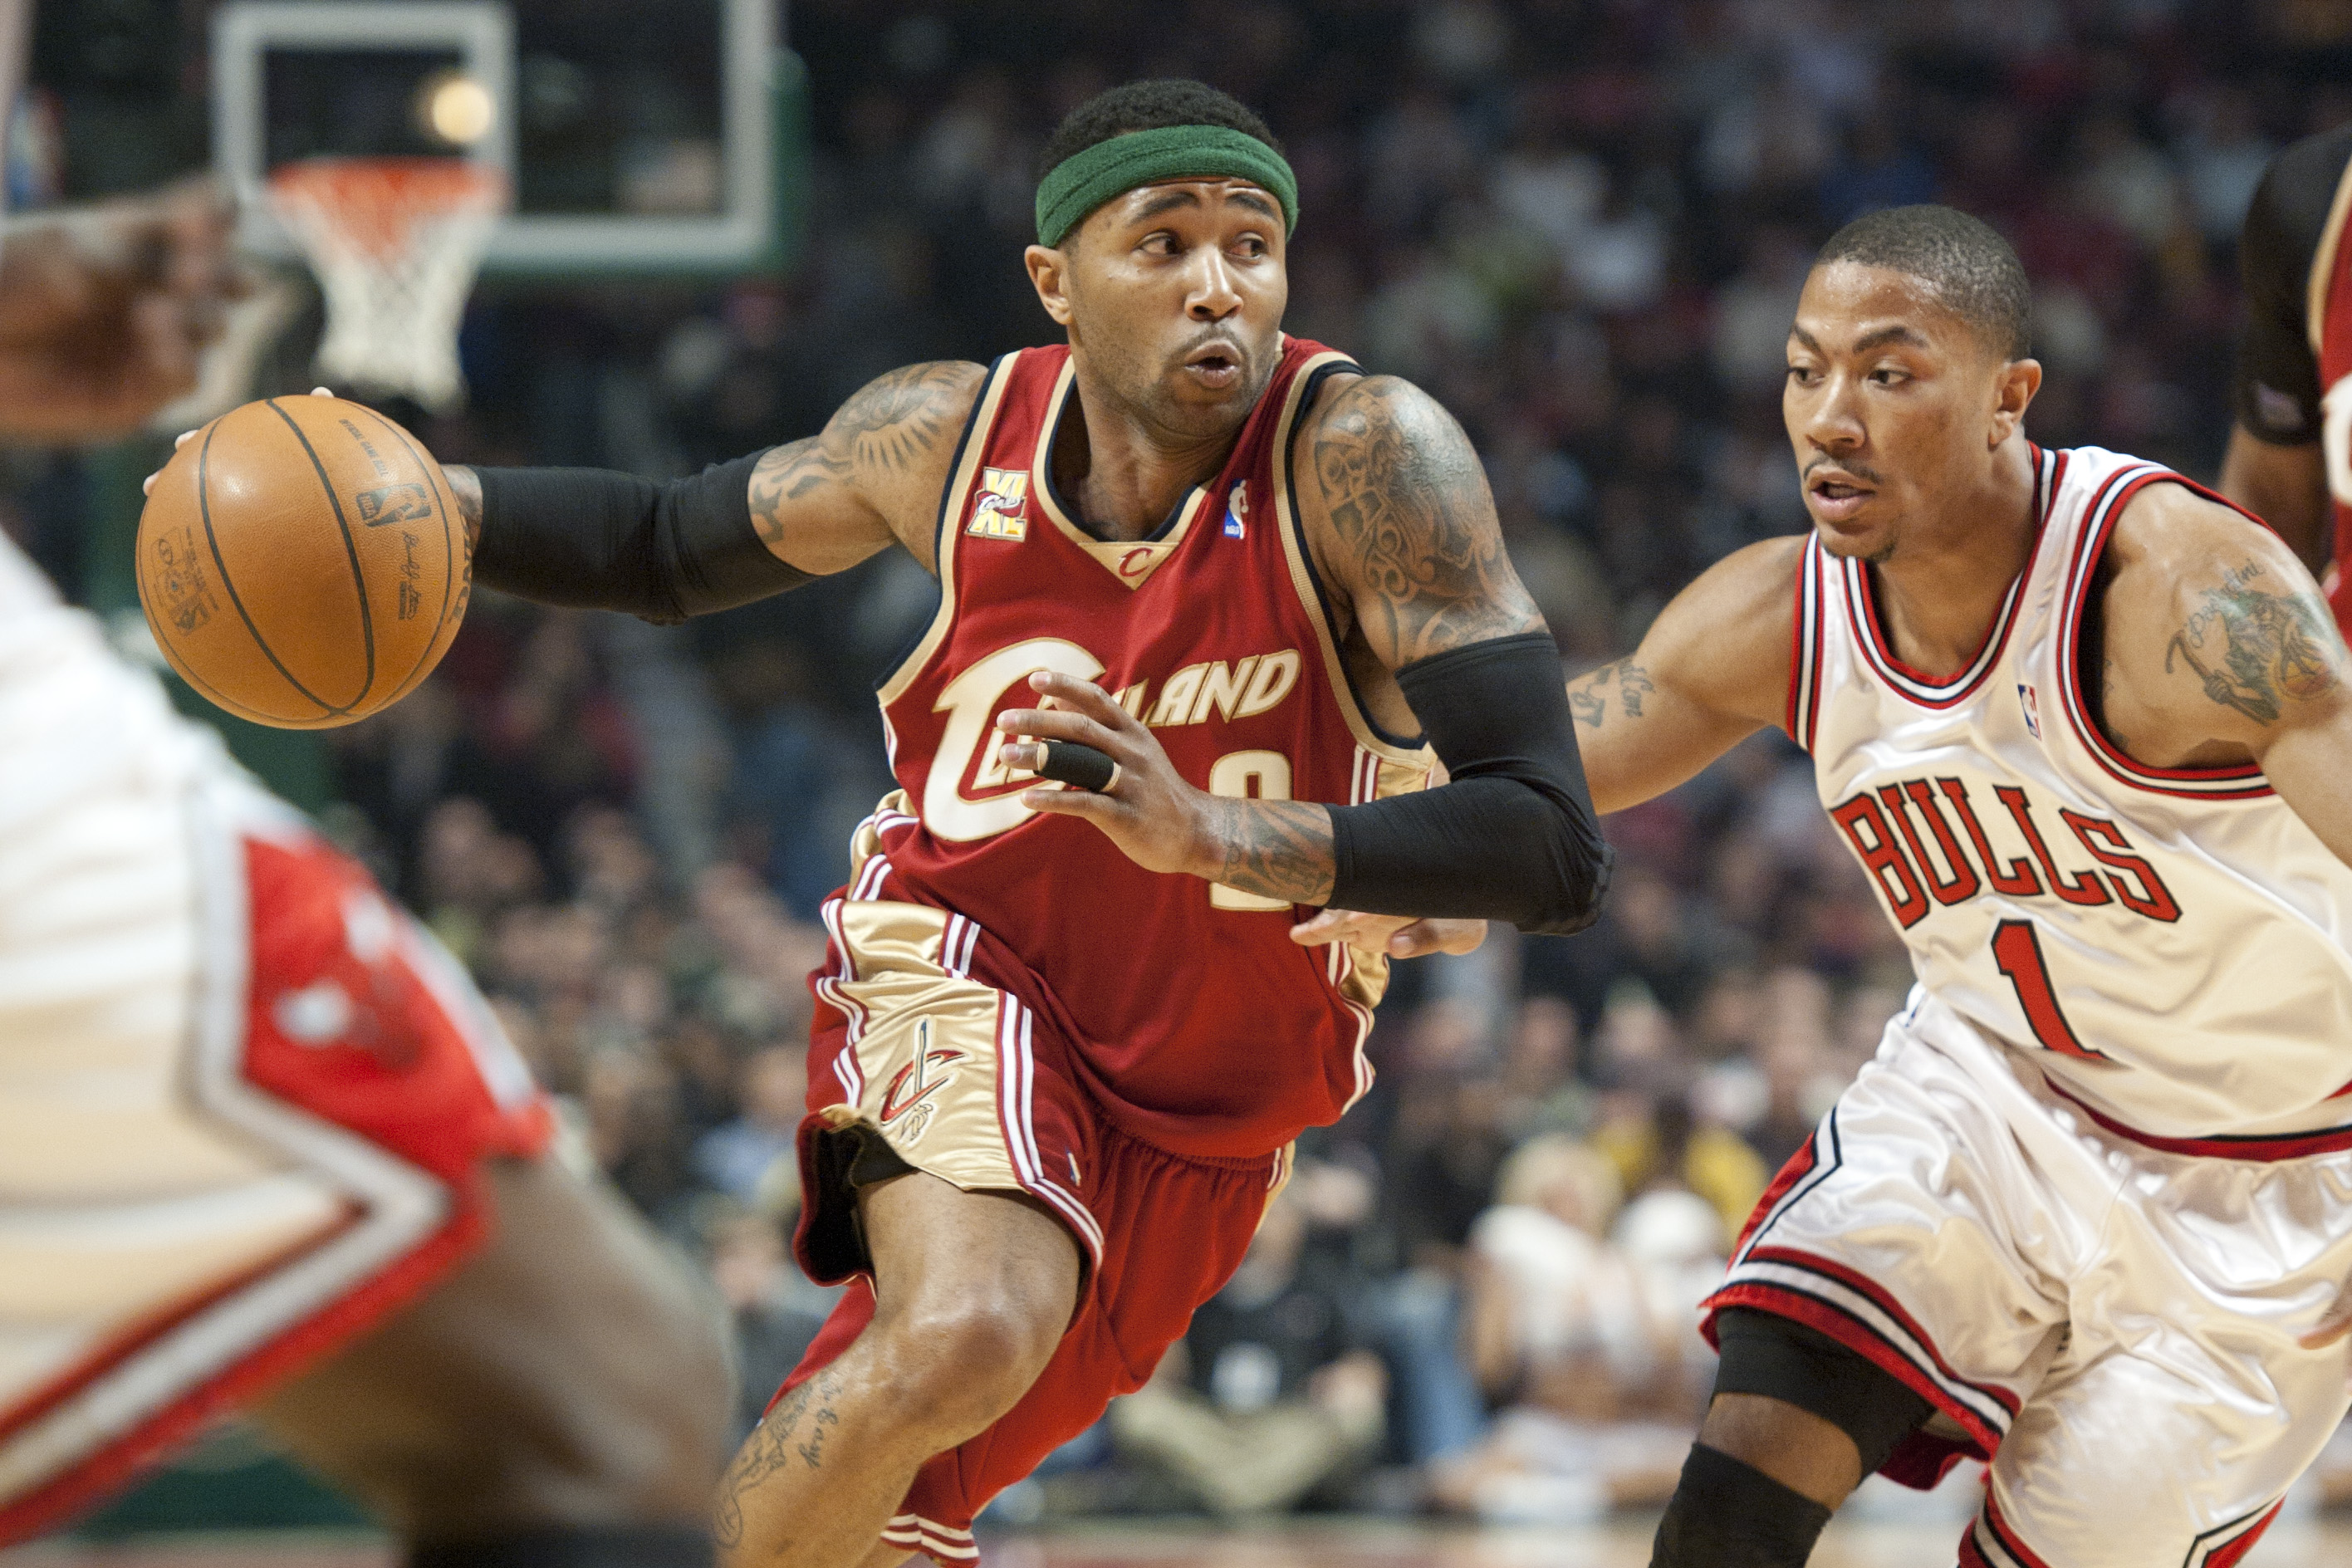
For this image, I took the fill light and lightened up the dark image and also took the black slider bar and put it to about 8 to make sure that it followed the directions as stated in the tutorial.
Part 6:
I changed the level curves on both of these photos as the tutorial stated in camera raw. I followed the directions by sliding the slider till it was at the right area.
Part 7:
I used the crop tool at a 2 to 3 ratio to make a landscape photo, once in the right area I double clicked and let the raw format select the photo.
Part 8:
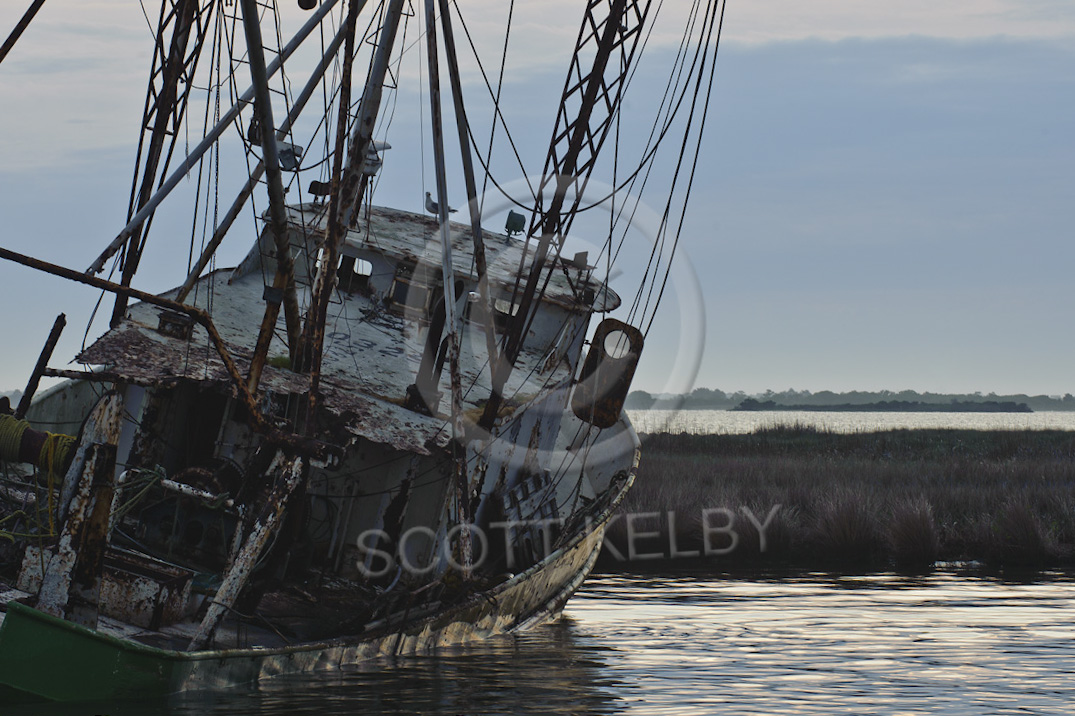
For this, I used the straighten bar in the raw format to line the horizon and let raw straighten out the image.