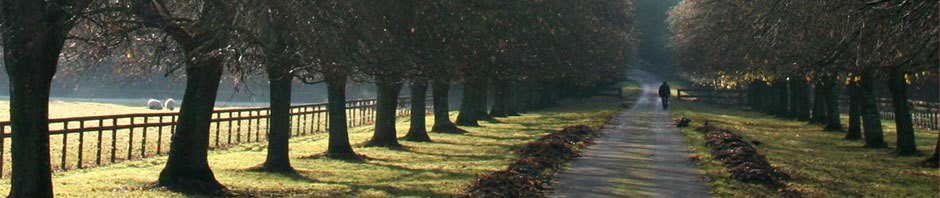
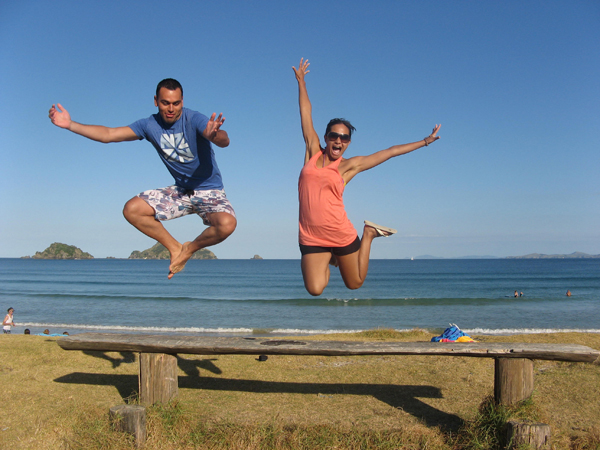
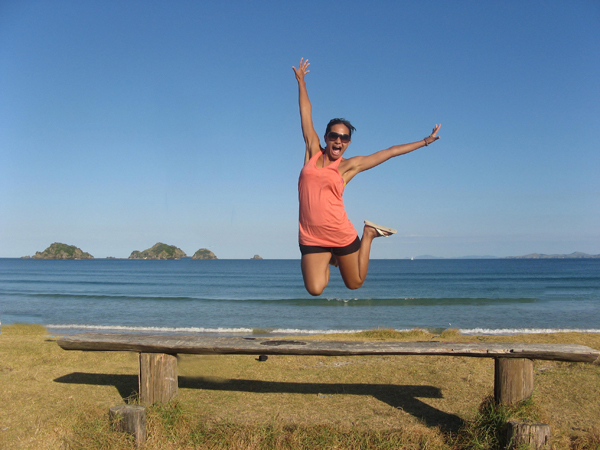
Part 1:
Before:
After:

OWN
Before:
After:
I followed the tutorial for this one and found it helpful to use for the future. By taking the image and adding a few layer styles and blurs you can make the image stand out much more than before. For my own image part I just followed the tutorial that was given and the after product is what was created.
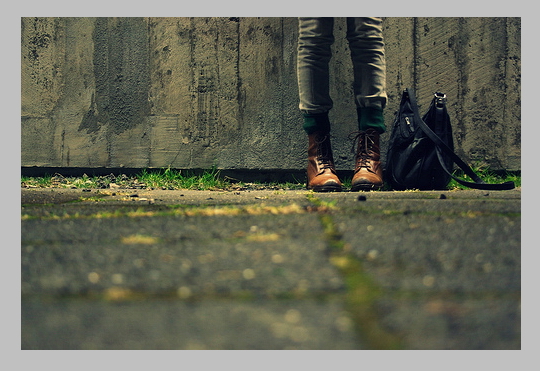
Part 2:
Before:
After:
OWN
Before:

After:

For this tutorial, I also followed the tutorial given for the first part and made sure to follow it. By selecting the given images I could use the fill tool and delete that image from the picture but keeping the background. I used this for my own image by taking the third kid out of the picture. I used the pen tool to select him then took the fill tool and deleted him out of the picture.
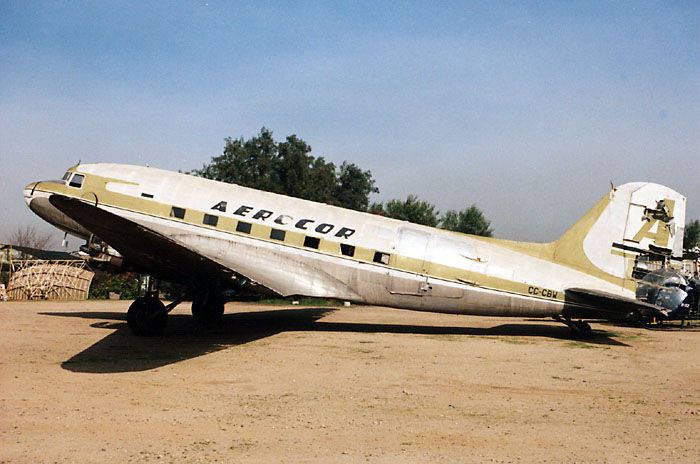
Part 3:
Before:

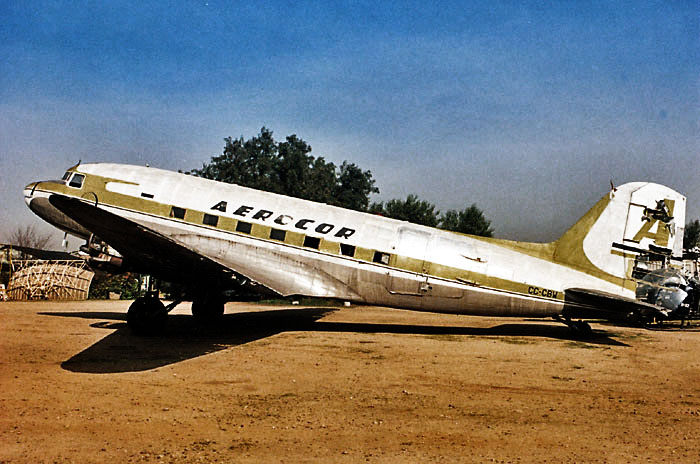
After:

OWN
Before:

After:
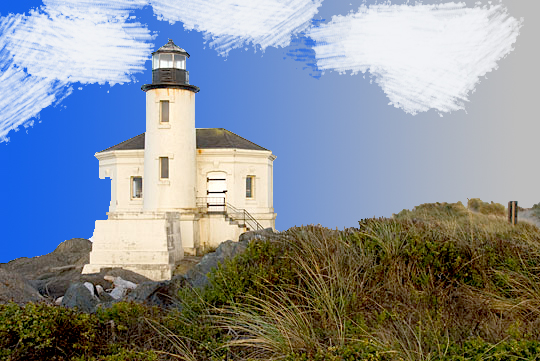
I found this tutorial to be very confusing. It was not clear about any of the hard items that it was trying to describe. I did my best but the end result is not the best. With my own image I used the same techniques that I learned in the tutorial and took a selection of the sky and made a gradient of it. I then tried my best with the brush tool to make clouds. The final part was to lighten up the image by using the curve tool. I think in the end I made the grass pop out more.