It’s not the camera, it’s you

3 05 2011

For those who feel that an expensive, full-frame camera with an expensive piece of glass on the end is what you need to make great photos think again. It’s not all about the gear, but it’s about the photographer using the gear. To illustrate this point, Digital Rev TV has created a series where they give professional photographers cheap, inexpensive and rather crummy point and shoots to use in place of their expensive gear. The results are rather remarkable as they prove that it’s not about what you’re using, but how you use it. It does my poor college student heart good to see pros cranking out good shots with cheap equipment.

(via fstoppers)


DSLR mirror shake

2 05 2011

Shaky, blurry pictures stink. Especially when shooting in low light without a tripod. Hand holding your DSLR and shooting does contribute to the sharpness of the photo but so does the mirror vibration made from the mirror moving when the shutter fires. To illustrate this point Camera Technica conducted a test to figure out how much mirror vibration there is under certain circumstances. Using a Canon 7D they mounted a laser pointer on the hot shoe and firing the shutter normally, with a finger press, with a remote shutter release and with a remote shutter release and mirror lock up.

I was surprised at how much movement there was from just pressing the shutter with a finger. Which is why I always use a tripod and the timer when shooting low light.


DSLR Mirror Vibration from Camera Technica on Vimeo.

.


Handling assignments

2 05 2011

I’ve been asked to shoot a variety of subjects while working for the campus magazine. Anything from organization meetings to a Kid Cudi concert and I’ve had different times to prepare. Sometimes a few days and sometimes a couple hours notice, such as the case with Kid Cudi (I had to step on some toes at work that day) but irregardless it’s important to have the appropriate gear for where you’ll be shooting.

Most importantly, make sure your battery is charged. My Nikon D90s battery takes a couple hours to fully charge, so I tend to charge it the night before. Nothing is more frustrating than watching that little bar tick away, until it’s dead and you miss your shot. Not only do you miss your shot, it’s very unprofessional. Even if you don’t have a fancy battery grip like myself, keep a few spares in your pack.

What pack am I using? Up until now I had been using a small Tamrac bag, but since I’ve acquired a battery grip and a few other accessories I’ve been hauling my stuff around in a Lowepro Rover AWII. It’s a good camera backpack, but for dedicated gear hauling you’d be better off with something like a Lowepro Pro Runner 300. It has more space to put your gear for shoots. The Rover is great for hiking, since it has a top section where you can put your coat or beef jerky but for photo shoots it’s rather limited.

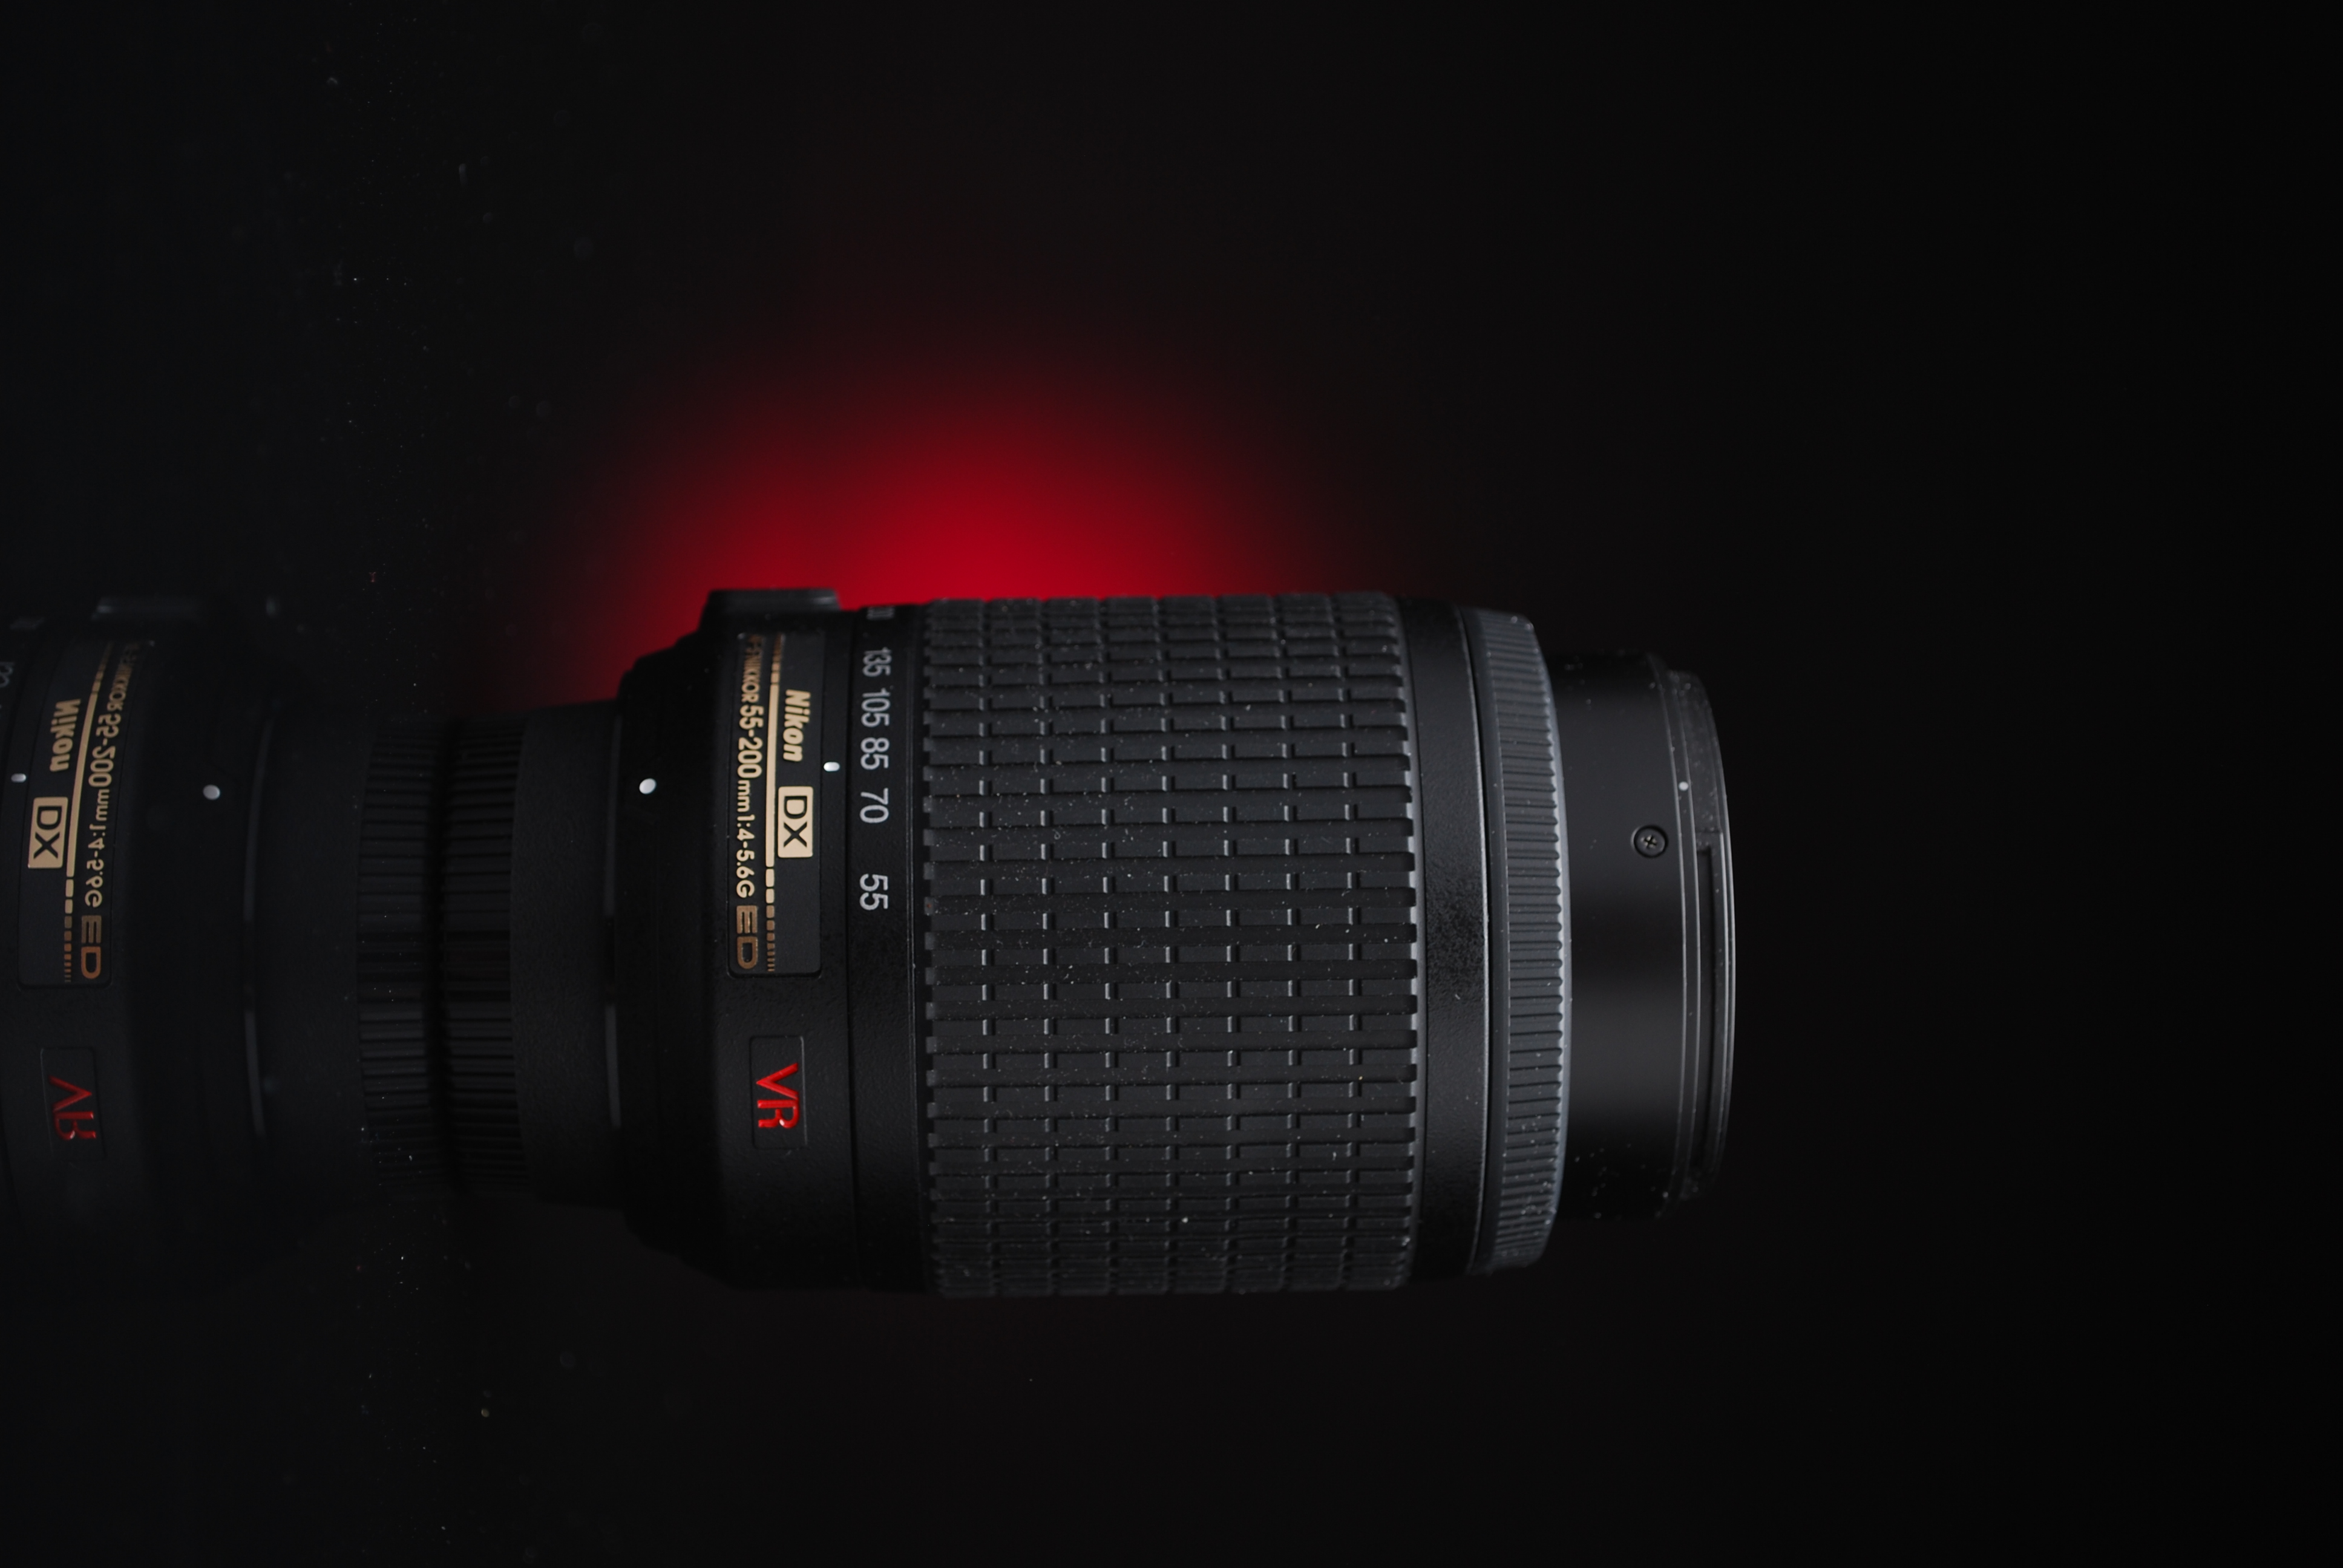
Nikon 55-200mm, great if you're on a budget

Make sure you have the right lenses for the situation. Since I’m a poor college student, I don’t have access to all the f/2.8 glass out there, so I have to make do with what I’ve got. Most of the time, I use my 18-105mm that came with my D90. It’s a good lens if you can get over the low light handling, and it covers a wide focal range. Making it an ideal lens for shooting group meetings, or anywhere in a somewhat cramped environment. I also pack my 55-200mm for when I need that extra bit of reach. This lens does poorly in low light, but it gets the job done and is rather cheap, $169 on Amazon. One lens I’ve rarely used is my 50mm f/1.8, surprisingly. While it’s wide aperture would be great for low light situations, I find the lack of zoom to be annoying.

Sure that nice, wide 1.8 aperture would have been fantastic when shooting Kid Cudi, but I only have one camera body and changing lenses in the field is something I like to avoid.

Next, a hot shoe flash. I’ve taken one on assignment, but that’s because I did not own one at the time. Trust me there were plenty of times where a flash would have been a godsend, but you can get by without one. If you’re packing a flash make sure you have spare batteries for it too. I’m using a Nikon SB-600 and four lithium batteries. I haven’t had to replace them yet but that’s not to say they won’t die soon.

Also, make sure you have plenty of memory cards. It really stinks when your shooting a once in a lifetime deal and you run out of memory. I carry three 4G Sandisk Ultra memory cards and they haven’t let me down yet. They’re quick, reliable and they’re reasonably cheap compared to the Sandisk Extreme cards.

If you really want to haul your laptop into the field to download photos more power to you. I don’t just because I do not like the added weight, but having a workstation is rather nice.

Finally, if you have time organize your gear beforehand. It’ll make life a lot easier when it’s game time. There have been plenty of times where I put off setting my gear up and paid for it.

So don’t procrastinate.

Most importantly, what gear you take with you is all up to you and where you’ll be shooting.


Medium format explained

25 04 2011

Hasselblad H4D-50 courtesy of Hasselblad.com

That is a Hasselblad H4D-50. One of Hasselblad’s latest digital medium-format cameras. It has an ISO range from 50-800 a shutter speed range from 32 seconds- 1/800 and a 50 megapixel sensor. Sounds pretty good right? It can be yours for just $30,000 plus shipping and handling off the B&H website.

Why the steep price tag? First off, it’s a Hasselblad, one of the best camera manufacturers in the world. Secondly it’s a digital medium format camera with a 50 megapixel sensor. So those two factor into its price.

If you’ve never experienced film photography, or just use point and shoots. Medium format may or may not confuse you.

What is medium format? It goes back to the old days of film photography. Where there is the 35mm and then you have 120 film. There are more but for the sake of the post I’ll use two kinds.

The 120 film is much bigger than 35mm film. The larger negative will result in more surface area for your photo. Photos taken on a medium format will have better color, tone, and detail as compared to a 35mm or a DX sensor. Also, it’ll give you a bigger negative to work with when it comes to enlarging. Enlarging a negative taken from a medium format will have less detail loss as the print size increases. Making it ideal for posters.

Sounds good right? Here’s how you can shoot medium format without dropping $30,000. You may be able to find a medium format point and shoot for cheap on Craigslist, or KEH. All you need to do then is buy some film, 120, and have it processed and scanned onto a CD. Put the CD into your computer, and BAM you have a medium format photo. From there you can manipulate it the same way you could a digital photo.


Getting creative, tabletop studio diy

24 04 2011

Ever want to experiment with lighting but don’t have the cash to afford a sweet lighting setup? Well now you can but in mini form and without leaving your house. It’s a tabletop studio and it’s a really easy and cheap way to play around with lighting. In this video I give an introduction on how to set up a tabletop studio.