Part A)
Artist #1) Jason Hill talks about his workflow for sculpting characters in the 3D program ZBrush. One of the tools he uses for hard surface sculpting includes the modeling brush. This is a brush new to ZBrush 2018 and allows for the creation of edge loops and such in sculpts. This is a useful tool that is uncommon for 3D Sculpting Packages. The modeling brush used in conjunction with Zsphere retopology allows for artists to sculpt shapes in the conceptual phase, create flat geometry for them, then use the modeling brush to detail the shape with precise edges. This allows for a hard surface workflow that is fast and efficient alongside organic anatomical sculpting. Artists can thus, create hard surface details, such as armor on top of 3D Character model all in the same program and achieve a high level of detail and quality. This is a workflow I plan to learn and utilize as my characters are planned to have both hard surface and organic qualities. Learning how to efficiently switch between hard surface and organic design will be vital in my character creation process.
Artist #2) Marc Brunette talks about his workflow for making a game character from scratch. The techniques he employs encompass a traditional PBR character workflow. This process consists of sculpting a high poly version of the character in a program like ZBrush. The mesh is then retopologized in a 3D package such as Maya, 3DS Max or in Brunette’s case a program specifically made for retopology called Topogun. The idea of retopology is to create new geometry for the character that is lower in poly count to make it less taxing to render. Additionally, defining geometry allows for the artist to decide how the character should deform when they move. Brunette talked about a few strategies on how to handle retopology including the how to implement minimal usage of triangles in the mesh, and how the focus should be to primarily use quadrilateral shapes. Marc then goes into depth about the best way to create a UV layout for a character with custom geometry. After this step, the character is ready for baking and texturing. Baking is a process that involves taking the high poly version of character and “baking” it into a what is called normal map, which is a type of texture map that can be applied to a low poly 3D Model that will let it retain the detail of a model with a higher poly count. Baking high poly detail into normal maps is an essential part of the PBR workflow, which is the current industry standard when it comes to developing games. This is a process I wish to use for my BFA project as will allow me to make characters with high amounts of detail at a low poly count so as to optimize my virtual experience to have minimal lag and high performance.
Part B)
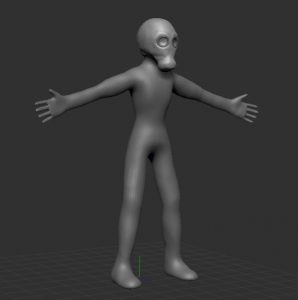
I began my art exploration by teaching myself J Hill’s hard surface workflow using the modeler brush in ZBrush. I practiced these tools by first sculpting a basic design in ZBrush on a sphere. I then began Hill’s process of giving the form new topology using zspheres. I had some difficulty figuring out how to out this tool but I eventually got the hang of it. This allowed me to create a form out of my original mesh that took the shape of my organic design and made it hard surface. I then began to learn the ZModeler brush to practice ZBrush’s modeling tool. I found the tool to be similar to basic modeling tools found in other 3D packages such as Maya or 3DS Max, allowing to user to extrude faces, create edge loops and move individual vertices. ZBrush’s way of accomplishing these tasks came off as a bit clunky to me to me compared to the vast features of the other software I have learned. That said, the ability to perform basic modeling tasks in 3D sculpting software like ZBrush may prove to increase the speed at which I am able to produce models as I don’t have to waste time transferring sculpts to different software. I’m not sure if I will use this workflow as much as I originally thought, but in certain situations it may prove useful in speeding up the modeling process.
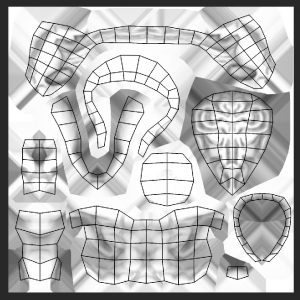
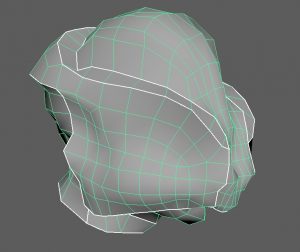
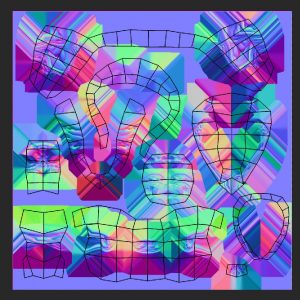
For the next part of my Art Exploration I began experimenting with Marc Brunette’s workflow of creating normal maps. For this process I began by making a ZBrush sculpt with some intricate detail to test how well a low poly model could pick up the detail with a normal map. My lack of experience in making such texture masks made for this to be a difficult challenge. My first attempts in creating normal maps for the sculpt were unsuccessful. I tried modifying the topology of my low poly model and reworking its UV map. I performed these tasks multiple times to no avail. I eventually realized I had forgotten to delete the history of my models, which is a step that is vital for making sure the models are clean and ready for exporting. After exporting the models with deleted history, my normal map was created. My final model ended up being slightly too low poly to completely sell the illusion of realistic detail. Nonetheless, the process was a success and I now know how to create a sculpt with a high level of detail and transfer that detail to a low poly mesh to save memory. This will be a vital process that I will use for every asset that gets made for my project.
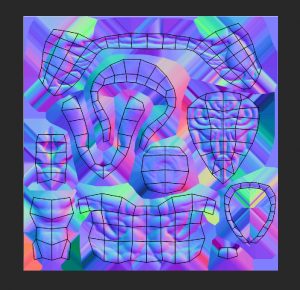
Here are the final correct normal mapped models (including the low poly, high poly, low with normal map, high poly with cage)
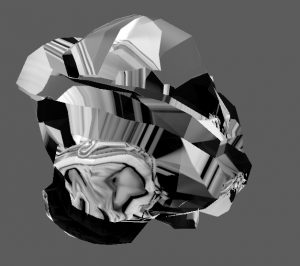
These are the successful normal and ambient occlusion maps:
Here are the failed attempts:
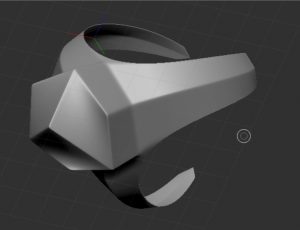
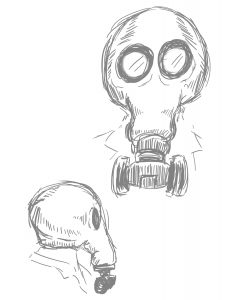
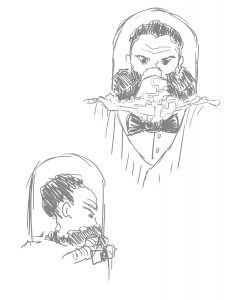
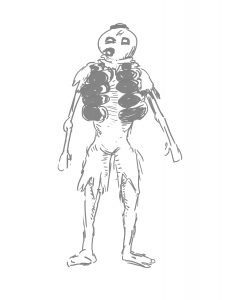
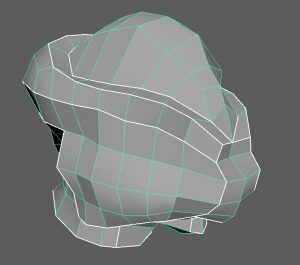
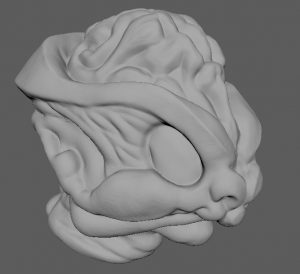
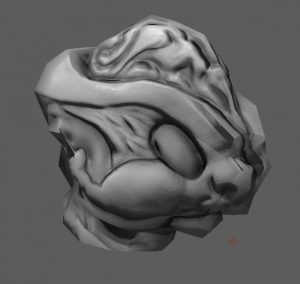
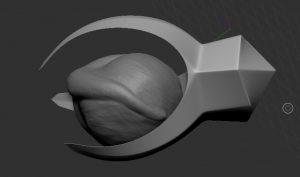
This is the organic design I made that later was remodeled to be hard surface:
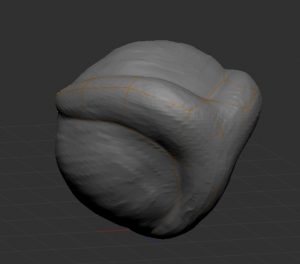
This is the organic design next to the hard surface design that came from it.
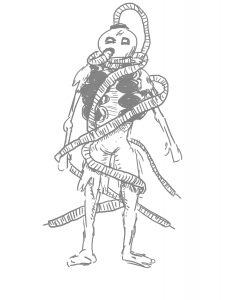
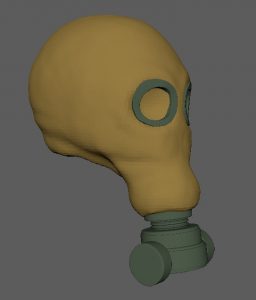
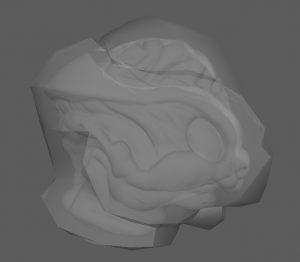
Here is the hard surface design: