Part 1
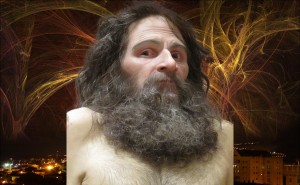
For part one I used the quick selection tool to outline the man, then I went into the refine edge box and adjusted the radius to make sure it selected all of the hair. I also selected the smart radius box.
Part 2
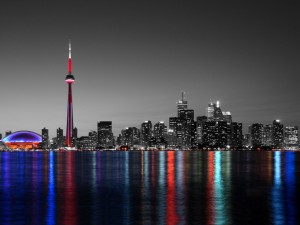
For part two I went into the adjustments tab selected black and white. I then took the quick selection tool and marked out a mask. Once I had the areas I wanted to bring the color back to I took the eraser tool and brought back color to the image.
Part 3
For part three I brought the images into bridge selected them and went to tools, photoshop, photomerge. This put the images together although there was one out of place I took that image lined it up with the rest and used the spot healer to get the line out of the image.


