Part 1
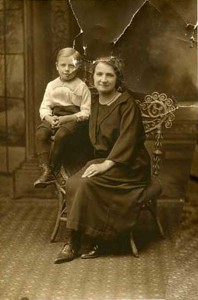
Before
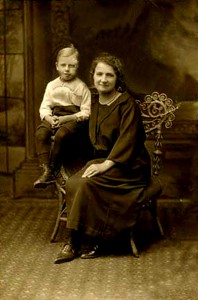
After
In order to remove the creases and tears I used the clone stamp to even everything out. For the bottom right corner I used the spot tool then the clone stamp to create the lines in the floor again. The part I struggled the most on was the little boys face and I used to patch tool to try and recreate the little boys face.
Once I was finished with the entire image I edited the levels of the image to try and match the original corrected one.
Part 2
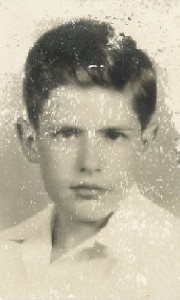
Before
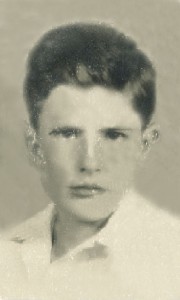
After
To recreate the background I used the spot tool at the bottom and cloned stamped that to create the background at the top. for the face I also used to clone stamp to try and get rid of some of the white spots that were created on the photo. The boys left ear got a little messed up in the process and I tried to fix it, but ran out of time.
Part 3
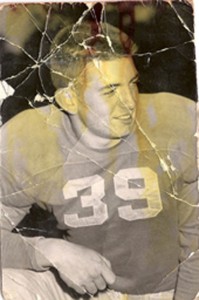
Before
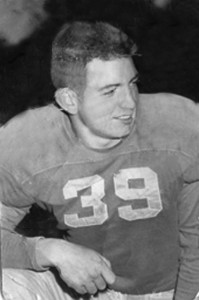
After
This was my favorite one to edit and I think it turned out the best. First off I had to change it to grayscale to get ride of the discoloring that was on the photograph. Then I used the clong stamp tool on the background since it was a black color and that made it very easy. For the jersey I used clone stamp tool to get rid of the creases that were in the jersey.

