Inclass Assignment 5 March 22, 2011
Part 1: Make a quick HDR effect
For this part of the assignment, I took the sample photo into Photoshop and followed the directions on the link. Once that was completed, I went back into Photoshop with one of my own images. From there I made 3 copies of my original image, making for copies total. In one copied layer, I adjusted the highlights and shadows. In the next layer copy, I adjusted the saturation and desaturated the whole image. On the final layer copy, I adjusted a blur on top. In the desaturation layer, I also adjusted the light to hard light, and in the blur layer, I adjusted the light to soft light.
Part 2: Remove a person with Content Aware
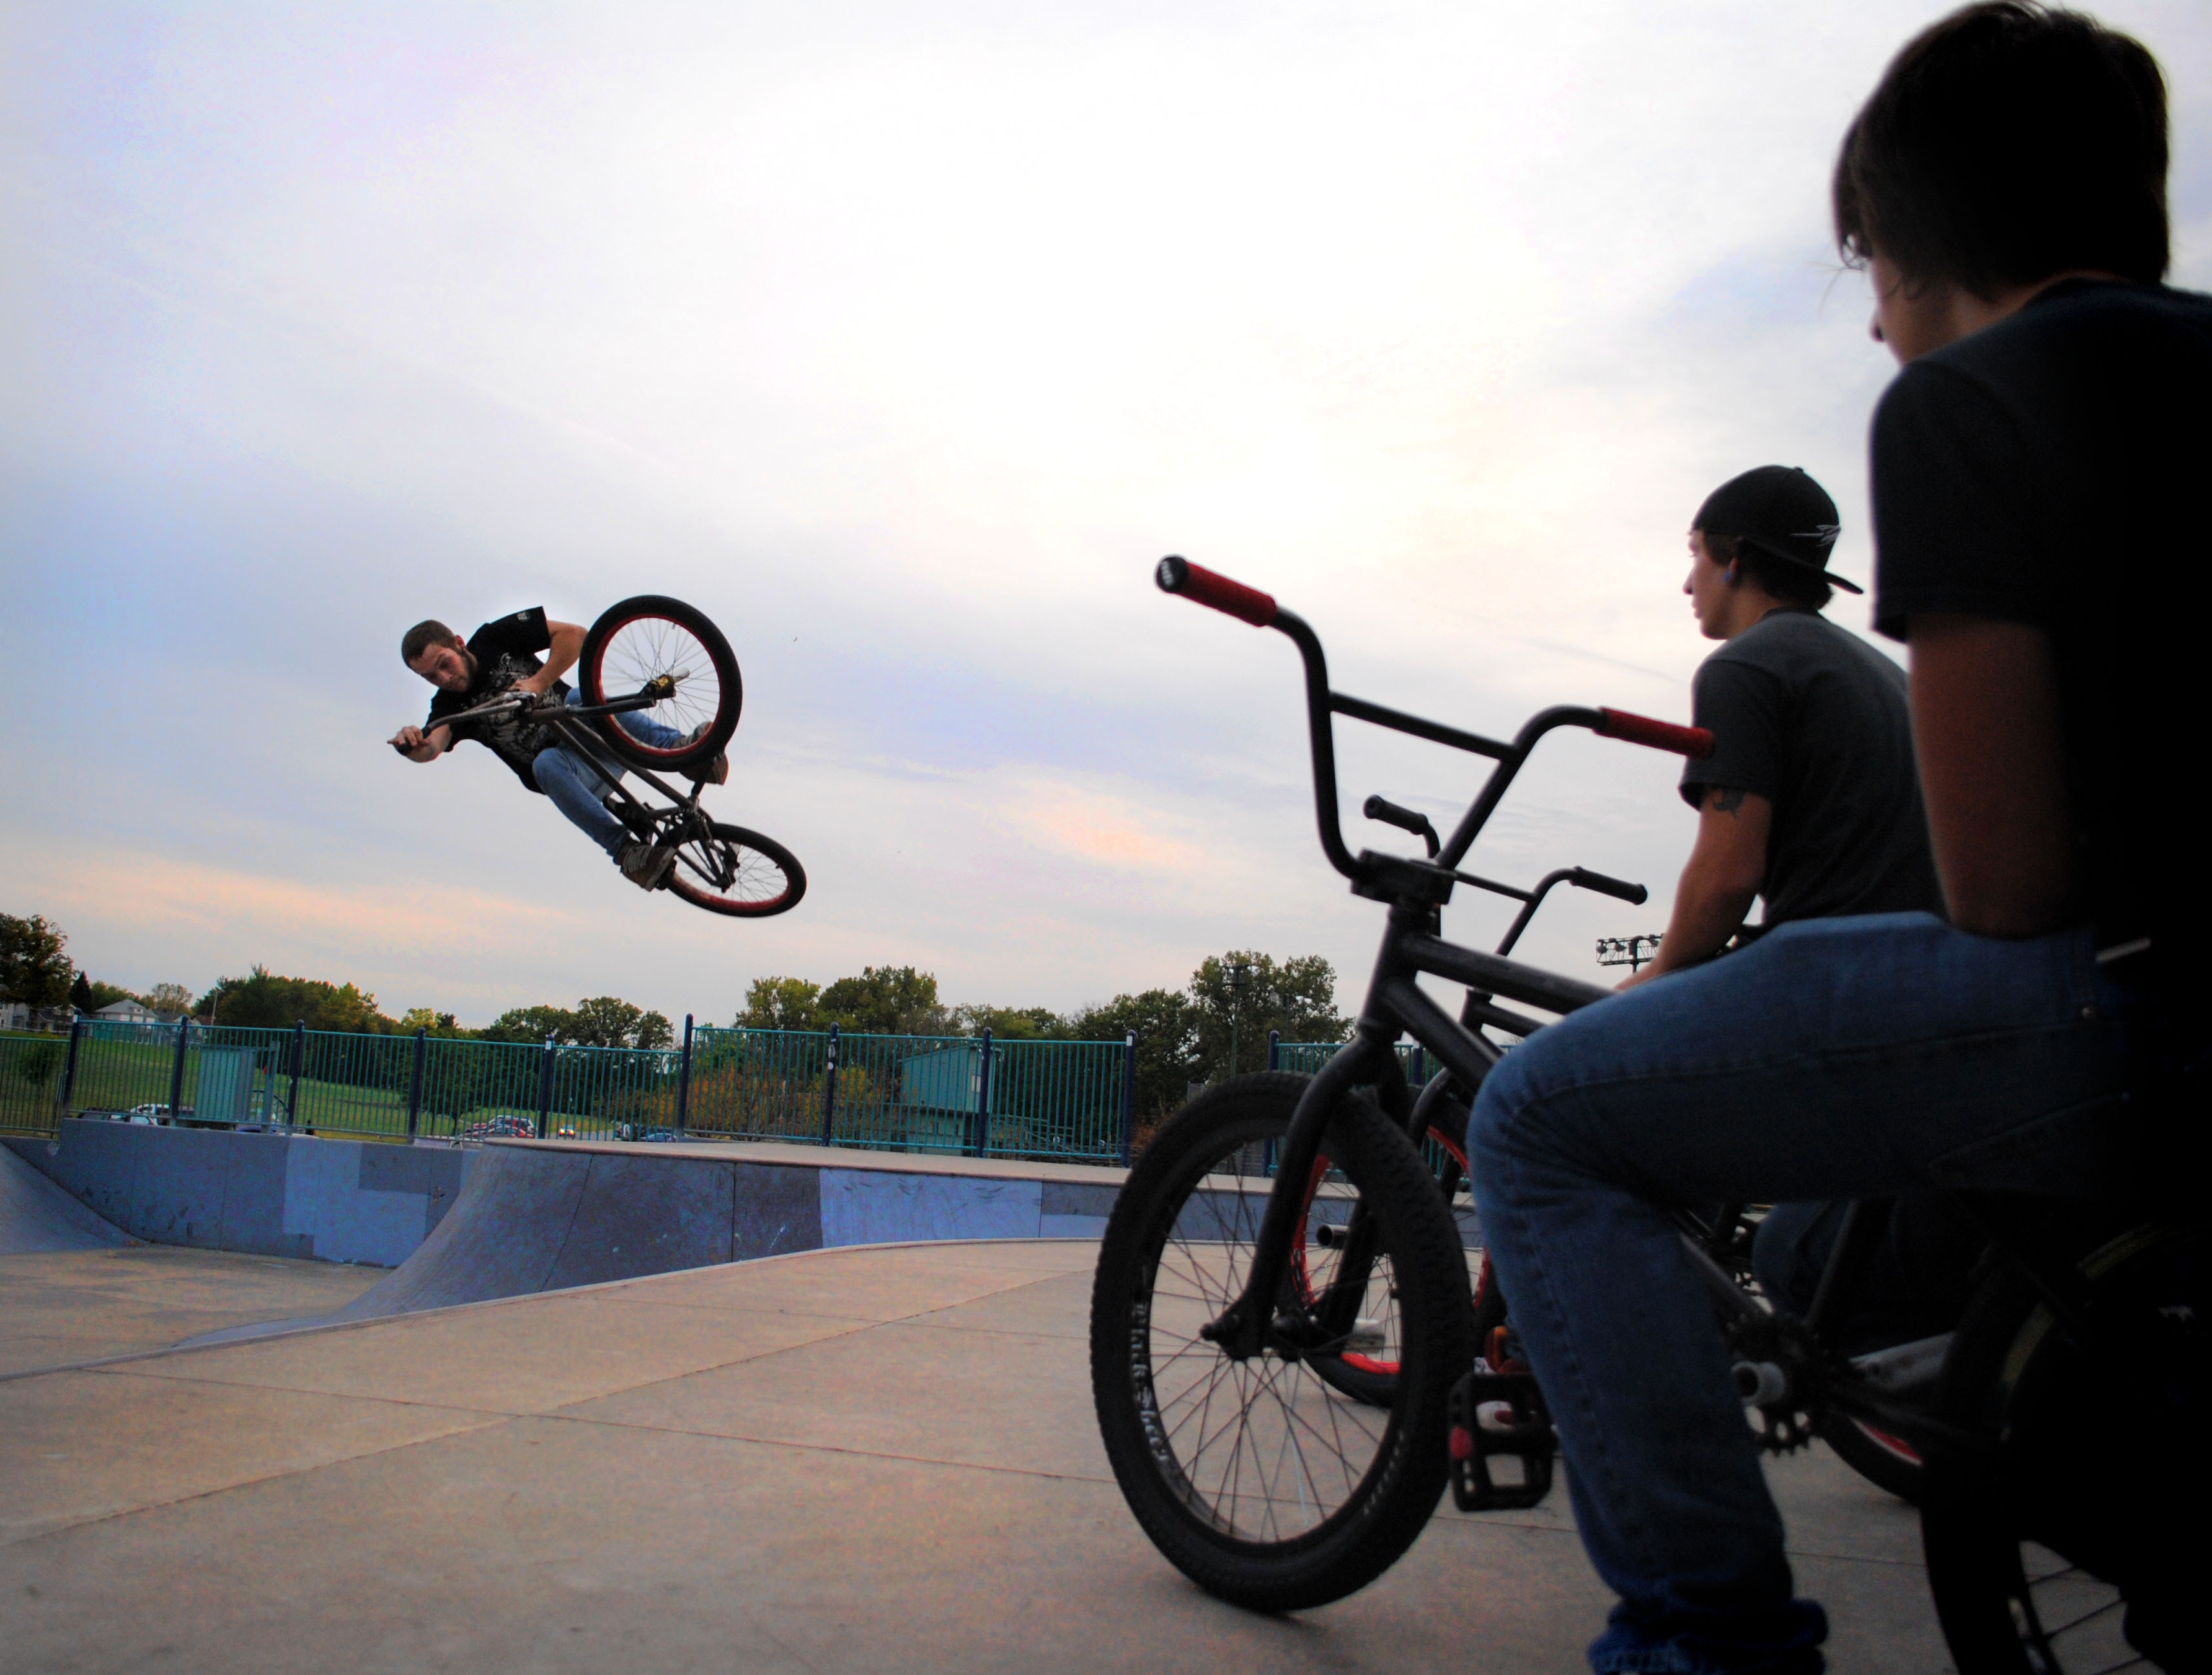
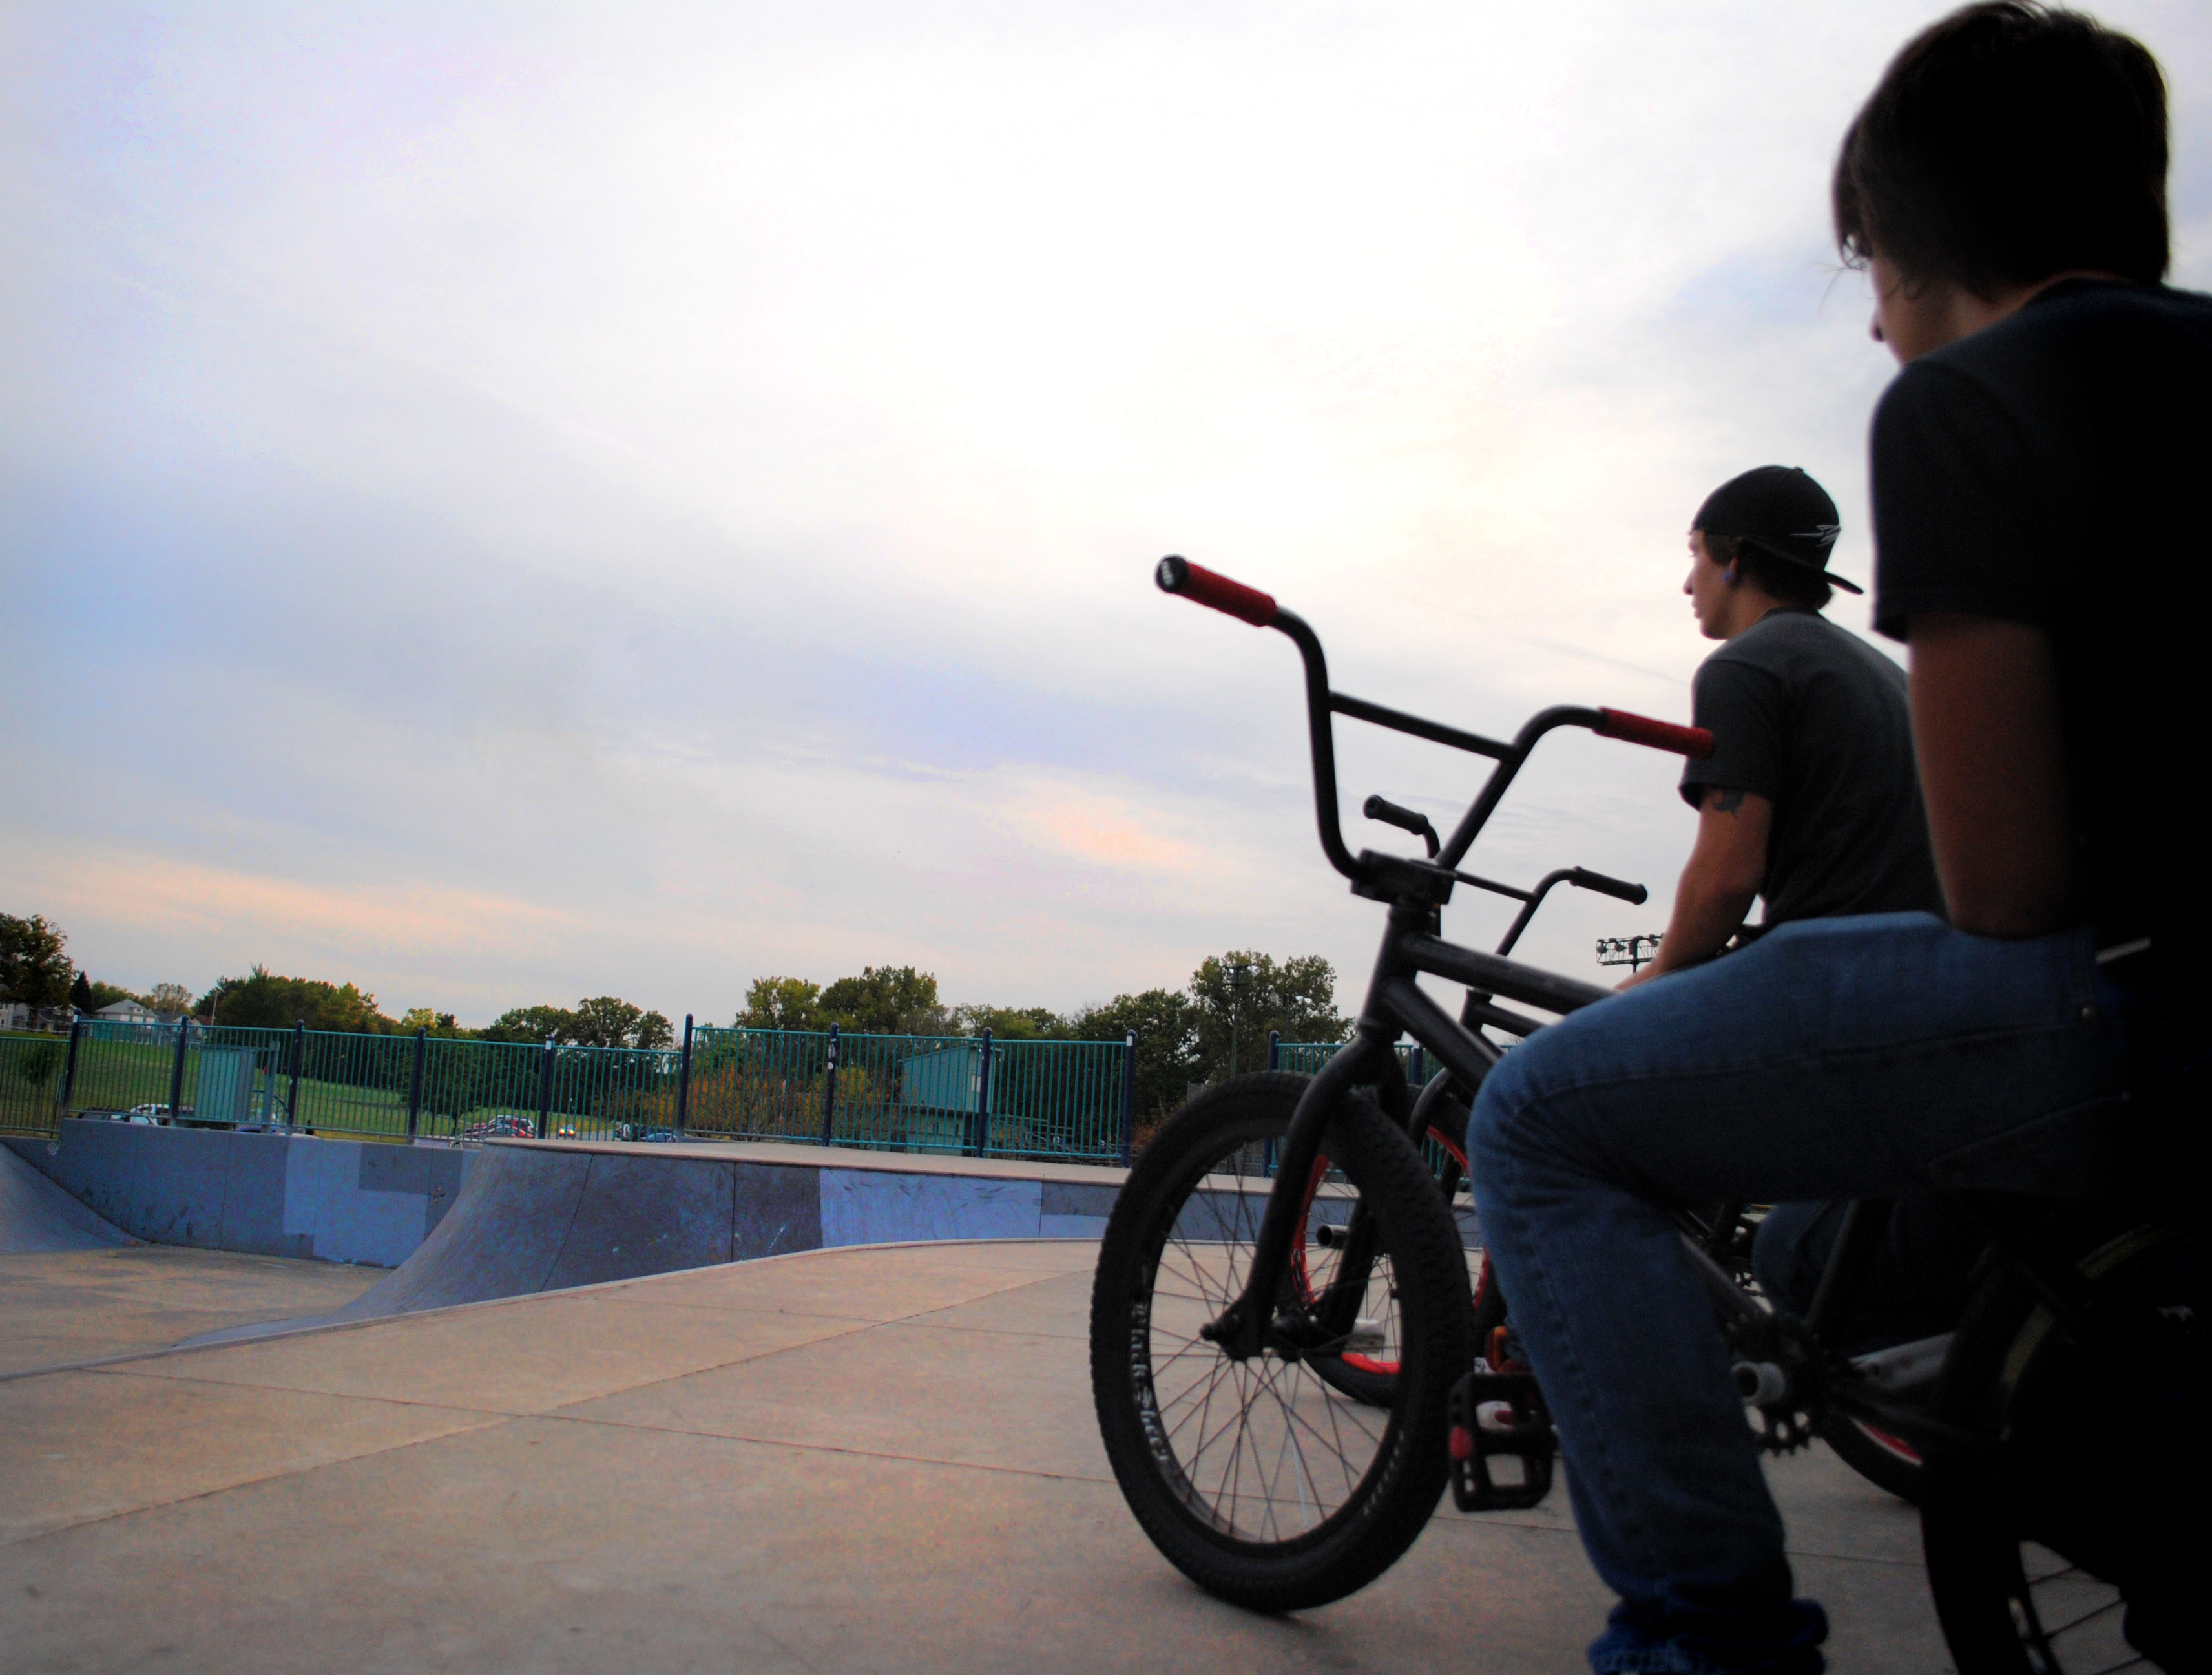
For this part of the assignment, I again used the sample image and followed instructions. Then I used one of my own images and removed a goy on a bike. To do this, I first selected the guy on the bike I wanted to remove. From here I selected the fill option in the edit menu. I set it to content aware and hit ok. Once the biker was removed, I repeated the steps to get rid of any artifacts lingering where he once was.
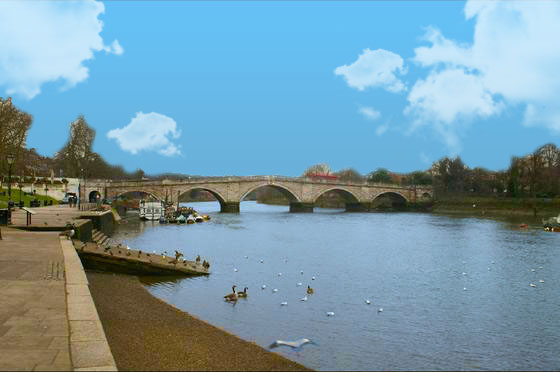
Part 3: Make a sunny day
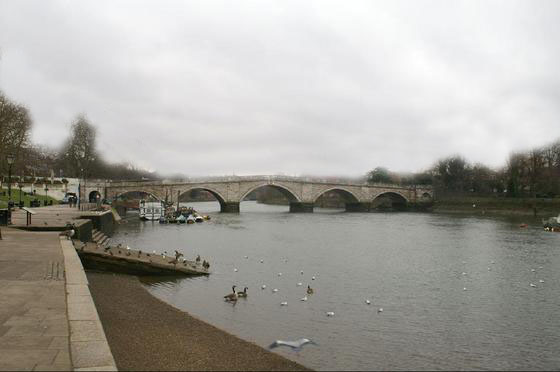
For this part of the assignment, I started off by using the sample and following the tutorial. Once that was complete I took a picture off the internet of a gray day and turned it sunny. To do so, I started by adjusting the curves to lighten up the image. Then I adjusted the vibrance to add a little more color to the image. I then selected the gray sky and added a gradient layer of blues to create the sunny day. After that was complete, I added the clouds and put a photo cooling filter over the water so it has the illusion it is reflecting the sky. And there you have it…a sunny day.