In Class Assignment 3 Feb. 8, 2011
Part 1- Combining Background and Portrait into a Single Composite
For part one, I began by selecting my model with the magic wand tool. Here I selected the big chunks of background and then selected the inverse. From here I went and selected the refine edge box. In the refine edge box I played around with the different settings until things looked normal. I also played with the edge brushes to fine tune the outline of the model. From there I decided how I was going to output, which I did new layer with layer mask, and that was that. I basically followed the tutorial step for step throughout this process since it is something that is new to me.
Part 2- Creating a Non-Destructive Adjustment Using Adjustment Layers
For part two, I started off by opening the black and white adjustment layer. From there I used the brush tool to paint off some of that layer to reveal the color underneath.
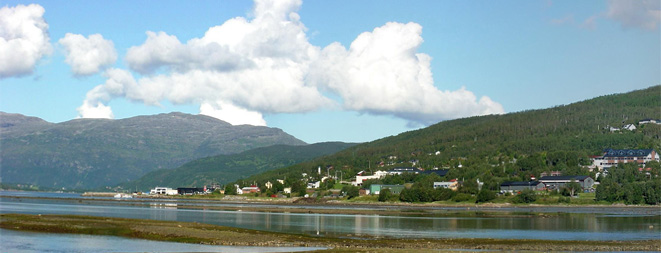
Part 3- Creating a Panoramic Image
For part three, I started off by opening up Photoshop, going to file…automate…photomerge…and then I added the photos. From there I clicked merge and and cropped the final image.