Assignment 1- August 31, 2010
Part 1- Straightening a crooked image:
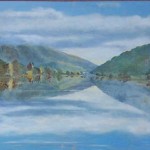
I imported the photo from mini Bridge then used the ruler tool (under the eyedropper) to draw a line across the correct horizon. Then I clicked the “Straighten” option in the top bar. Voila!
Part 2: Correcting Perspective:
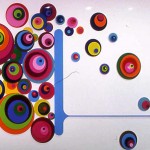
For all three of these images I drew a crop box (using the crop tool) somewhat around each picture. Then, I clicked the “Perspective” button in the top bar. This allowed me to then click each corner and independently match them up with the corners of the work of art. I hit enter once I knew the crop box’s corners aligned with the images. Donezo!
Part 3: Creating a composite:
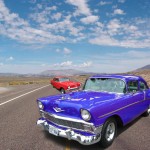
For this composition I used one photo of a car and one of an open road. First I selected the car using the quick mask and paintbrush. I then drug it to the background image as a new layer. I duplicated the layer. I then chose one of the cars and selected all the red using “Color Range” under the “Select” menu. Once the red was all selected, I used the “Hue/Saturation” controls under “Image” to change the red to blue! Then I resized and repositioned both cars and tried to make them look as real as possible. I also duplicated the shadow of the blue car and created a black shadow layer to make the shadow look more real, as well as hiding the unmatching concrete from the original image. Woo!
Part 4: Using Camera Raw:
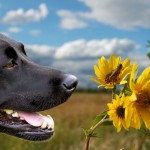
For this part the first thing I did was increase the “Blacks”, “Contrast”, “Recovery”, and “Exposure”. I lessened the “Brightness” and increased the “Vibrance” a little. I basically just played with the controls til it looked good. I then used the “Magnetic Lasso” tool to select the dog’s head (worked great for this, although I usually stay away from the lassos). I then imported the dog head to my background image and sized/positioned it to my liking. I also touched up a few places around the dog’s head to get it to blend better and look more natural. Cha-ching-a!


