In-Class Assignment #6
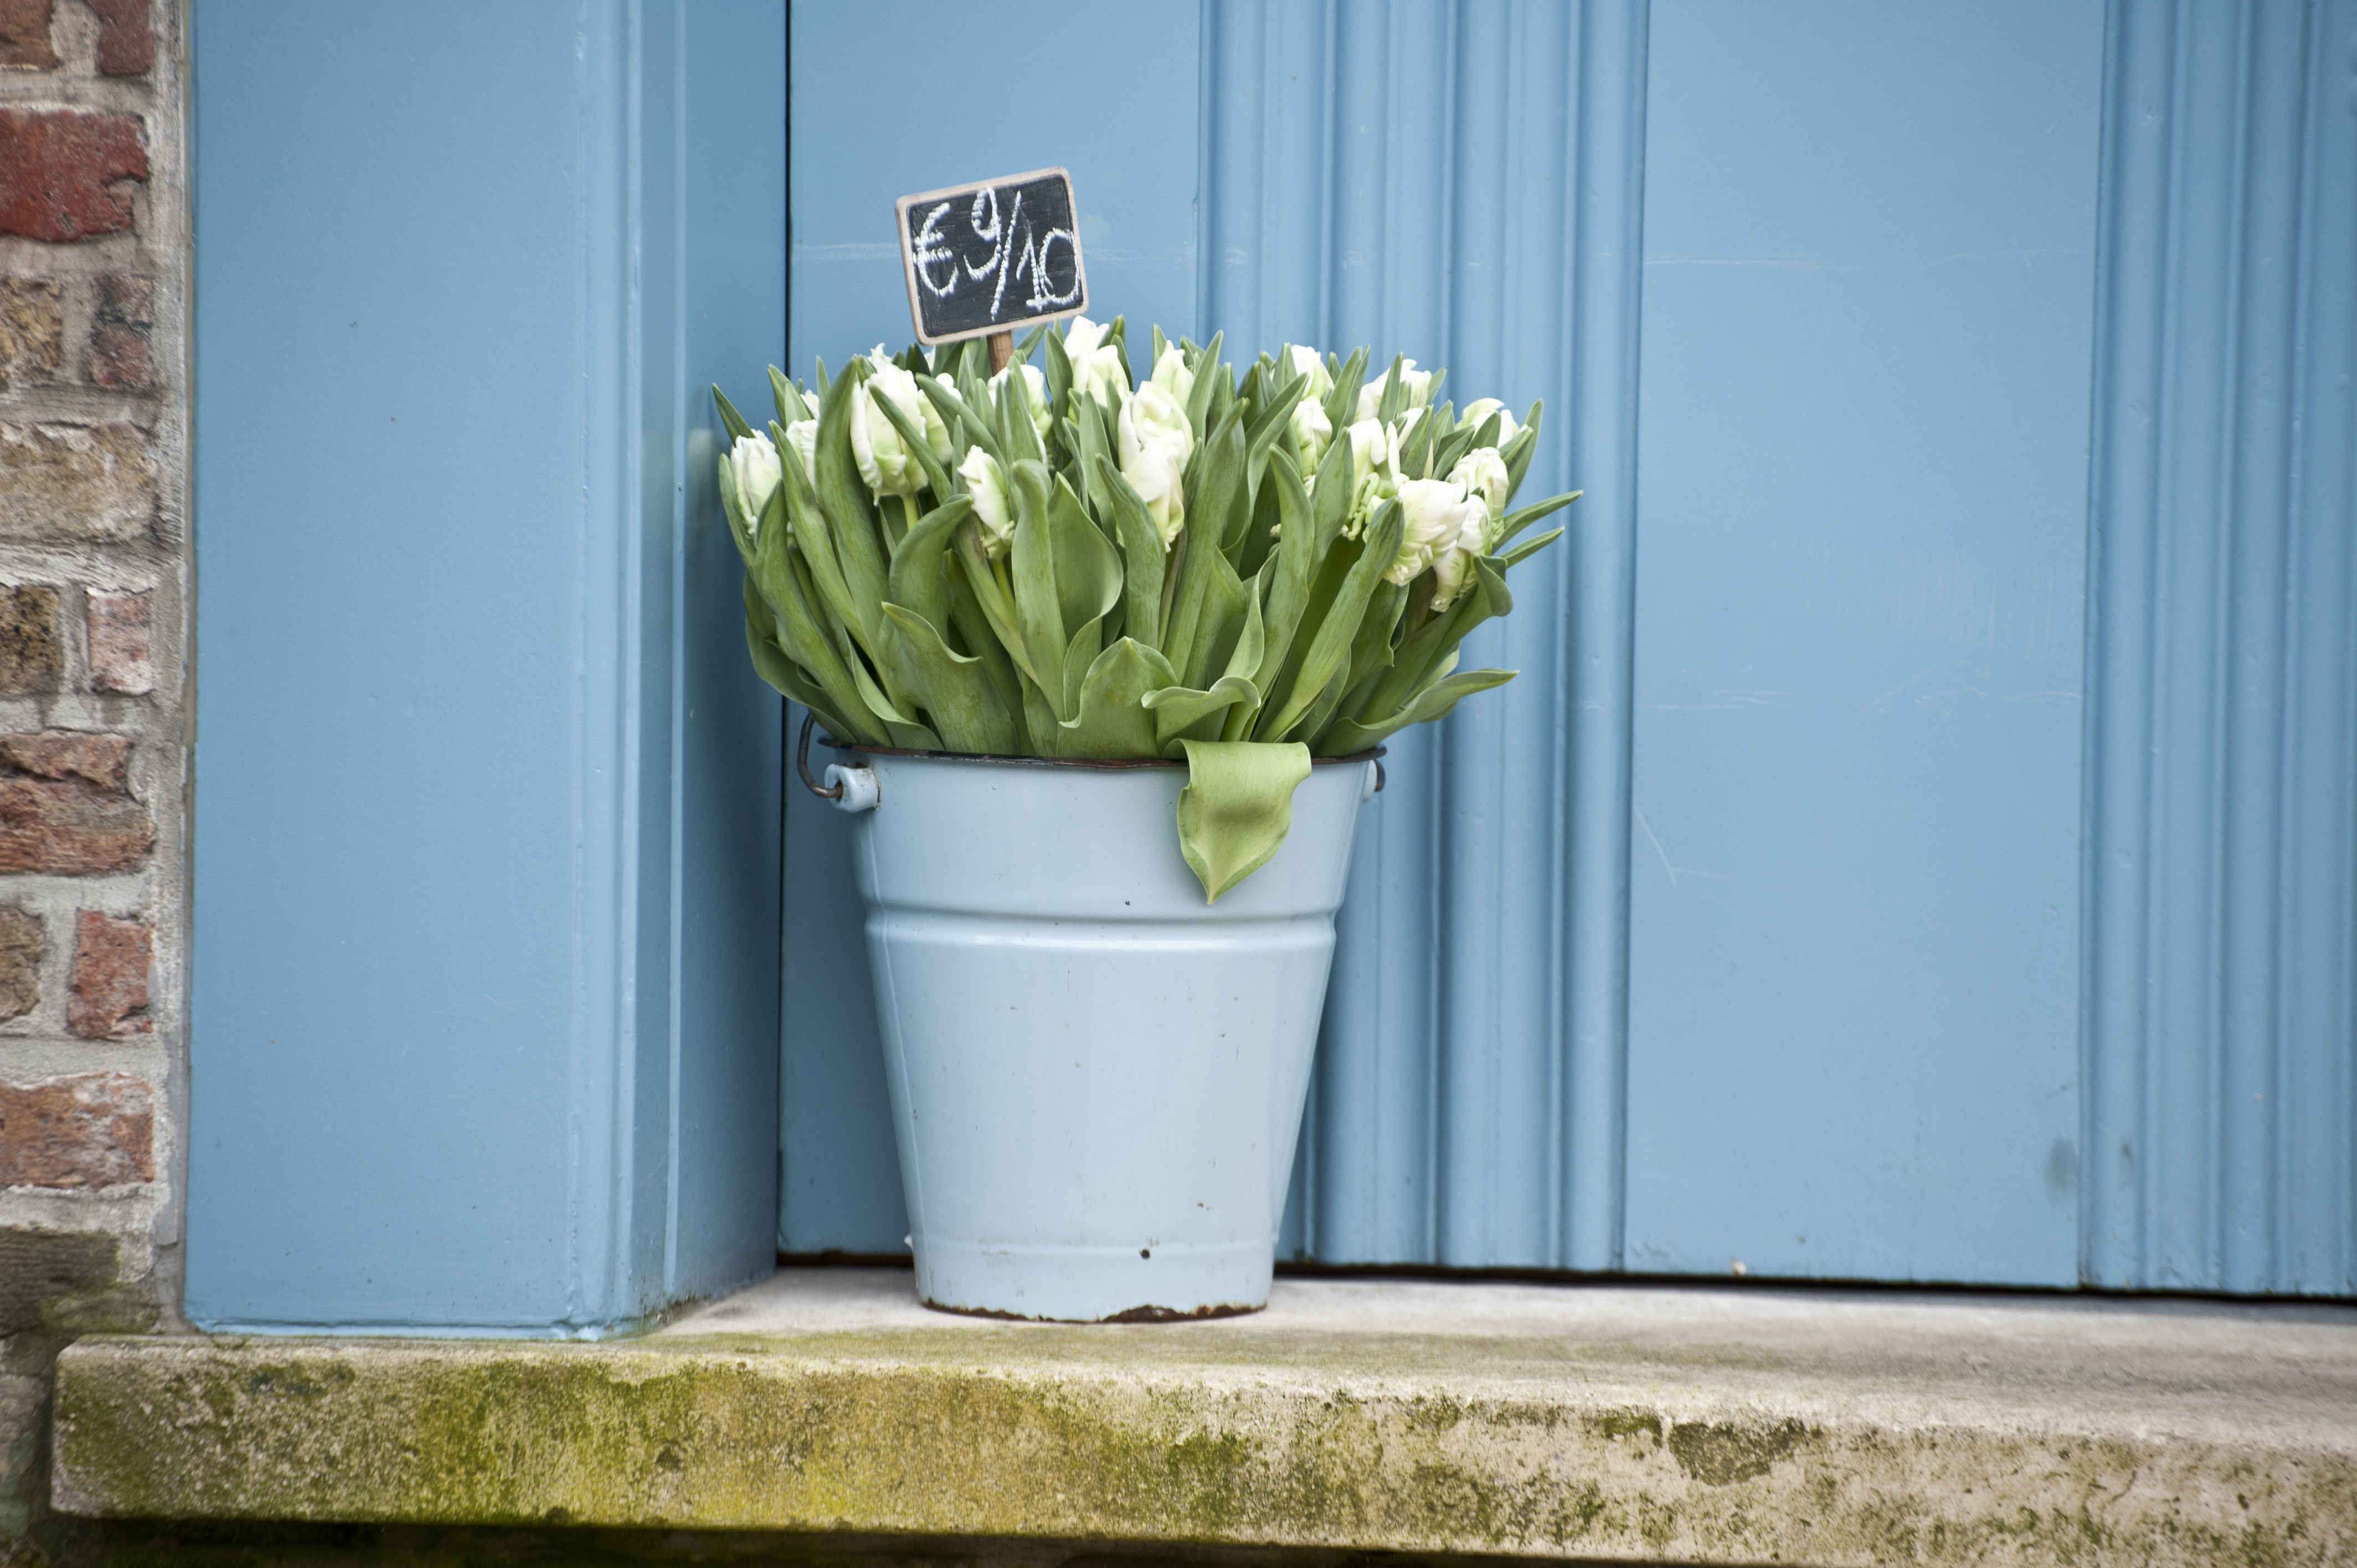
For this I used the white balance tool. I changed the temperature and then selected a light gray area to change the white balance.

For this I underexposed the image by dragging the exposure slider to the left. I also used the recovery slider to make the warning triangle turn black.
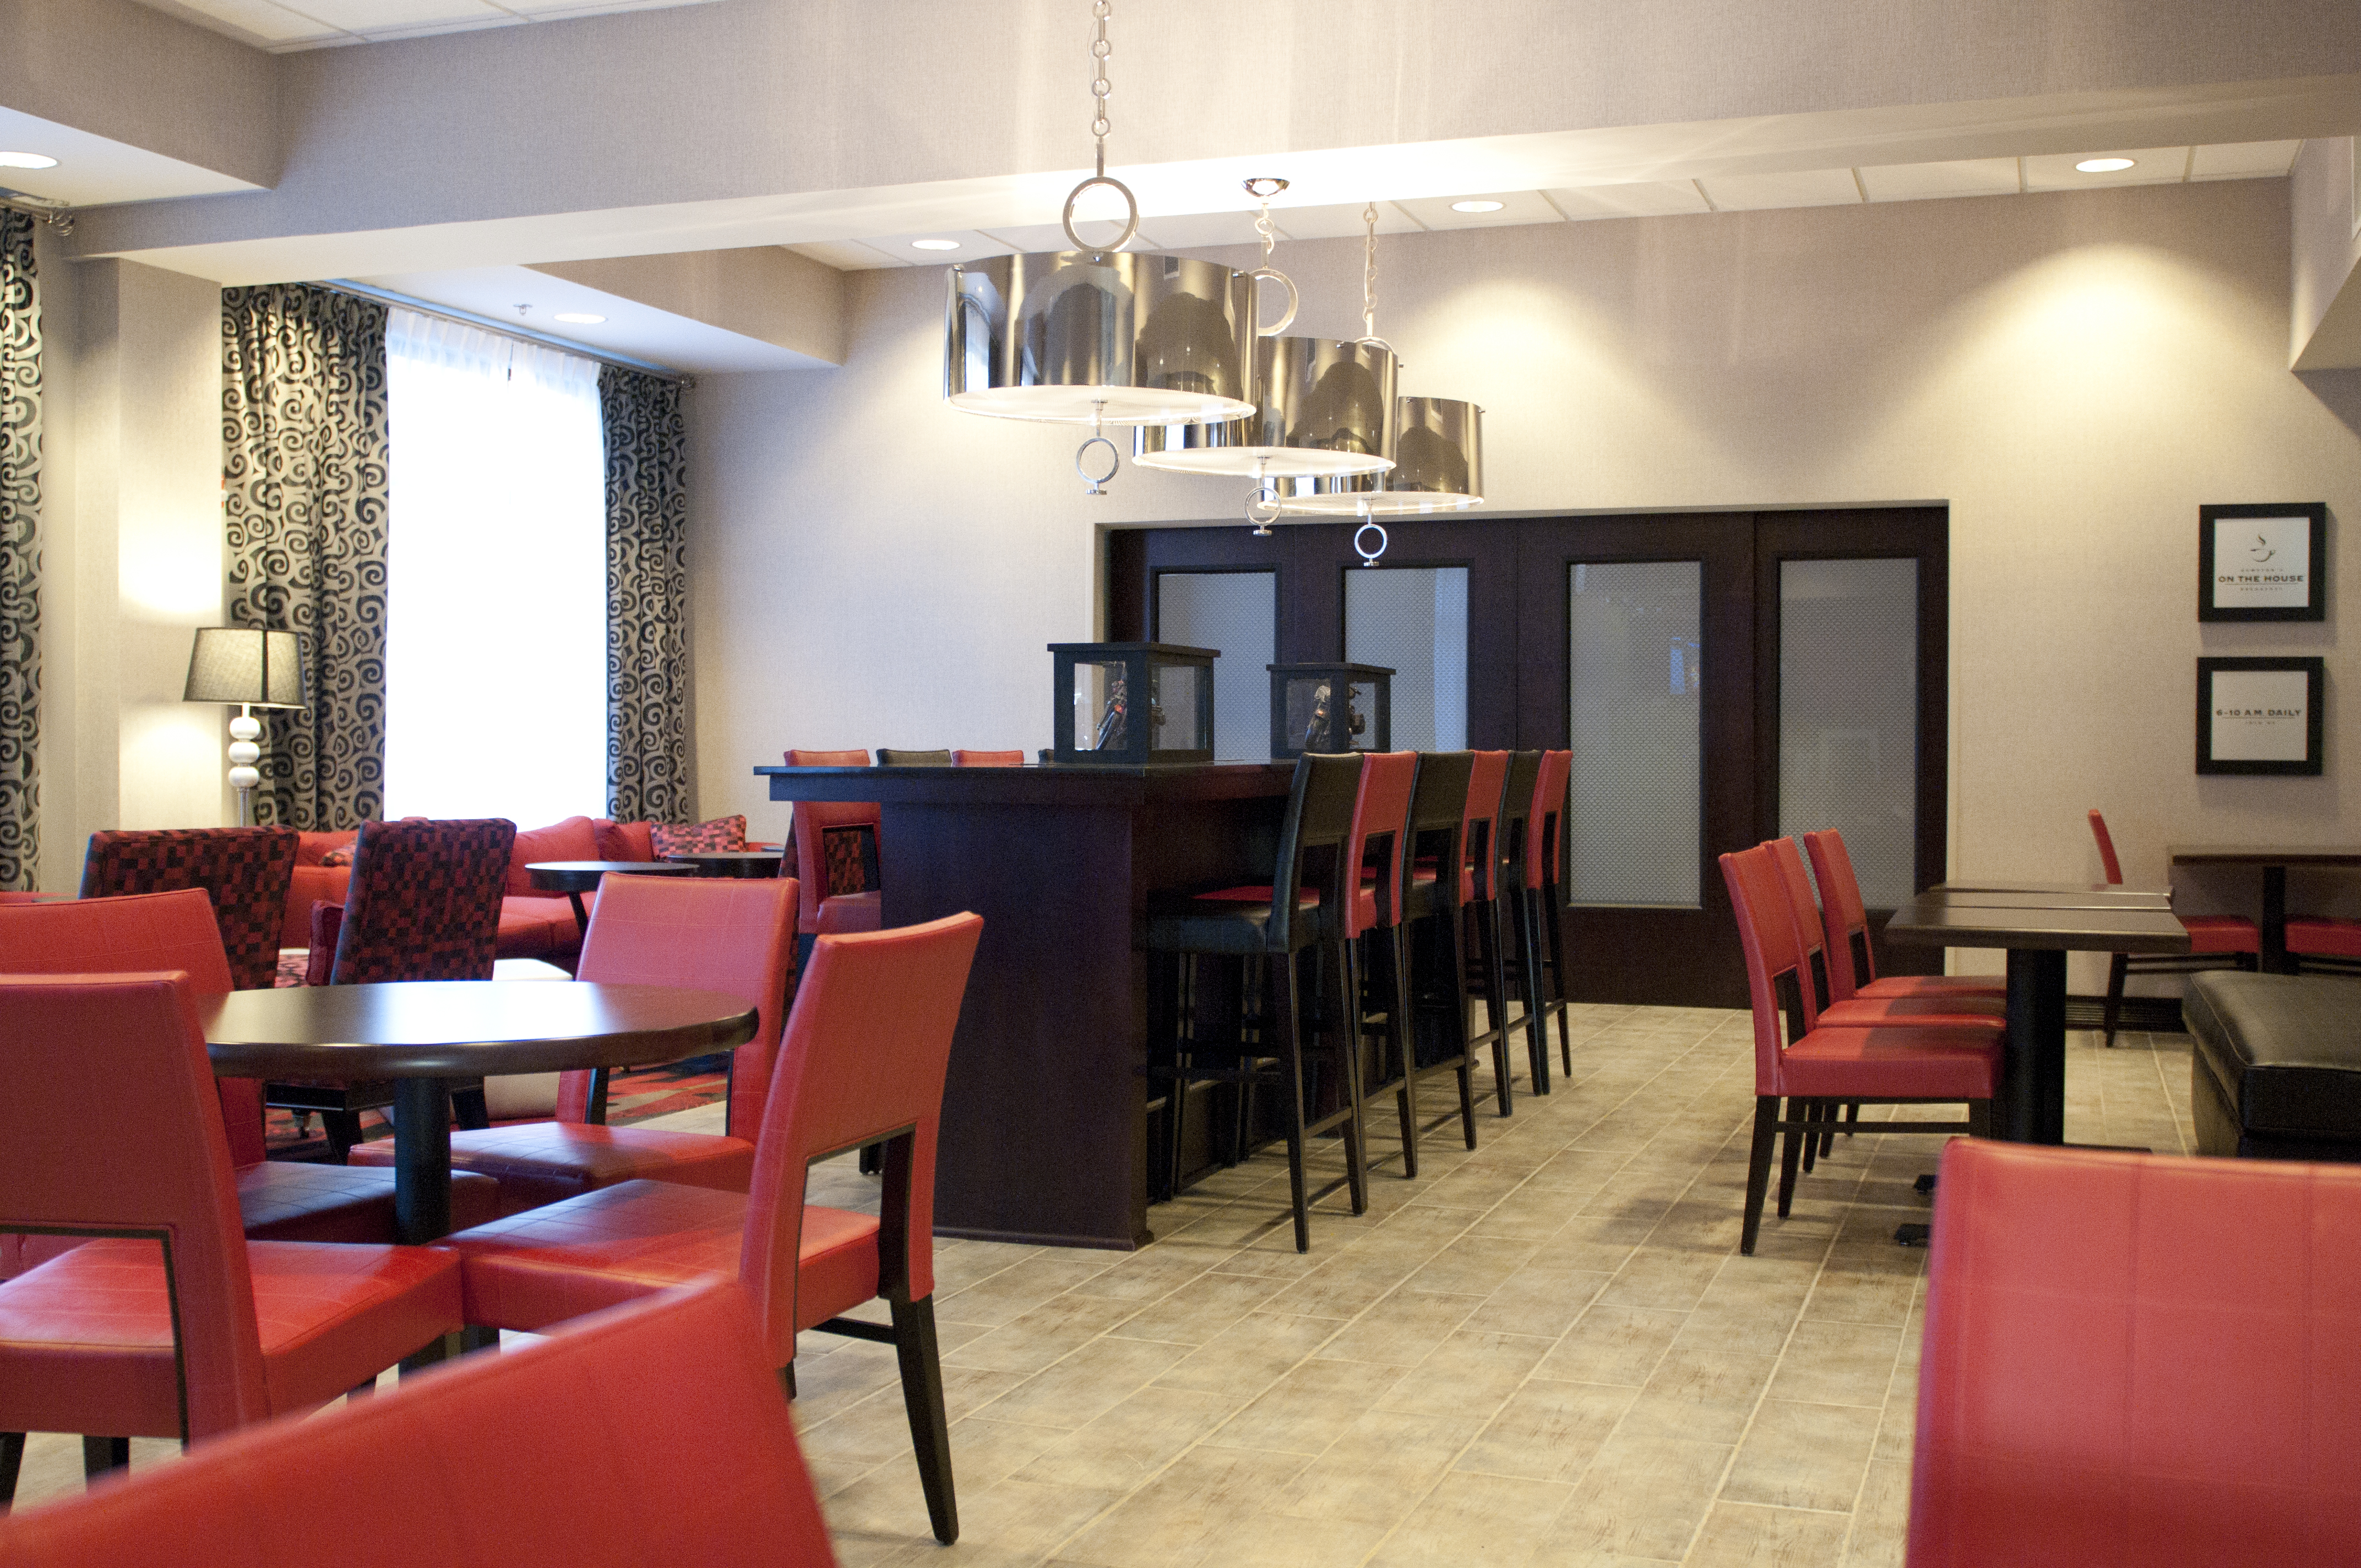
For this image I used the black slider and went to the left which made the image lighter in the shadow areas.
For this image I used the clarity slider and increased the midtone contrast.

This image I used the clarity slider to soften the look of the models face. I slid the clarity slider to the left which decreased the amount of midtone contract in the image, giving it a softer look to the skin.

I used the fill light slider to brighten and fill in the shadows. It opened up the lower mid-sharow areas. I used the black slider and slid to the right to bring some of the contrast and richness to the photo.
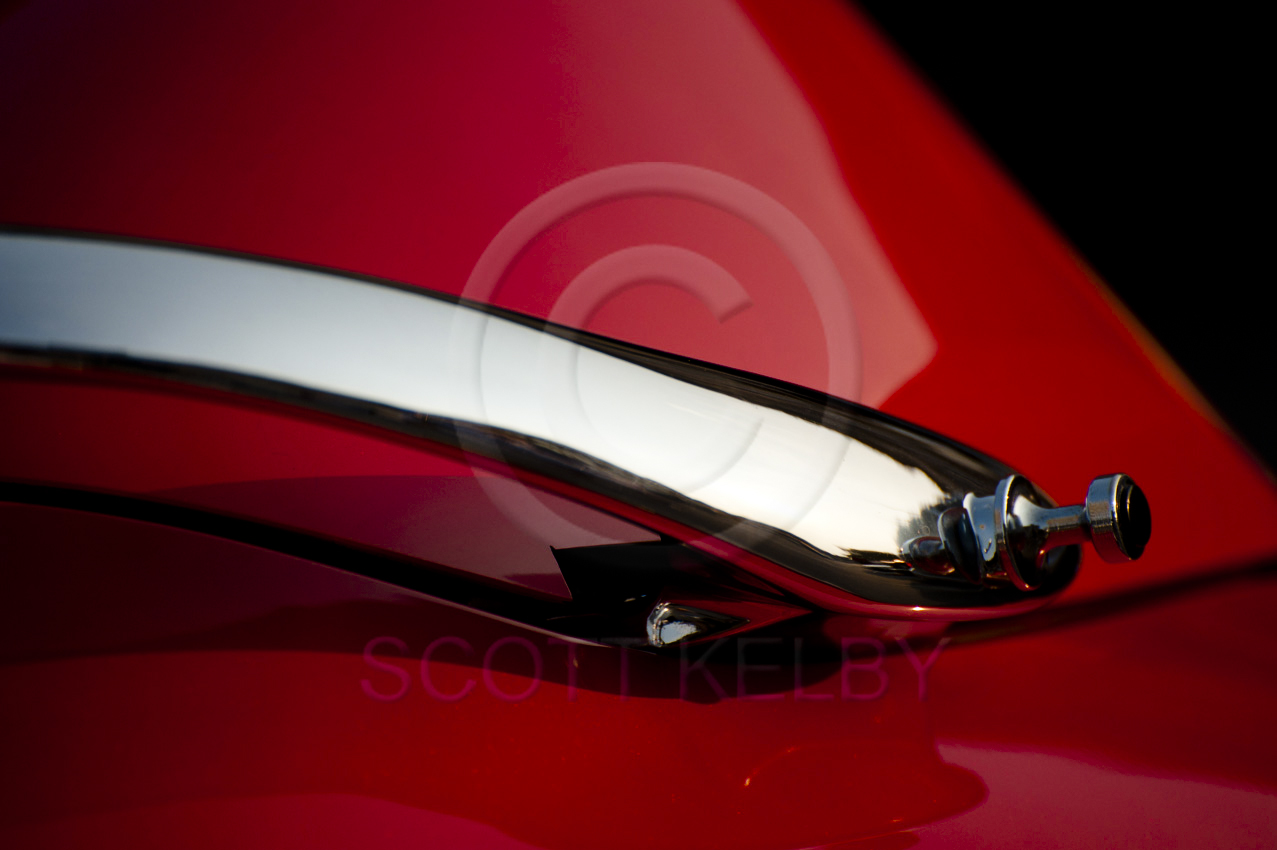
I used the tone curve tool and the point curve tool to add more contrast and make the photo pop. I created contrast by using the highlights and lights sliders.


I used the crop tool and picked my ratio 2 to 3 ratio. I stretched the crop box with the arrows to change the perspective.
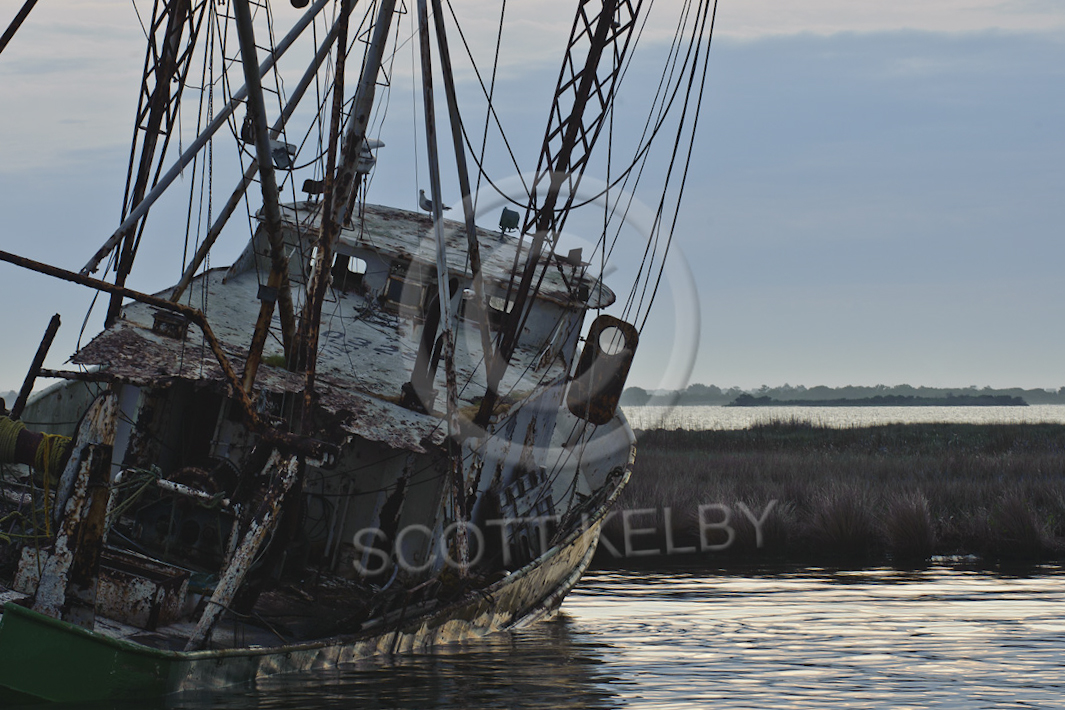
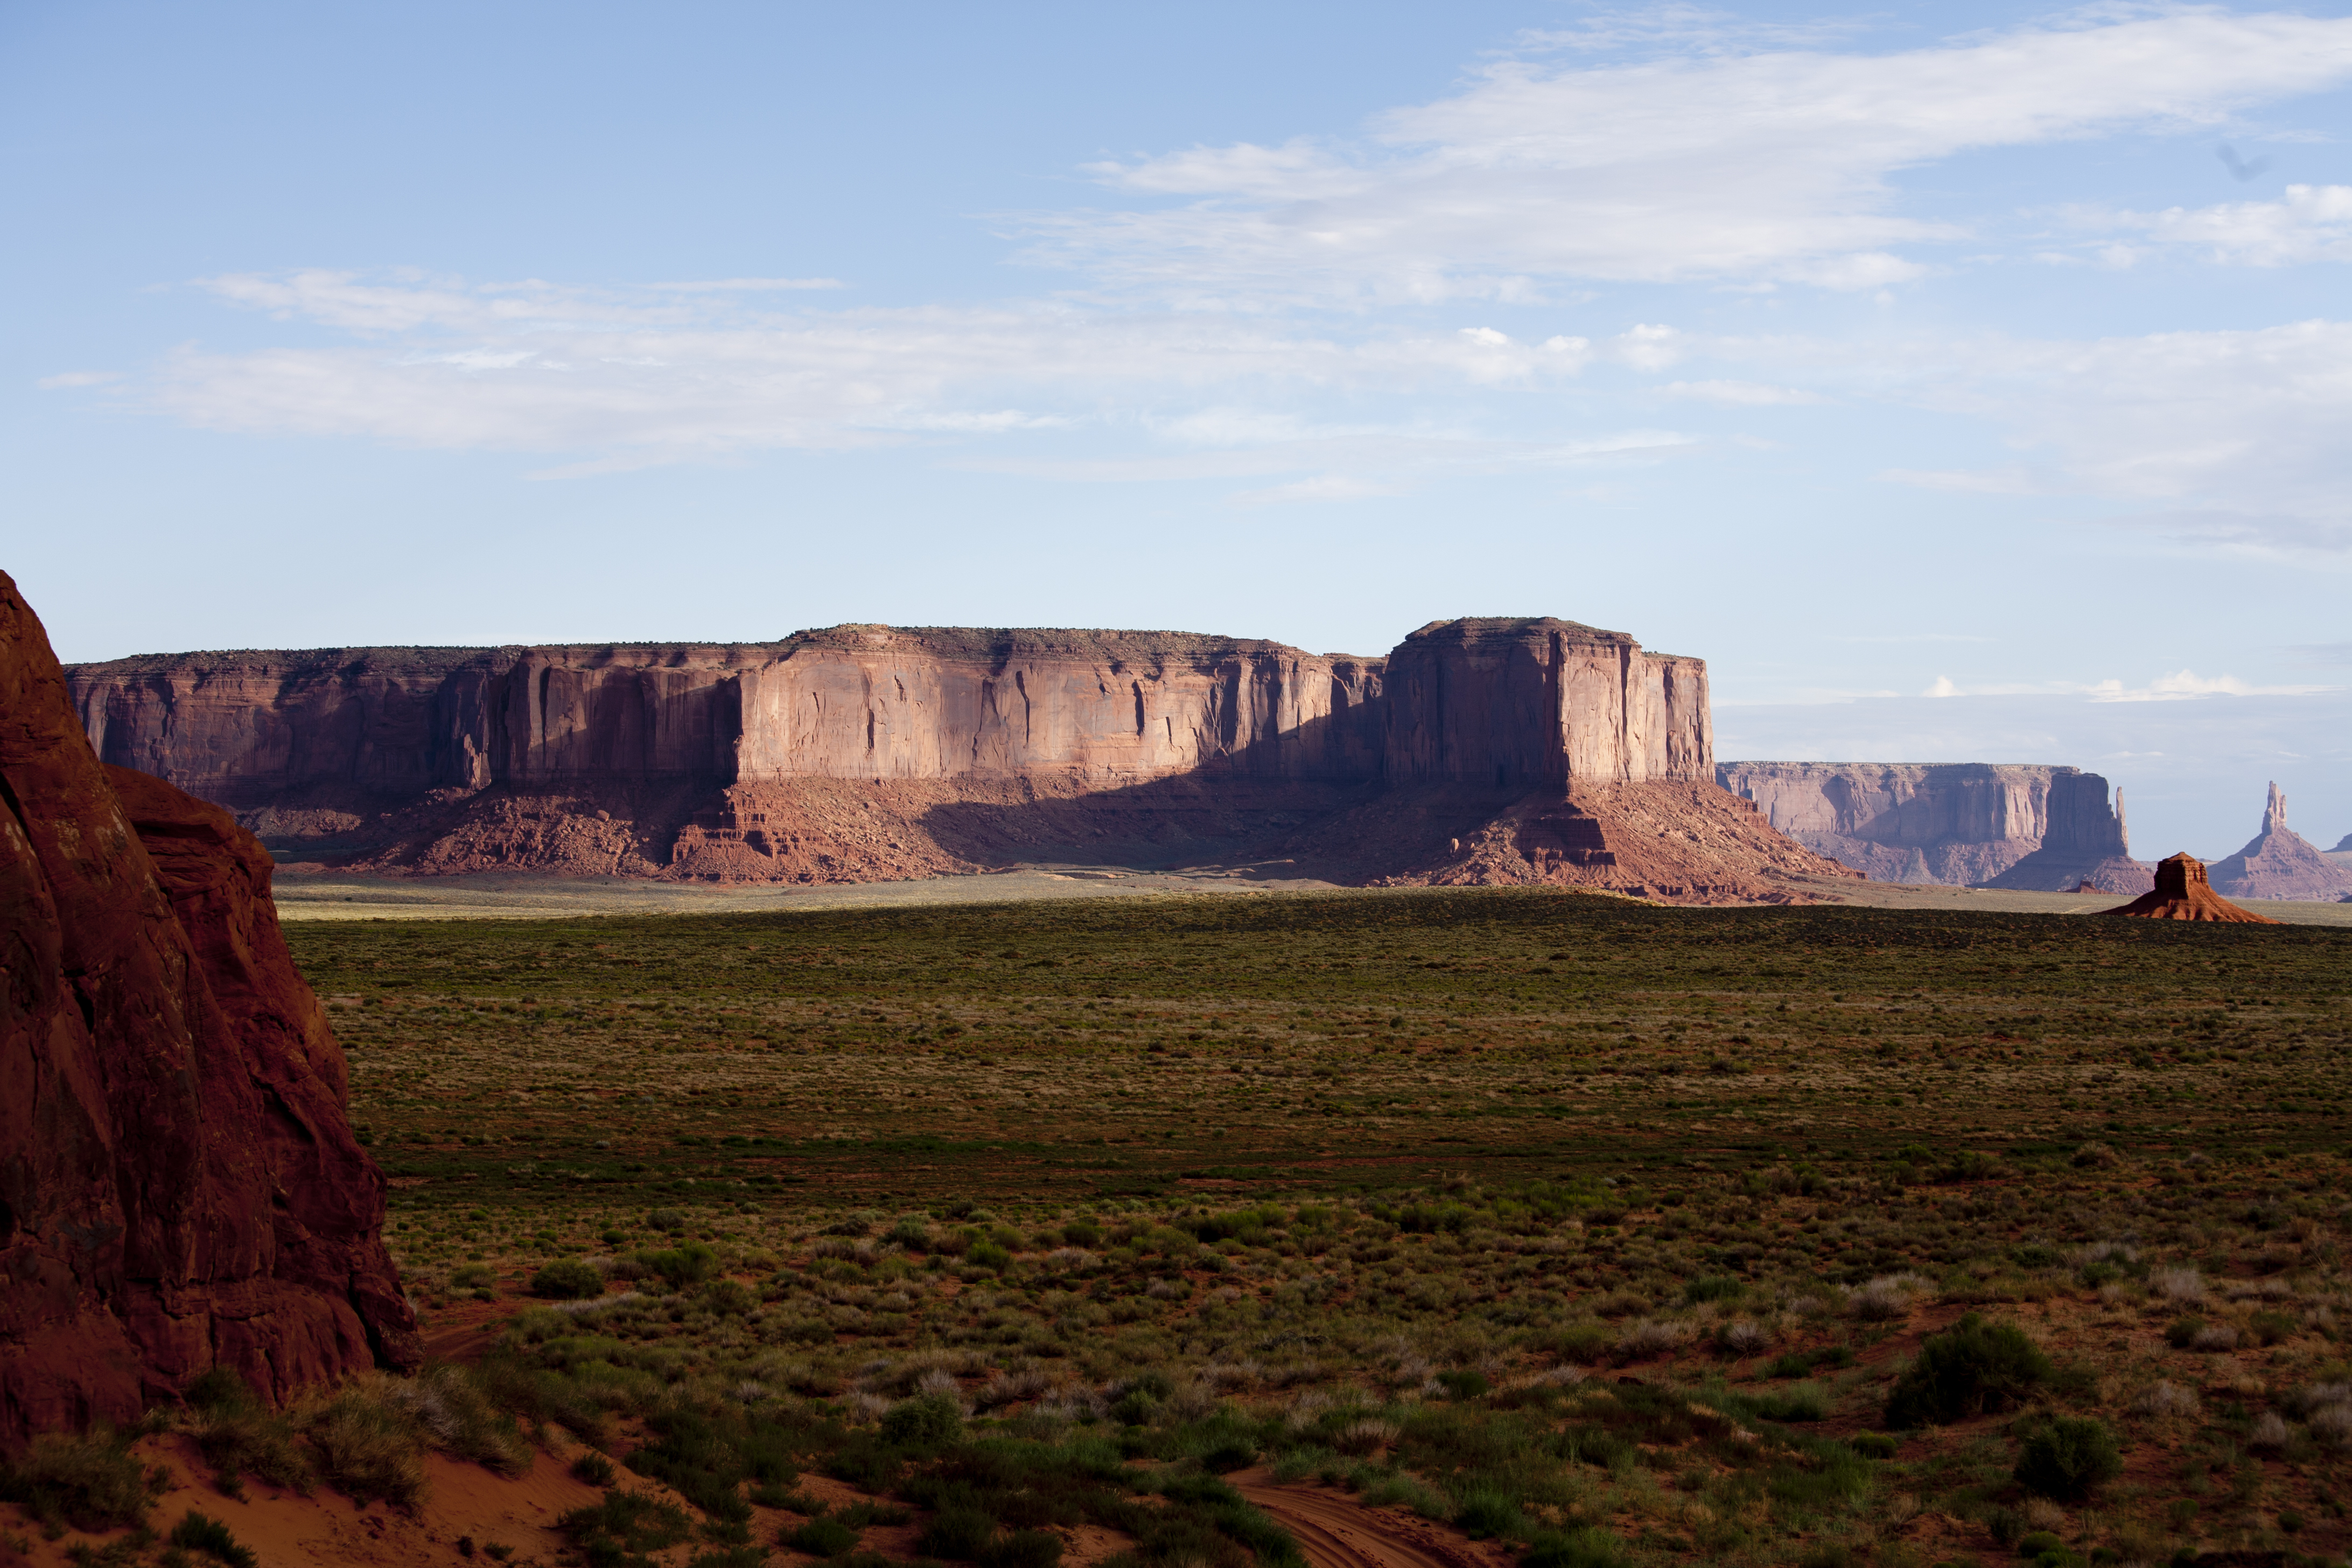
For this image I used the straighten tool. I clicked and dragged the tool over the horizon that was not straight.
Posted in VCT4600