In-class Assignment #5
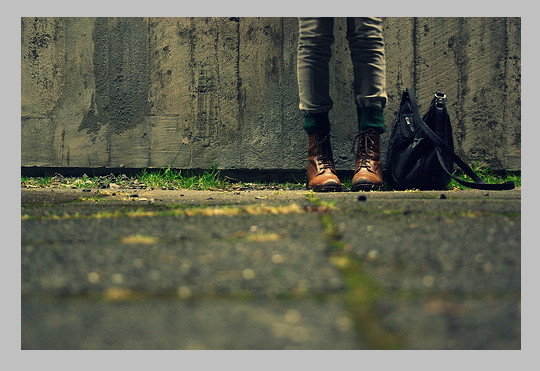
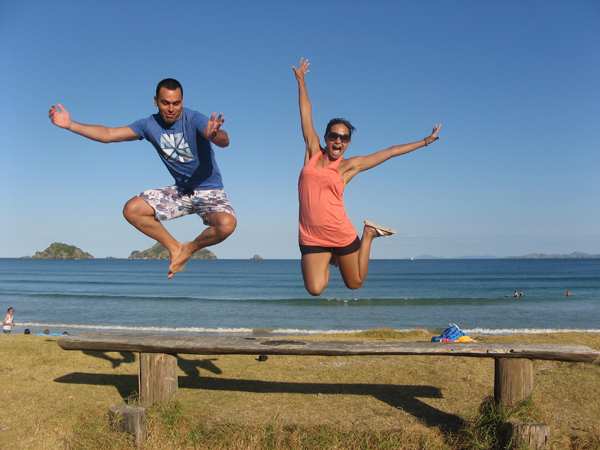
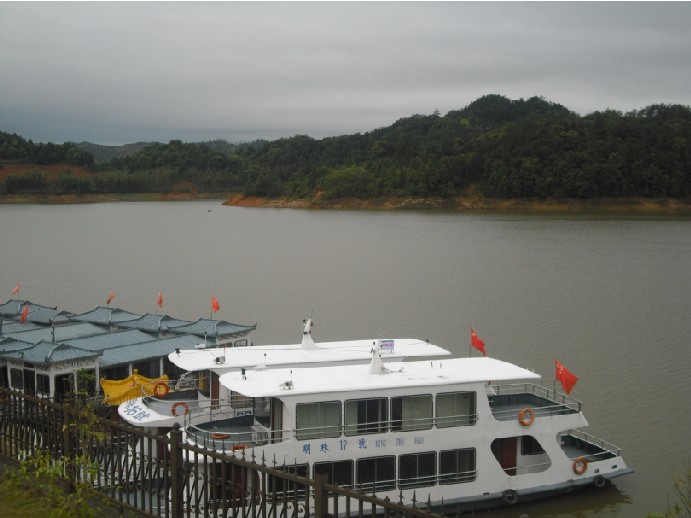
Original
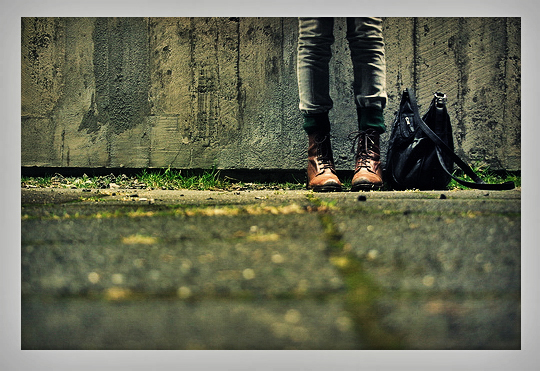
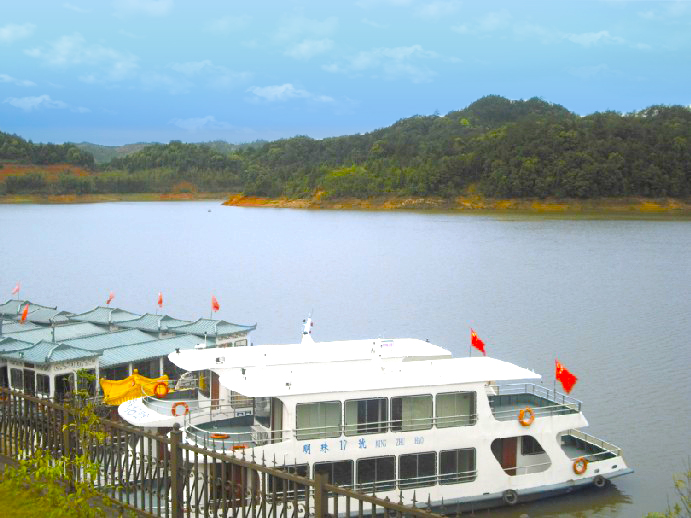
HDR
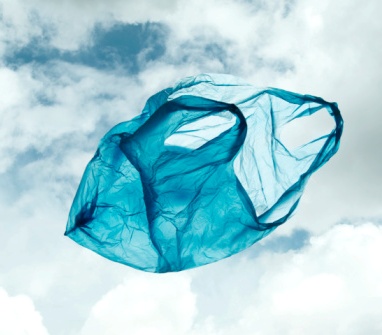
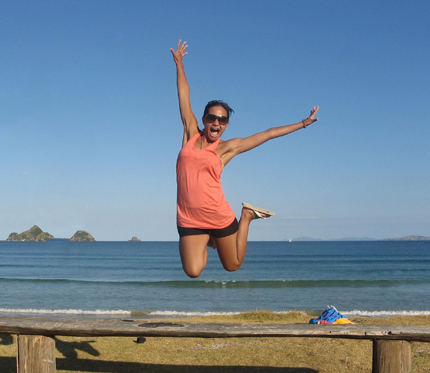
Original
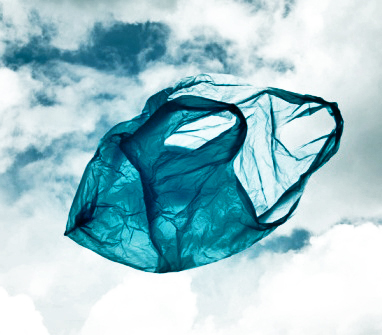
HDR
To make the images into HDR I increased the amount of shadows and highlights to about 40%. I then desaturated a duplicate image of the original with hard light to print out some shadows and darker tones. I finally used blurring to give depth from the foreground and background. This made the image show all of the highlights, lowlights, and mid-tones.
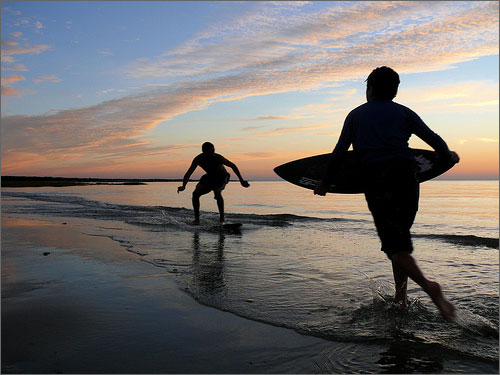
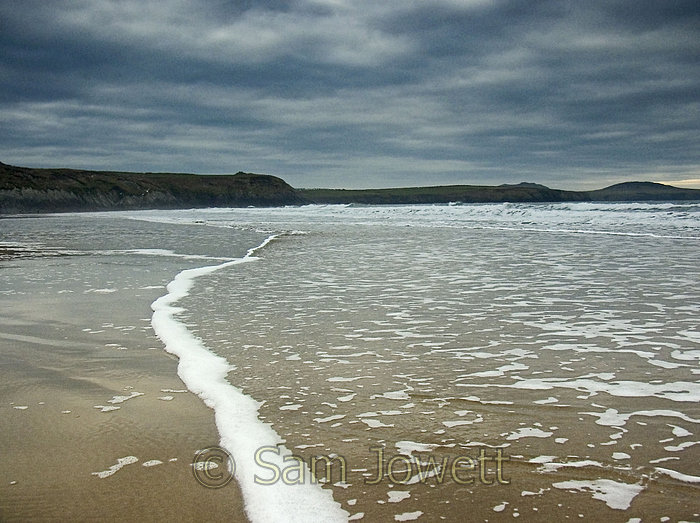
BEFORE
AFTER
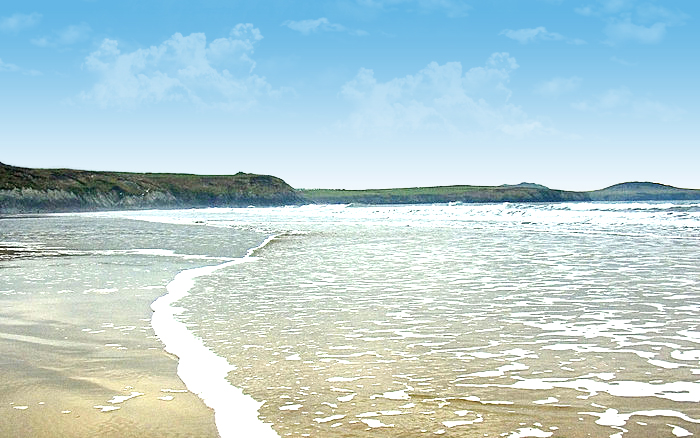
BEFORE
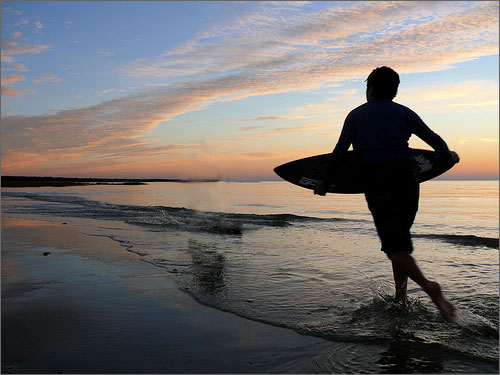
AFTER
To remove a person in a photo I used the selection tool to select the person but I also added in a little bit of the background to make sure I got the whole person selected that I want removed. I then did a content aware fill which selected the content around the area to fill in the selection. On my second photo it needed some extra editing so I used the healing brush to get some of the spots I missed.
BEFORE
AFTER
BEFORE
AFTER
To make a gloomy dark photo nice and sunny I used the curves tool and vibrance tool to make the image brighter. I then selected the sky and put a nice sky blue gradient over top. Using the cloud brush I downloaded I made clouds in the sky to make it even sunnier. In the second photo I selected the mountains and used the brighten/contrast tool to brighten the dark mountains.
Posted in VCT4600