Assignment 1
Part 1 – Straighten a crooked image:
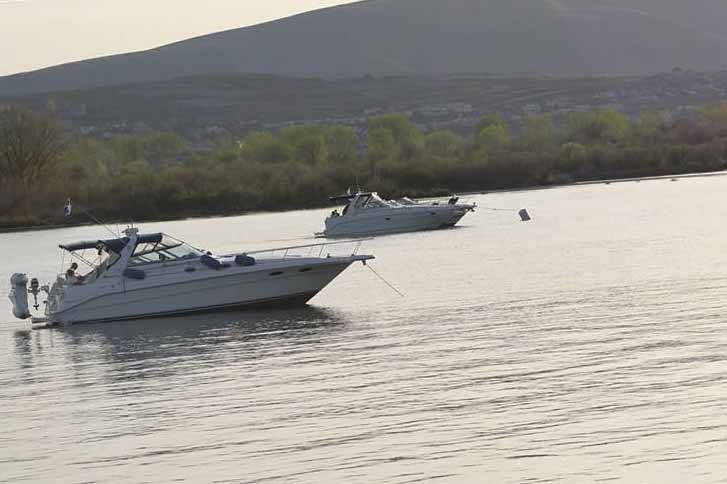
Before
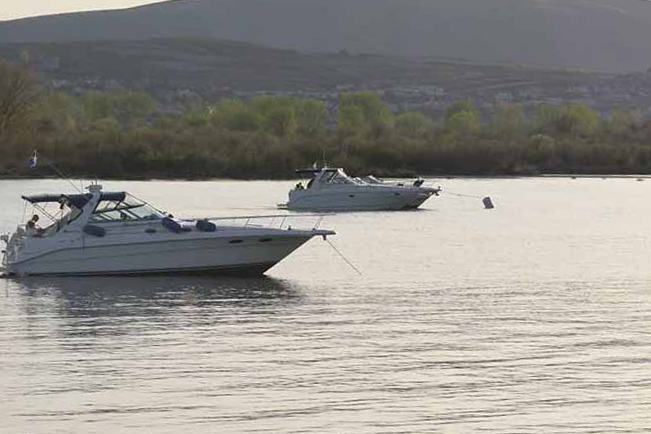
After
To straighten the image to make the boats look like they are more horizontal I used the ruler tool. With the ruler tool you click on the point on the horizon and then drag to the end of the horizon. Then you have to click straighten and photoshop will make the horizon that you selected straight.
Part 2 – Correcting Perspective:
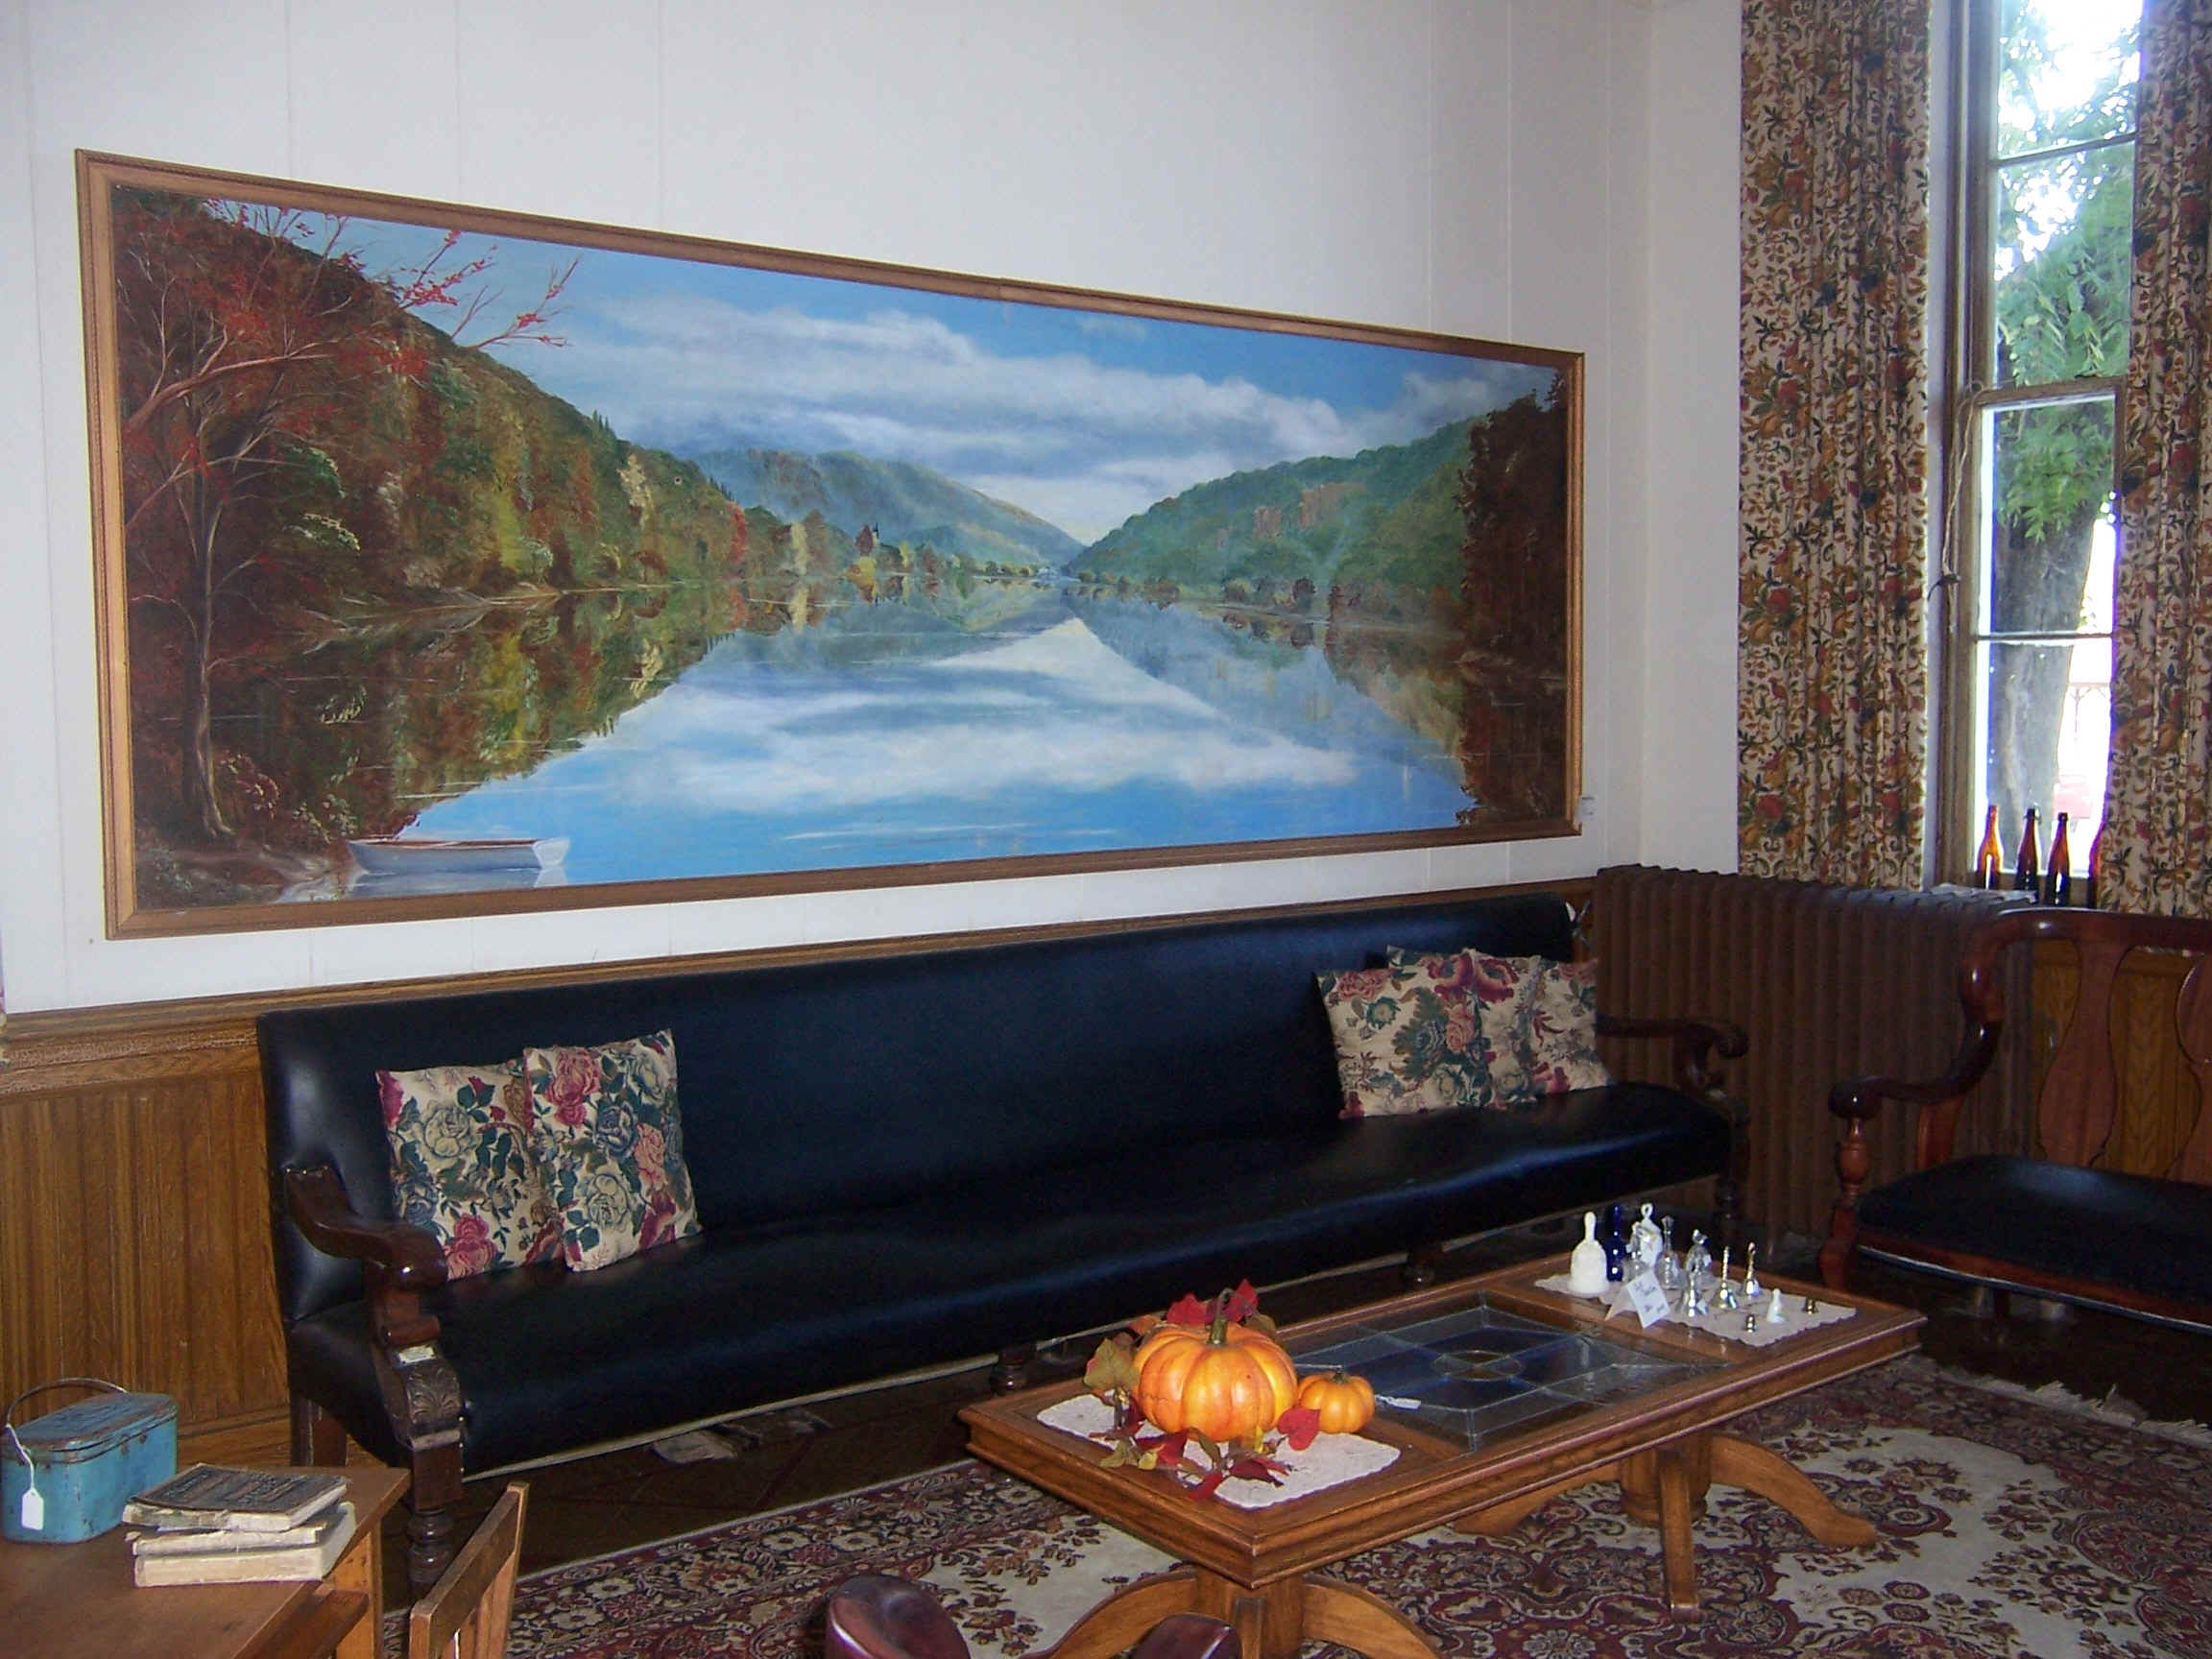
Before
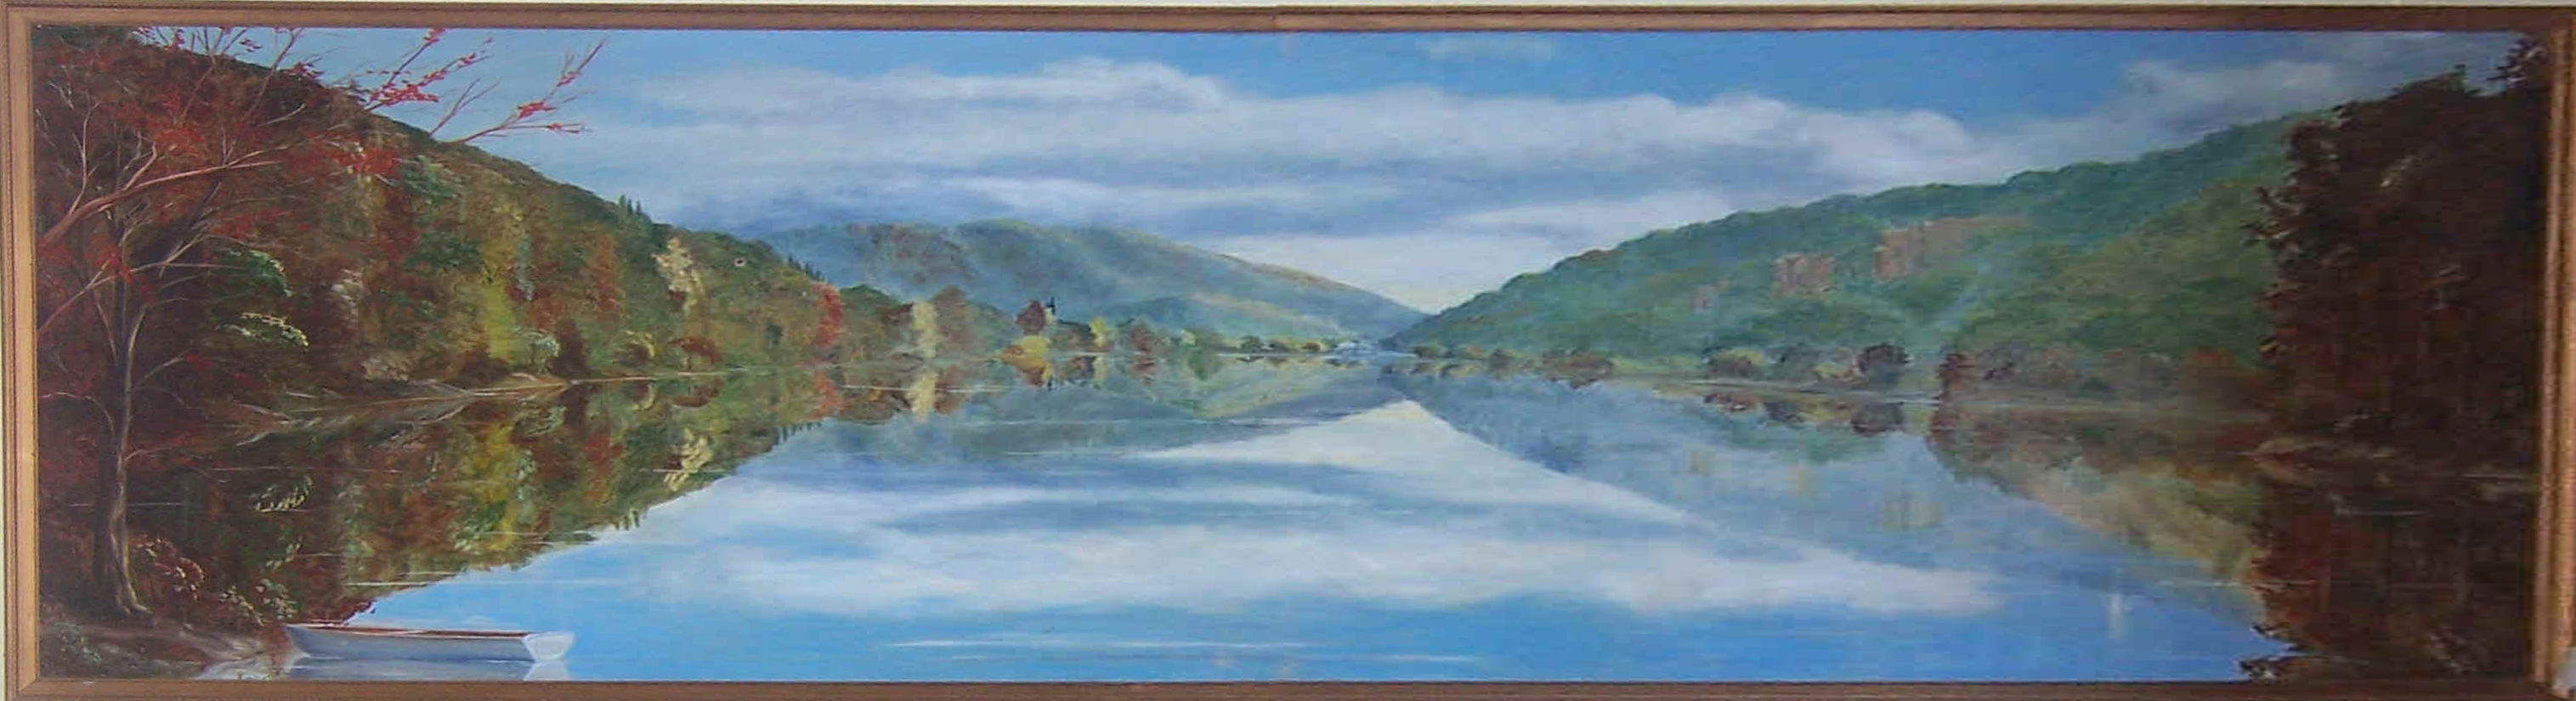
After
Before
After
Before
After
For these images you have to start out using the crop tool. With the crop tool start in one corner and just drag towards the opposite corner. Then I checked the perspective box so that I could move the corners to the correct corners of the image. I hit enter and it gave me the new perspective.
Part 3 – Creating a composite:
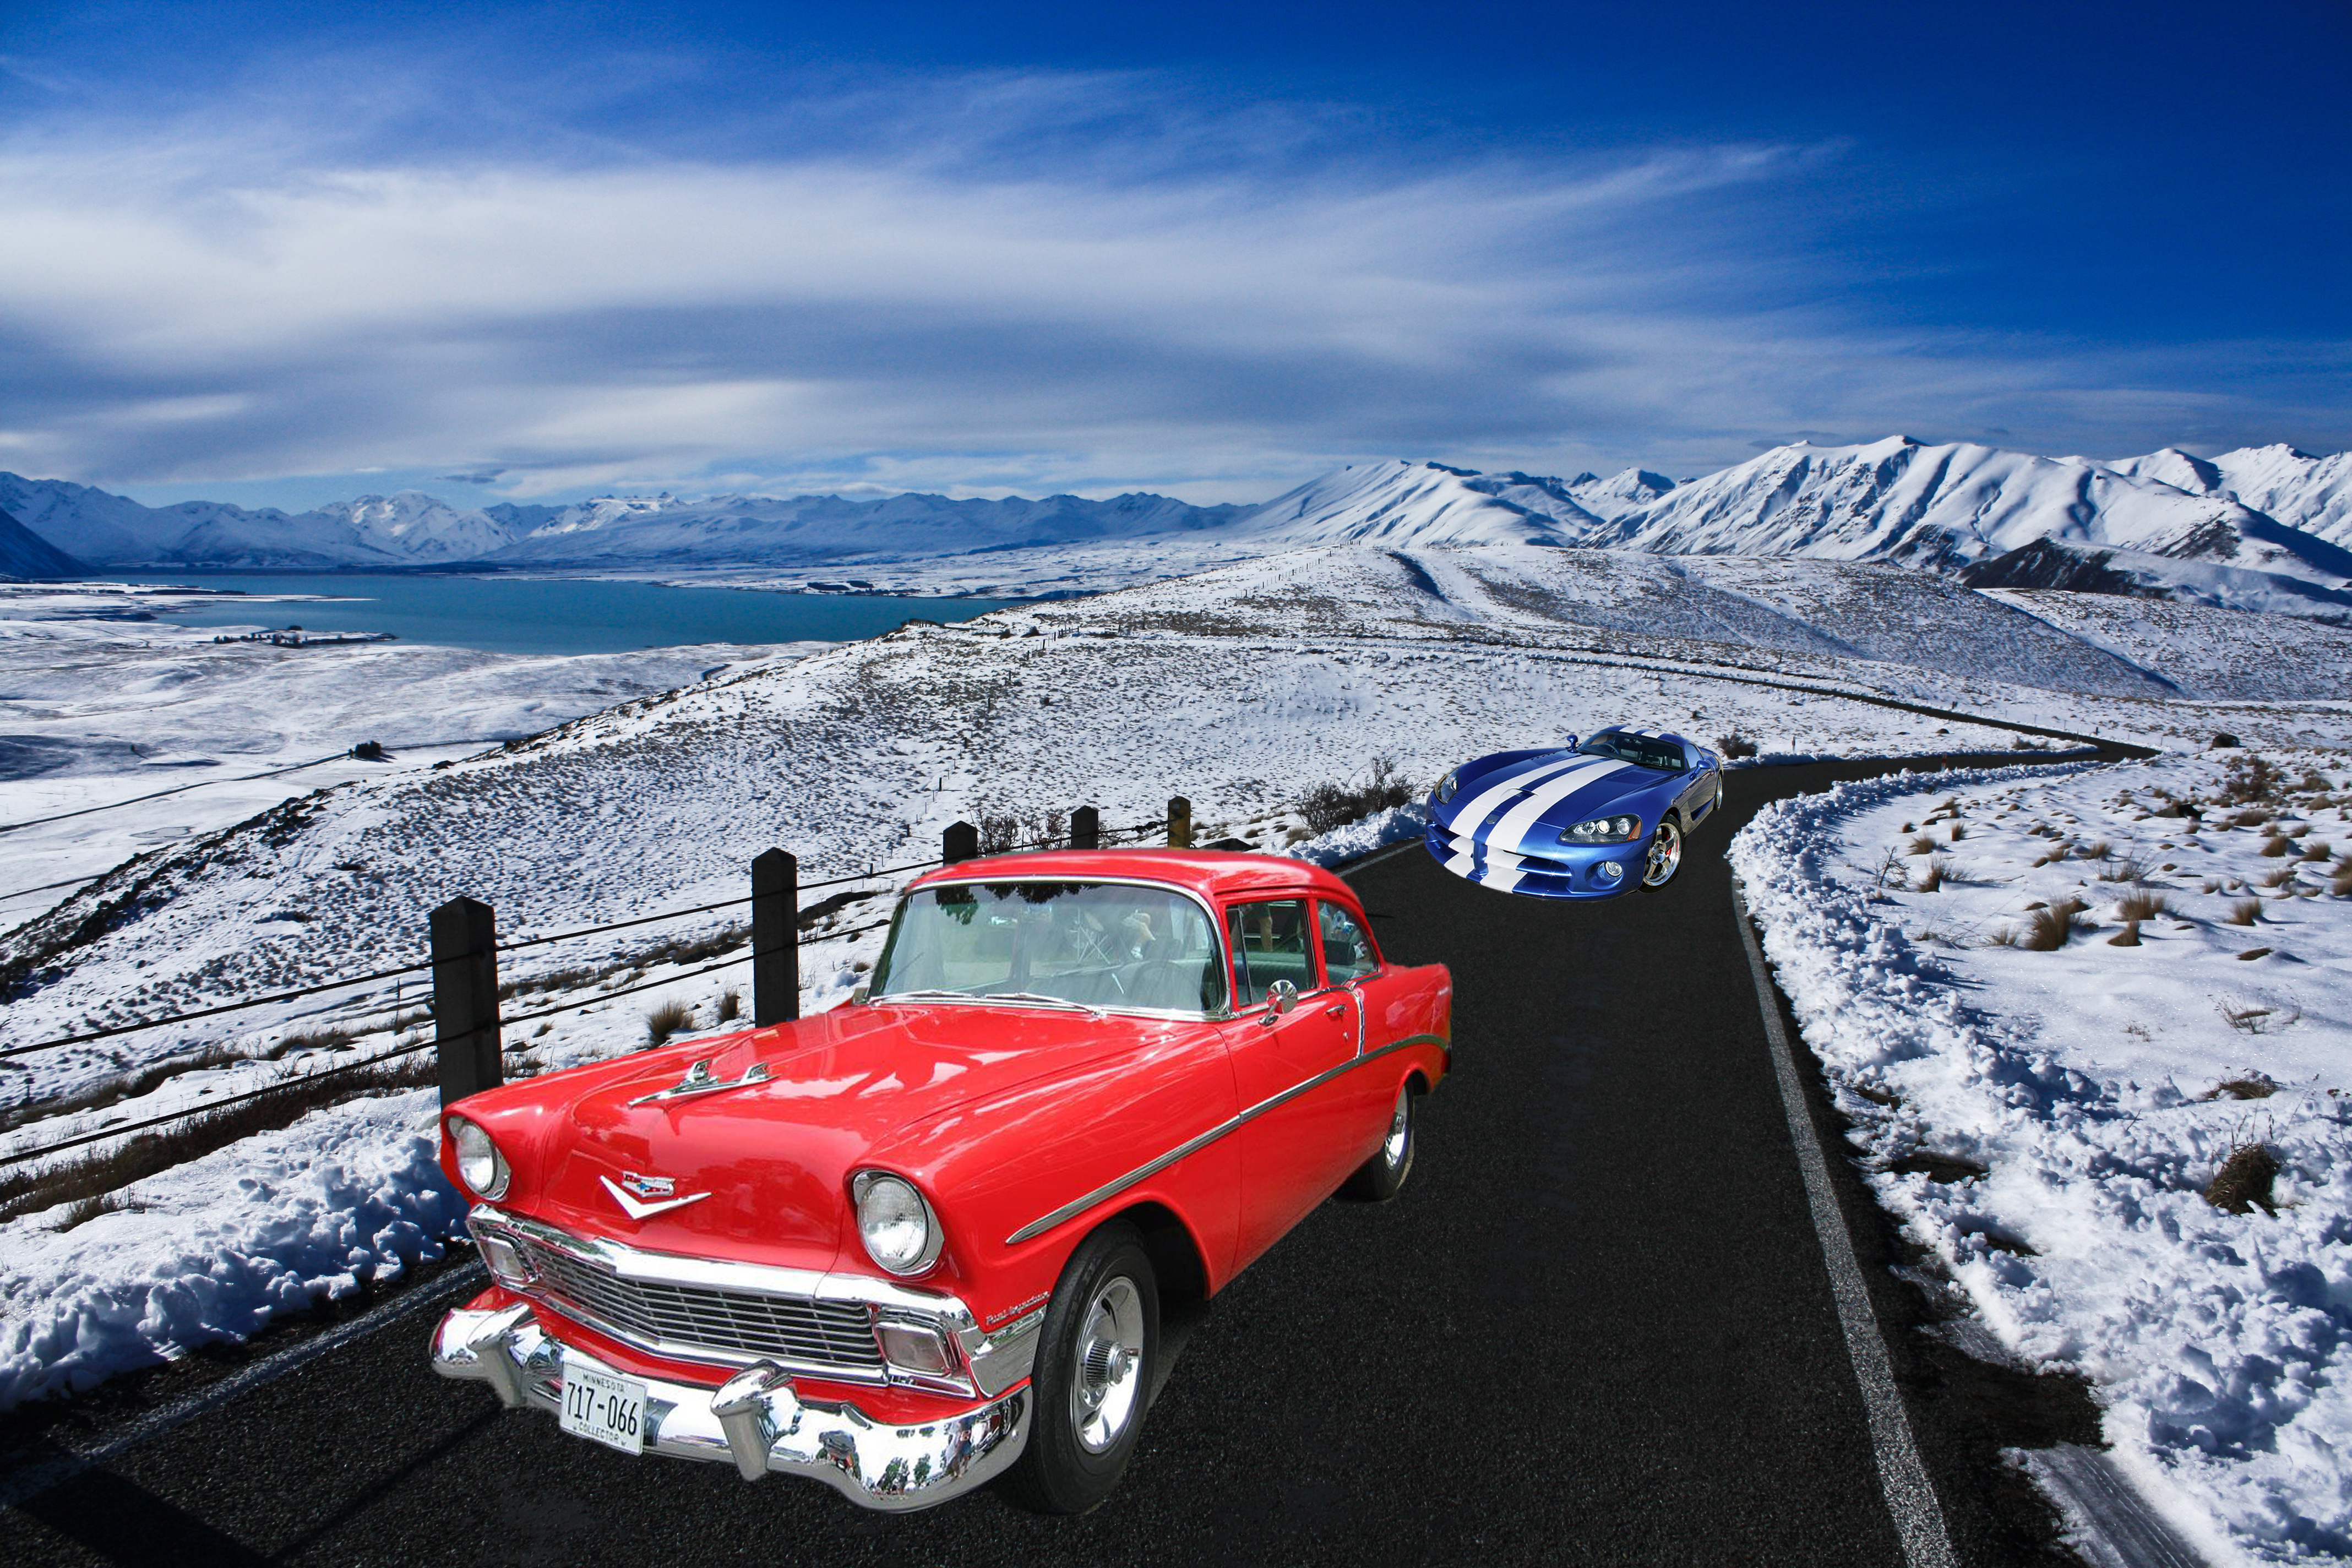
Cars
For this image I used the lasso tool to start with and then switched to the Quick Selection tool because I am more comfortable using this tool to grab objects. I selected the cars and then I right clicked and said copy to new layer. I used the easier tool to take out any background that was still viewable. I then duplicated the layer to the background image. I used the perspective tool in the command T (transform) selection to make the red car appear more natural in the scene. I used the reflection tool in the transform selection to reflect it so it was going the same way as the red car.
Part 4 – Using Camera Raw:

Dog
For this picture I used the different features in RAW to get the dog to look more richer and more natural colored. I increased the black to make his coat darker and increased the fill light to fill in any of the dark shadowed areas. I also increased the clarity, vibrance, and saturation to make the background match the other image.
Posted in VCT4600