Assignment 6-Camera Raw
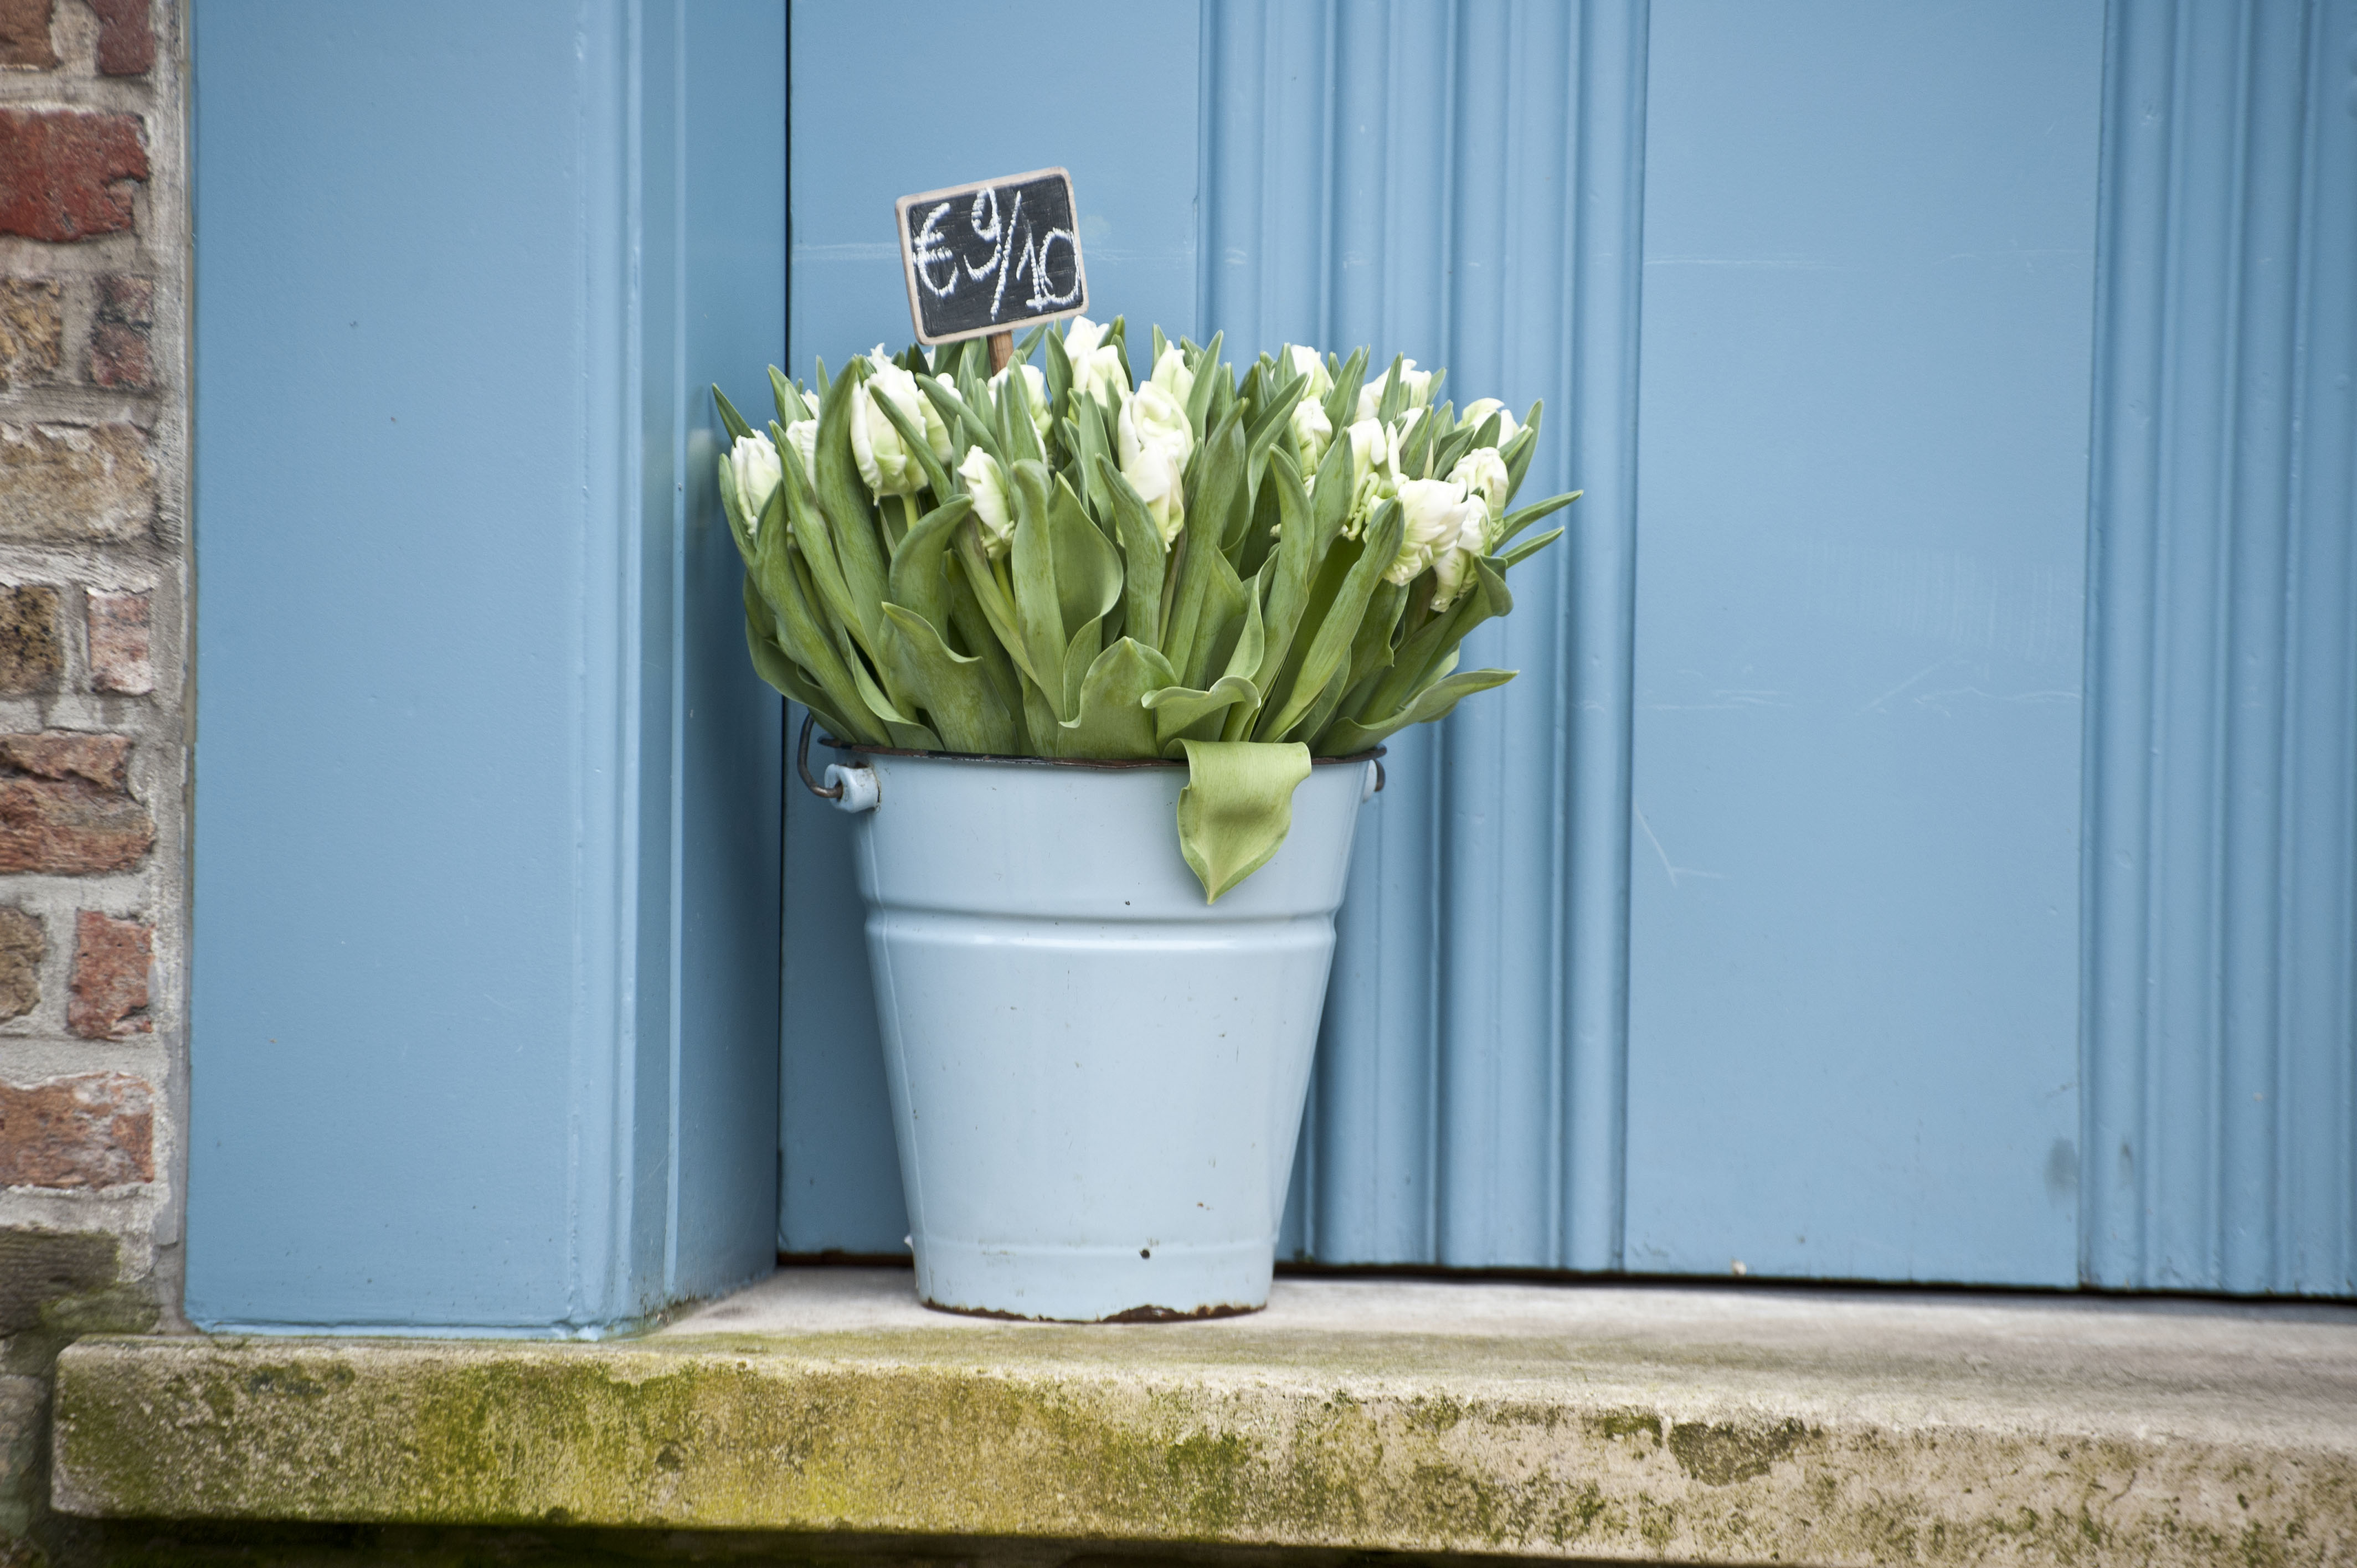
Posted in VCT460 on November 9th, 2010 by Gillian HansonUsing camera raw to adjust white balance first chose ‘auto’ in the white balance drop down box. Adjust the temperature and tint favorably. To pick middle grey for the program use the white balance tool and click on a light grey area in the photo. Use P to view before and after as you make your changes. Here is a before and after example:

The yellow looks white, which is the true color.
Part2: Exposure
To adjust exposure using Camera Raw first find out where the problem areas are using the clipping triangles in the histogram. Drag the exposure favorable while keeping in mind the warnings from the clipping triangles. If you photo is too under exposed use the Recovery slider to turn the clipping triangle solid black.
Another alternative is using the black slider to adjust the shadows. Do not over saturate the colors. Adjust to preference.
Examples:


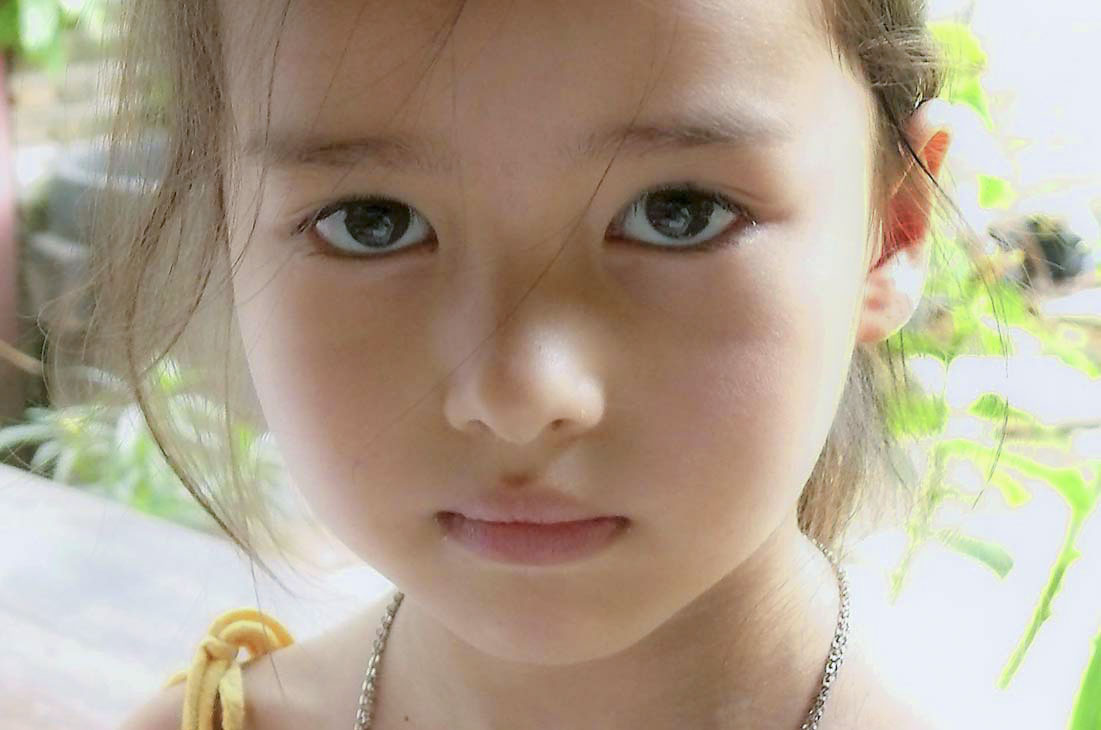
Part 3: Impact
To help a photo stand out move the clarity slider to the right to preference.


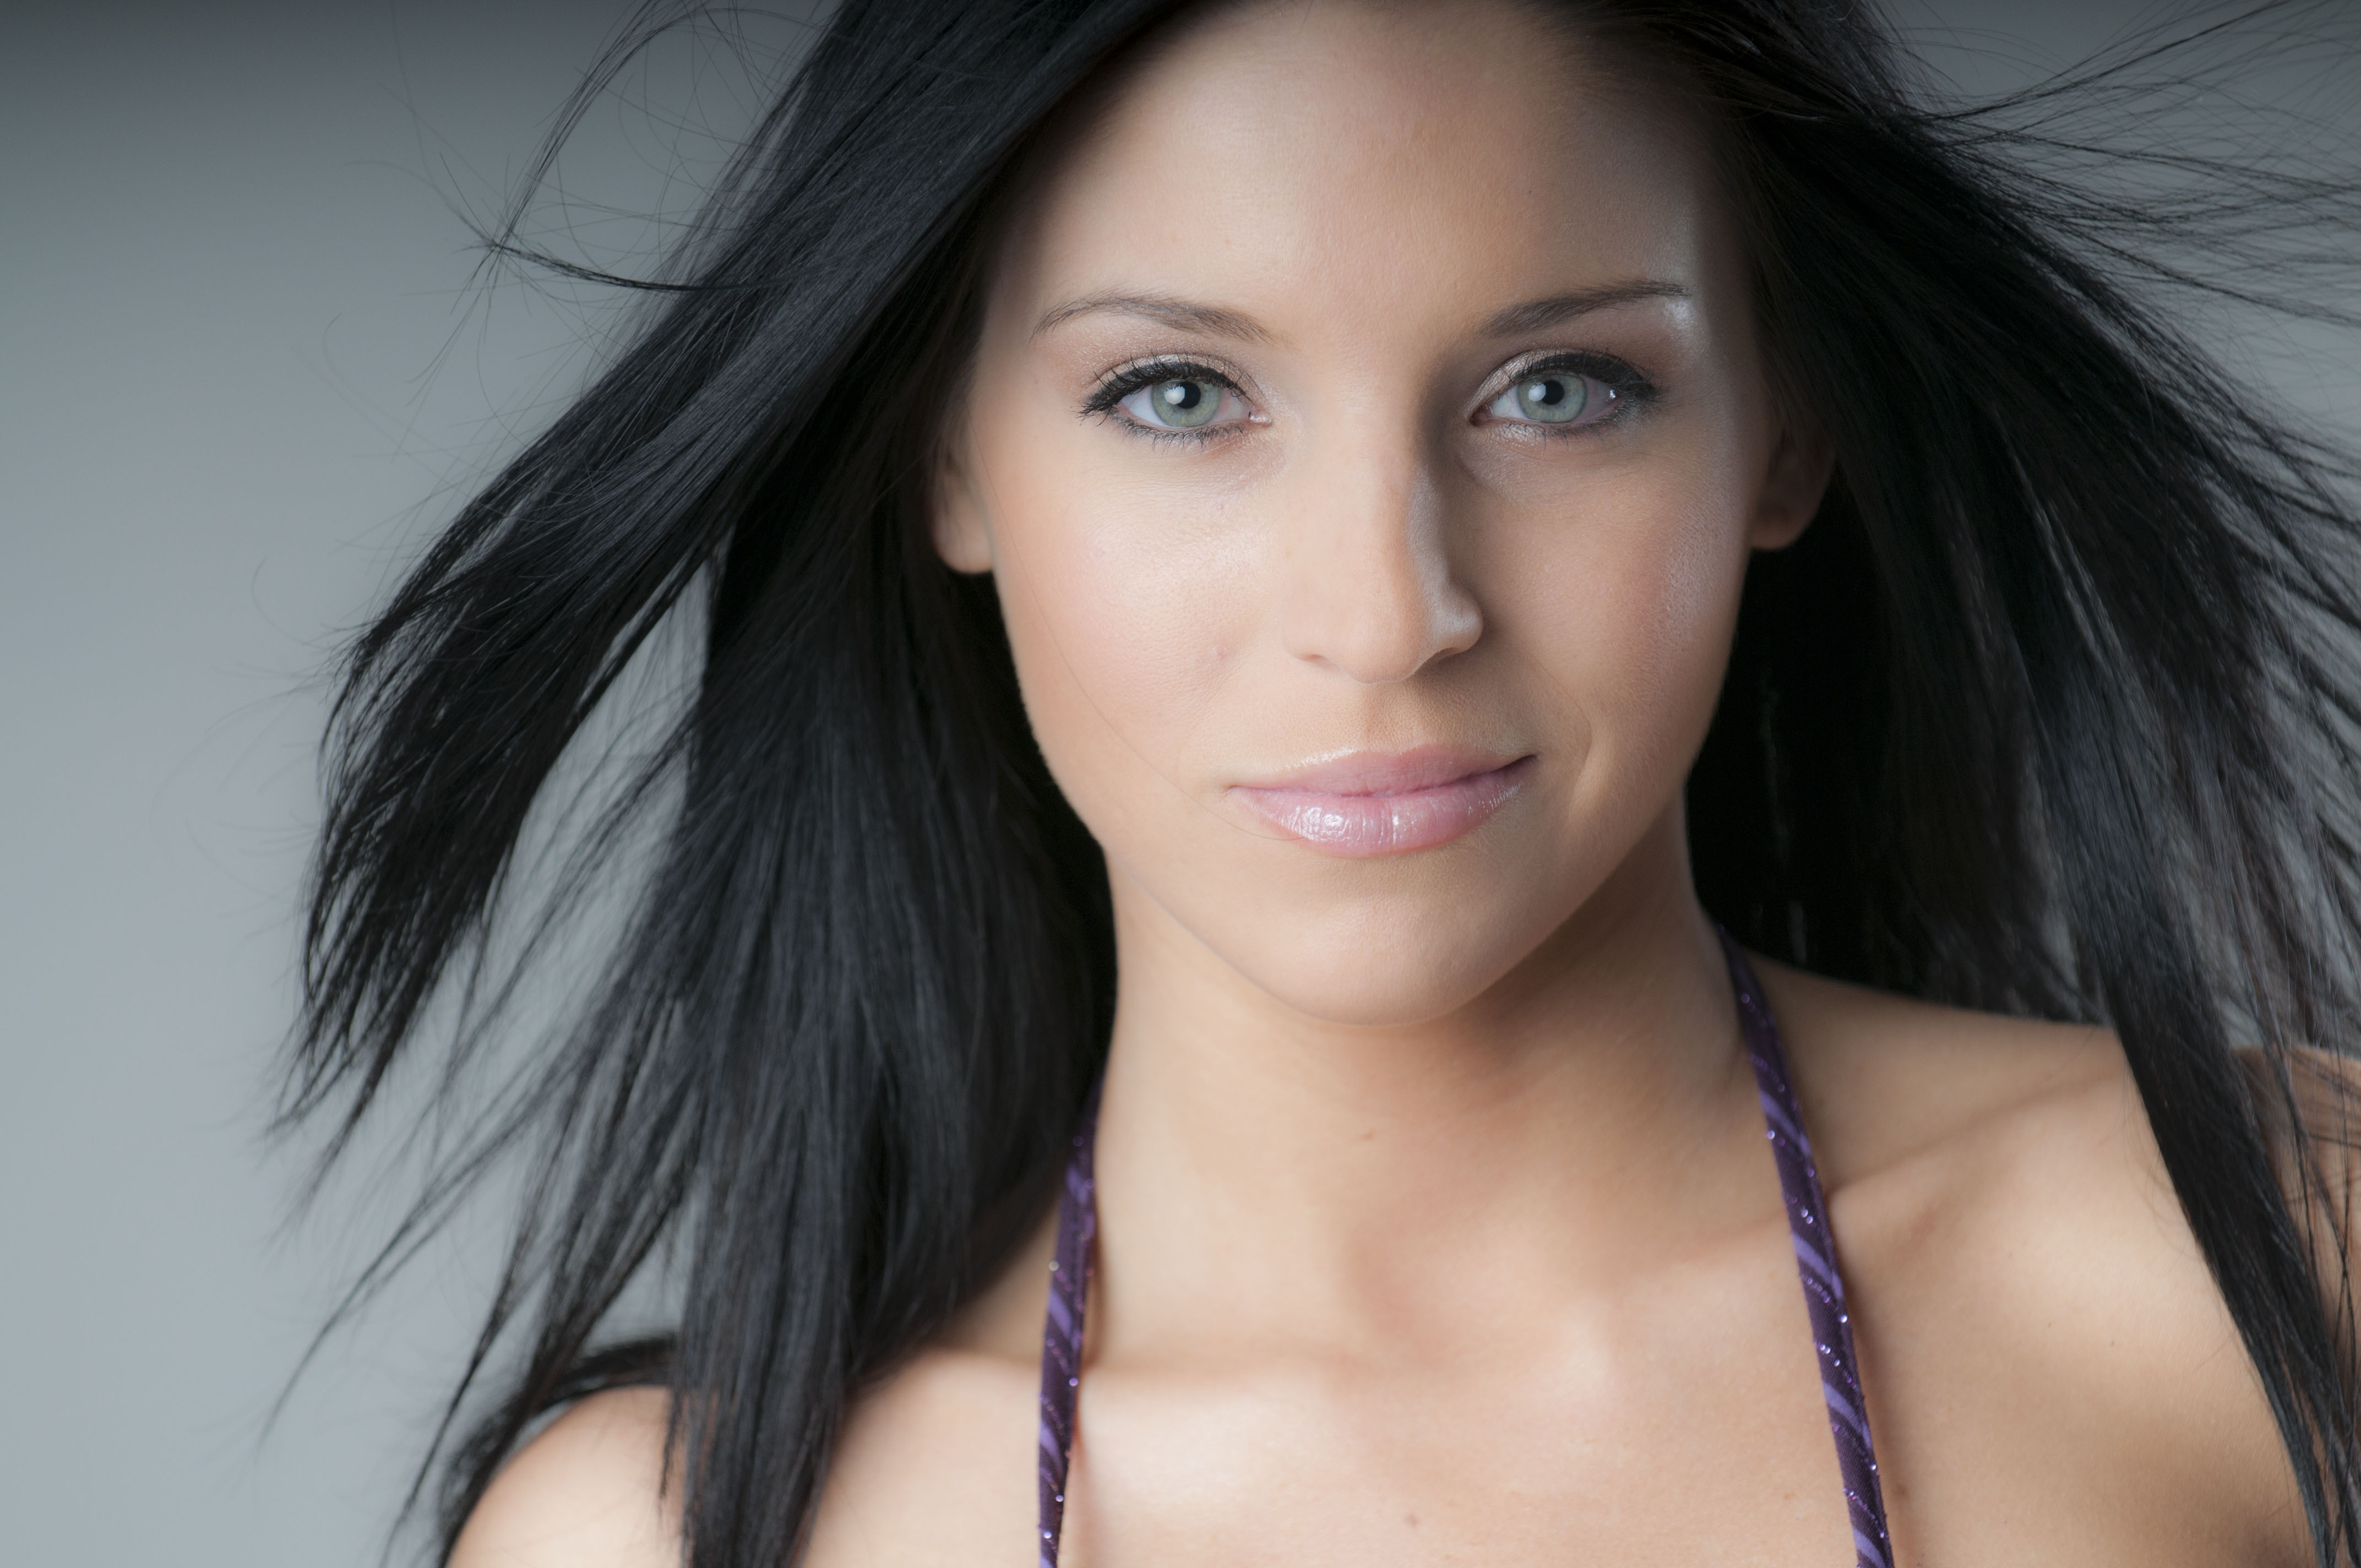
Part 4 Soften:
To soften an image (usually a portrait) drag the clarity to the left, decreasing the clarity giving a smooth surface to skin.


Part 5: Adjust fill light- use fill light slider to adjust fill light.


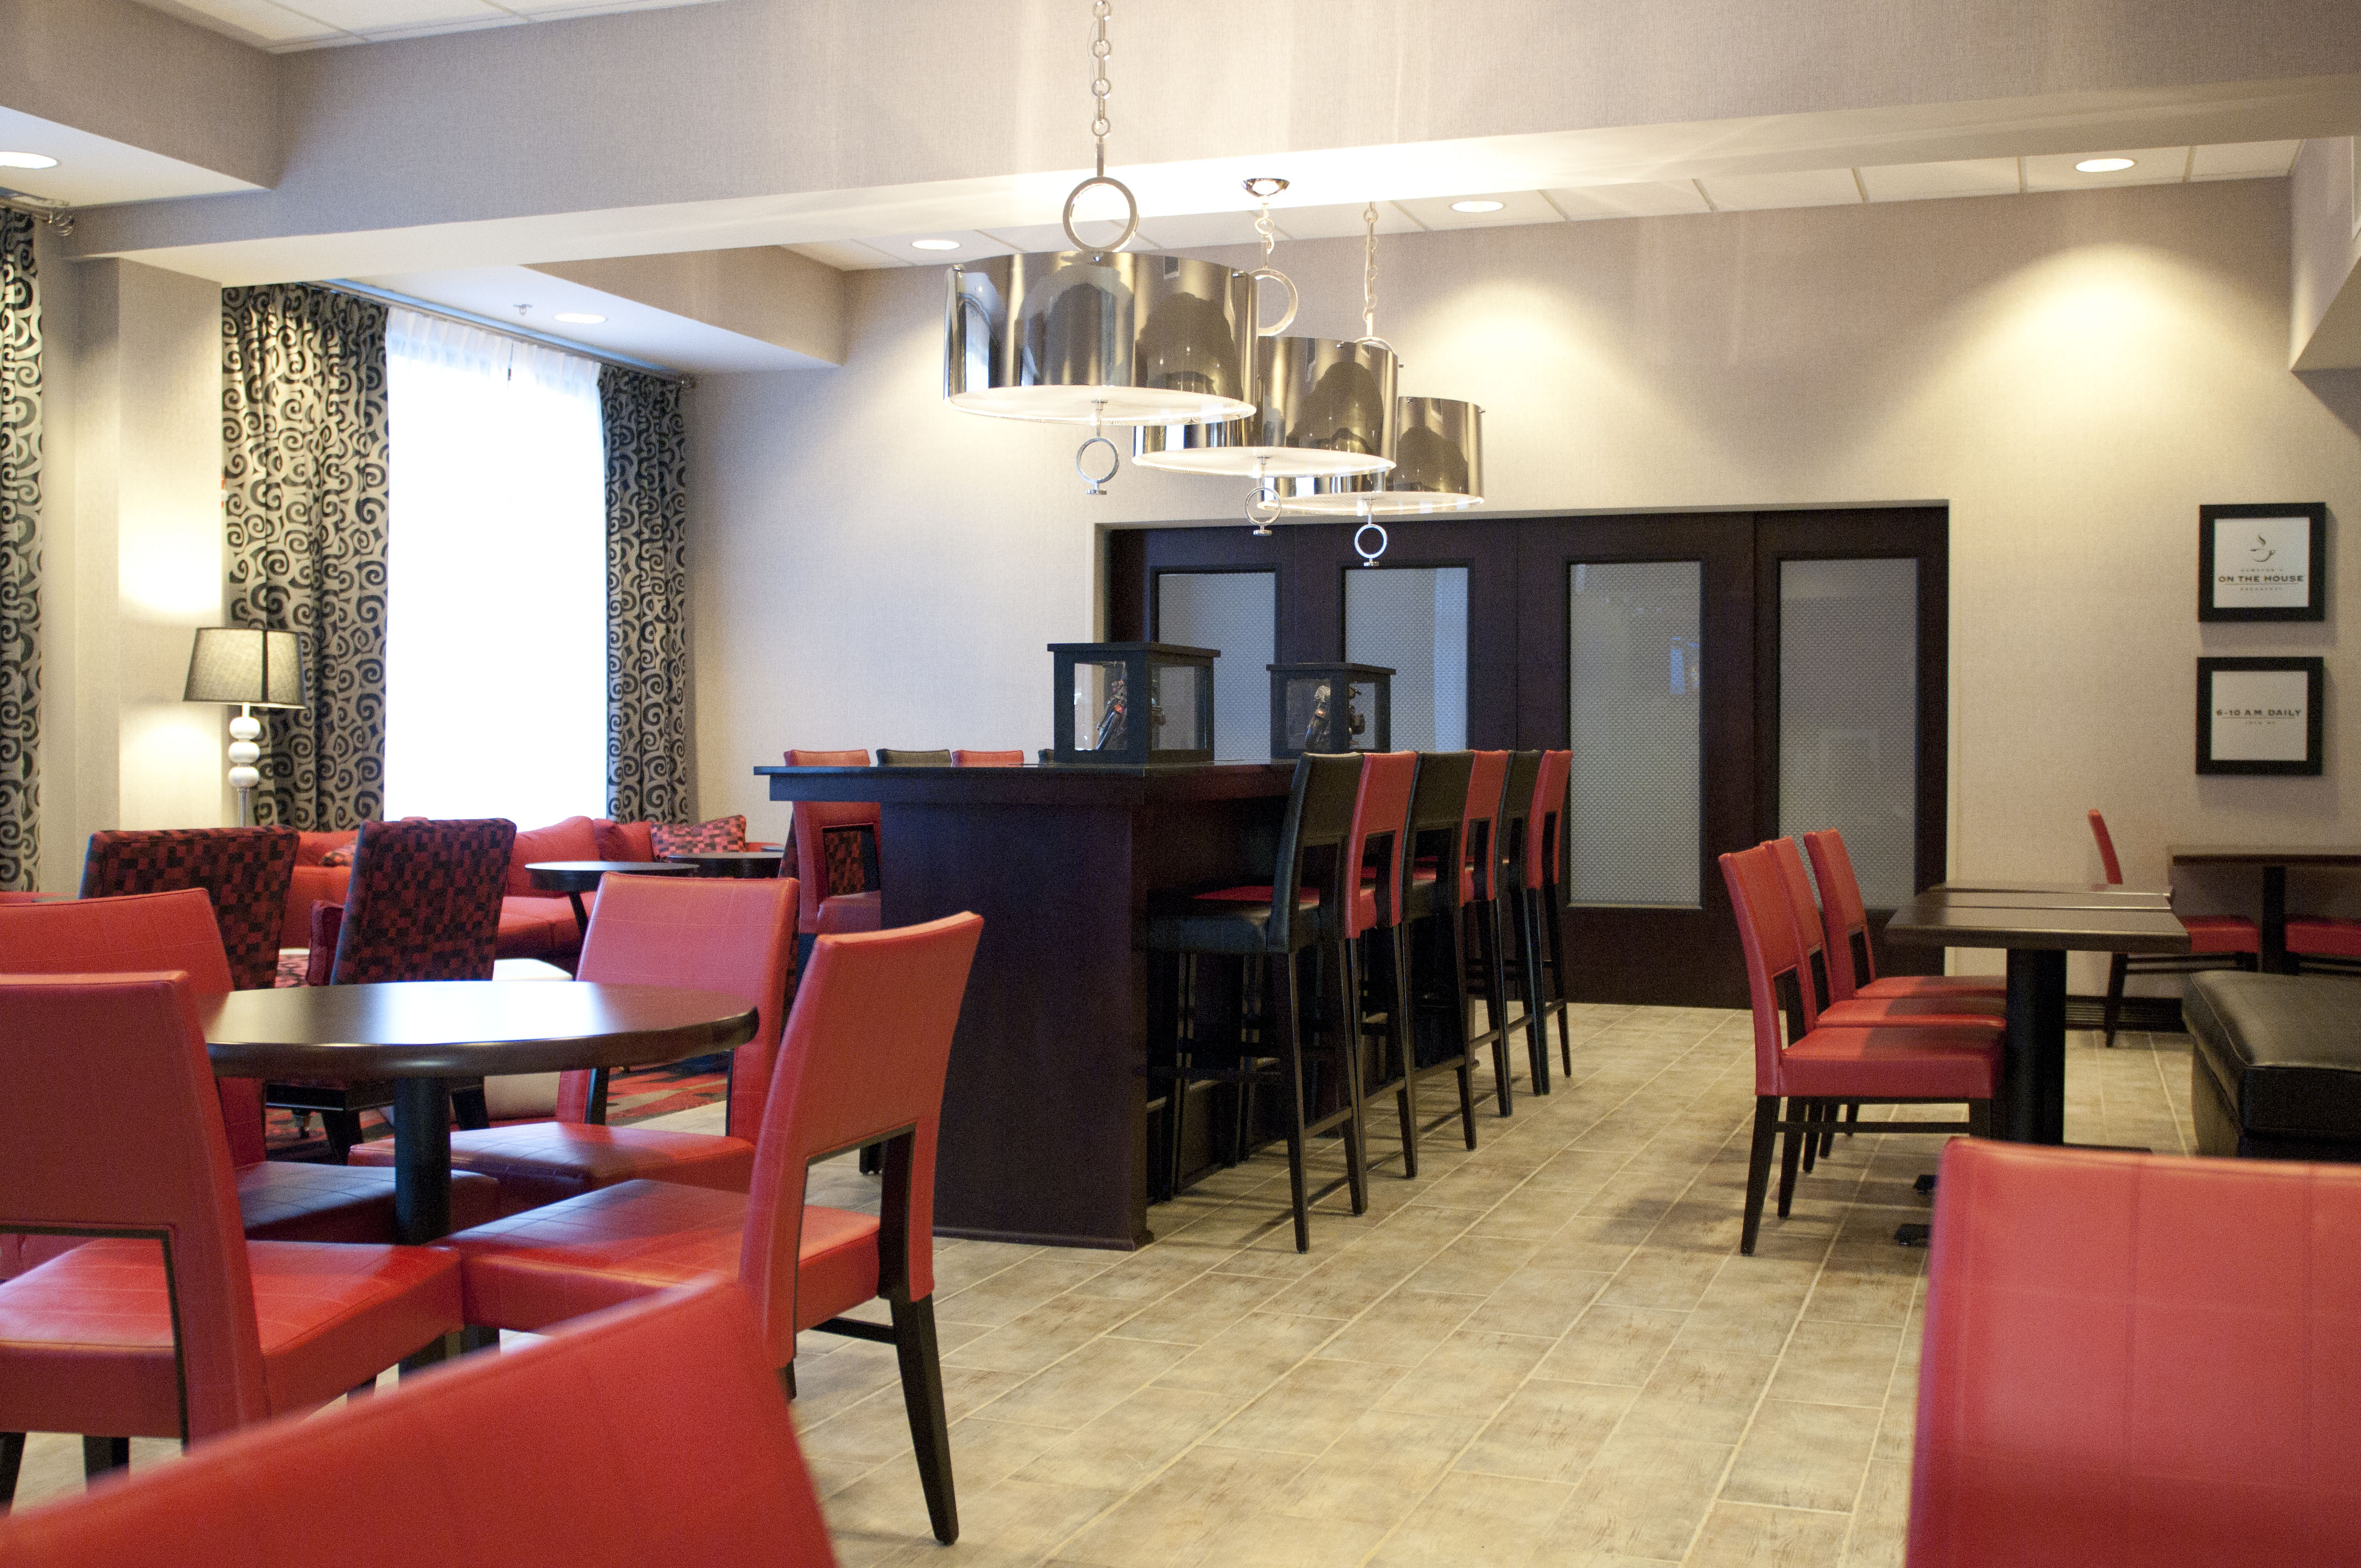
Part5: Add contrast. To let the foreground and the background separate. Use curves or by adjusting the highlights and shadows to create the contrast that makes the photo more interesting.
adjust to preference.


Part 6: Cropping Images- use the crop tool to crop. Select the dimensions for the photo too needed. drag and select cropping area. hit enter to accept.
Part 7: Straighten: If an image is slightly crooked adjust the image by using the Straighten tool. When straighten tool is selected drag across horizon to straighten image.

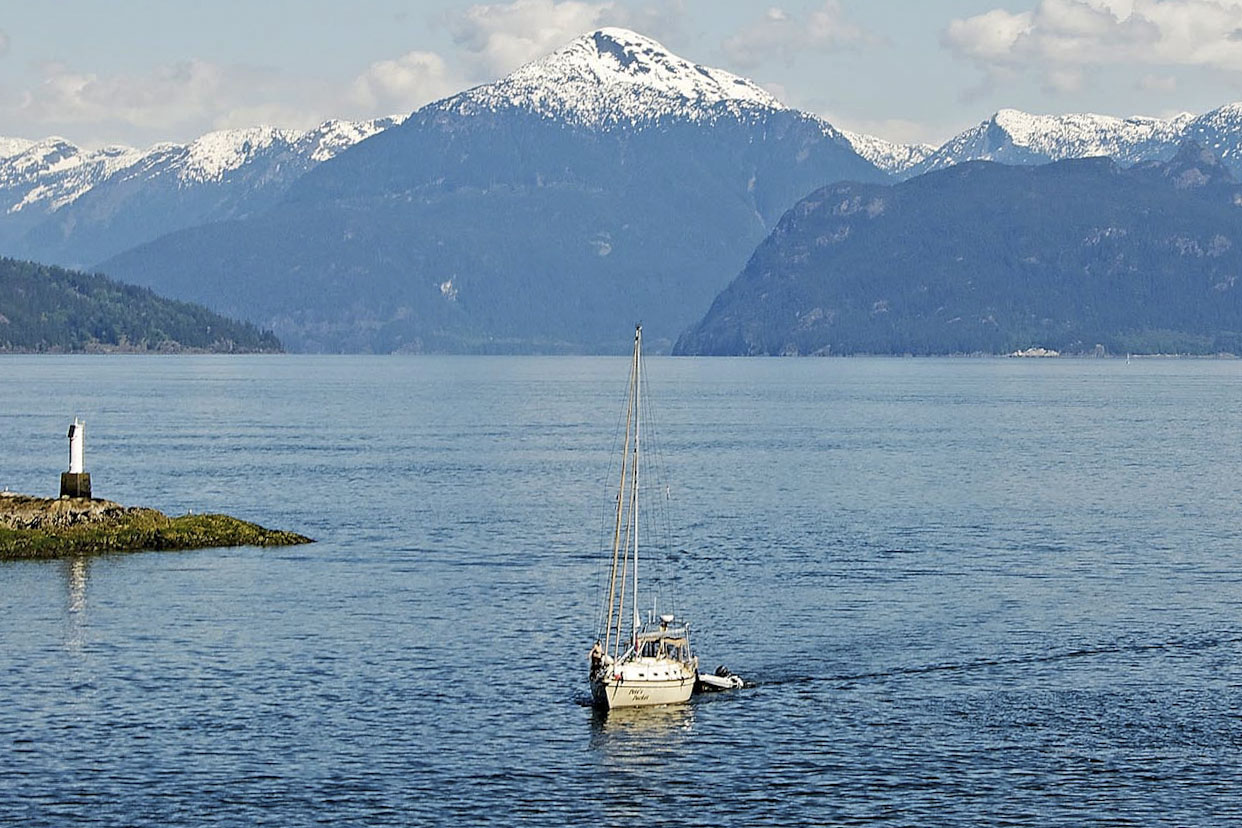


click on image to see full crop.