Cop Car
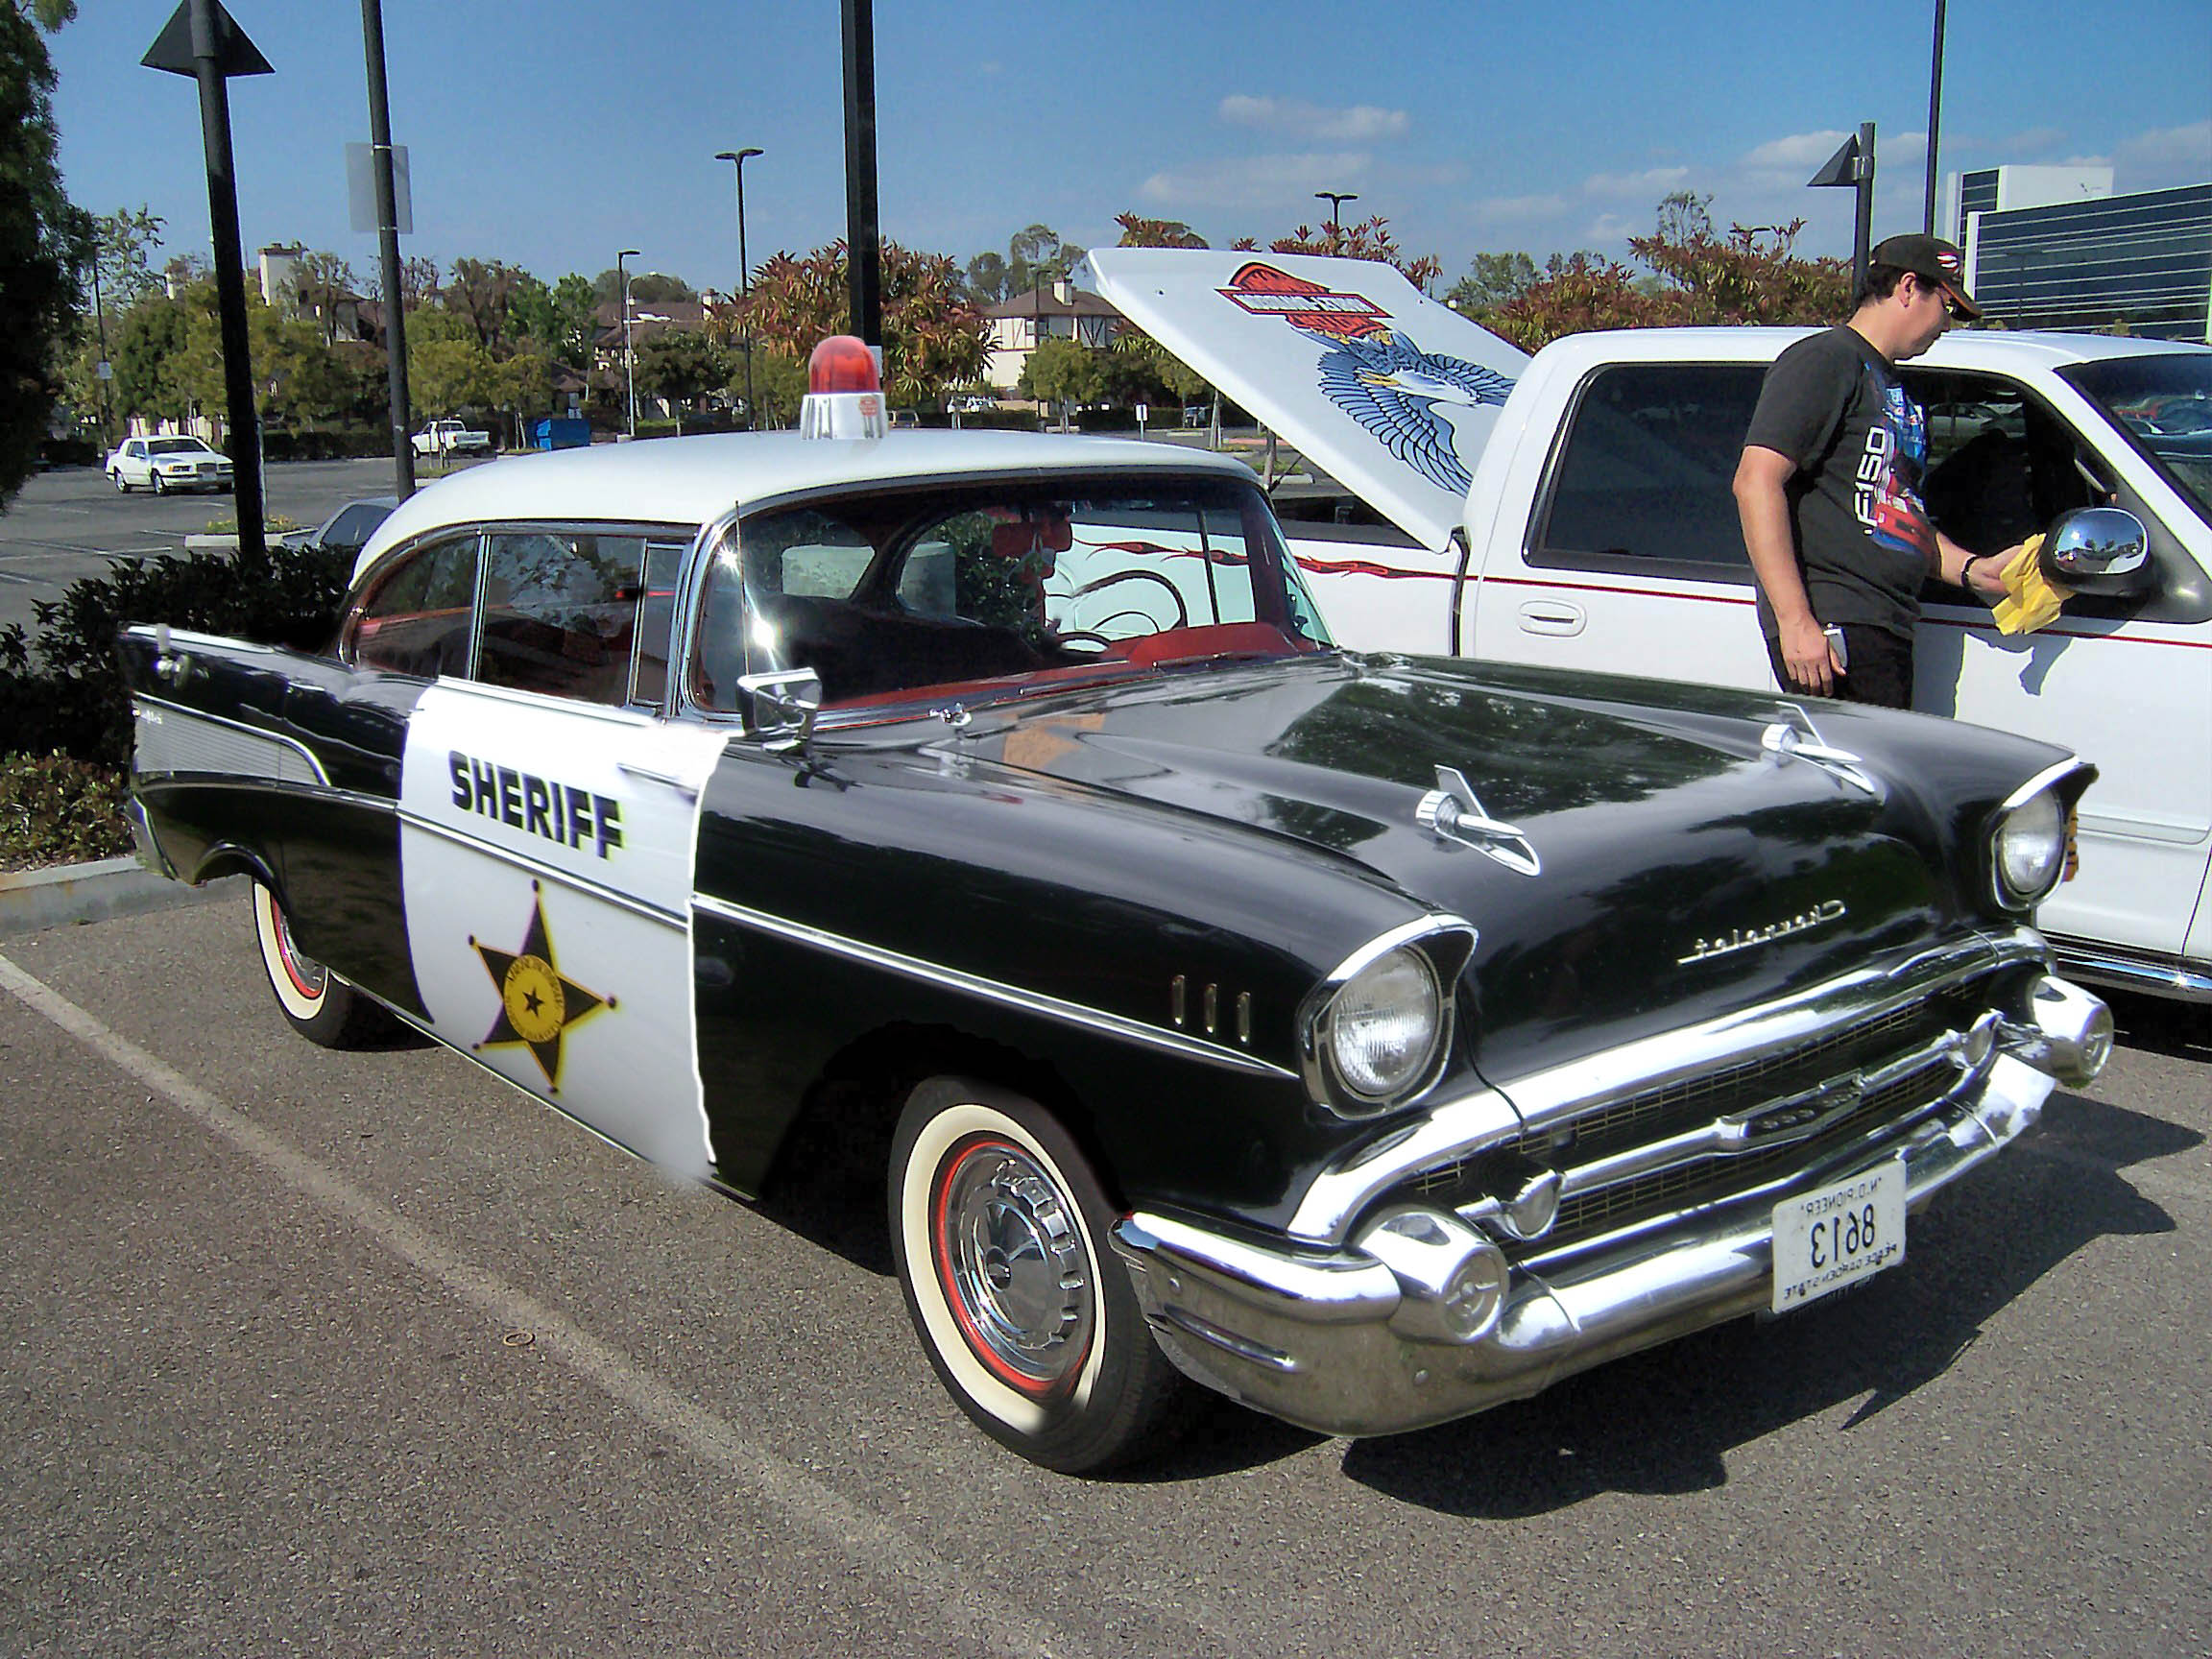
I selected the white sheriff door and the light and moved them to the red car image to start somewhere. I then selected the front and back of the car and moved them into place onto the red car. I resized them and put them into place. I then went back to color in the left over red parts with black.
Filed under Uncategorized | Comment (0)In Class Assignment 3
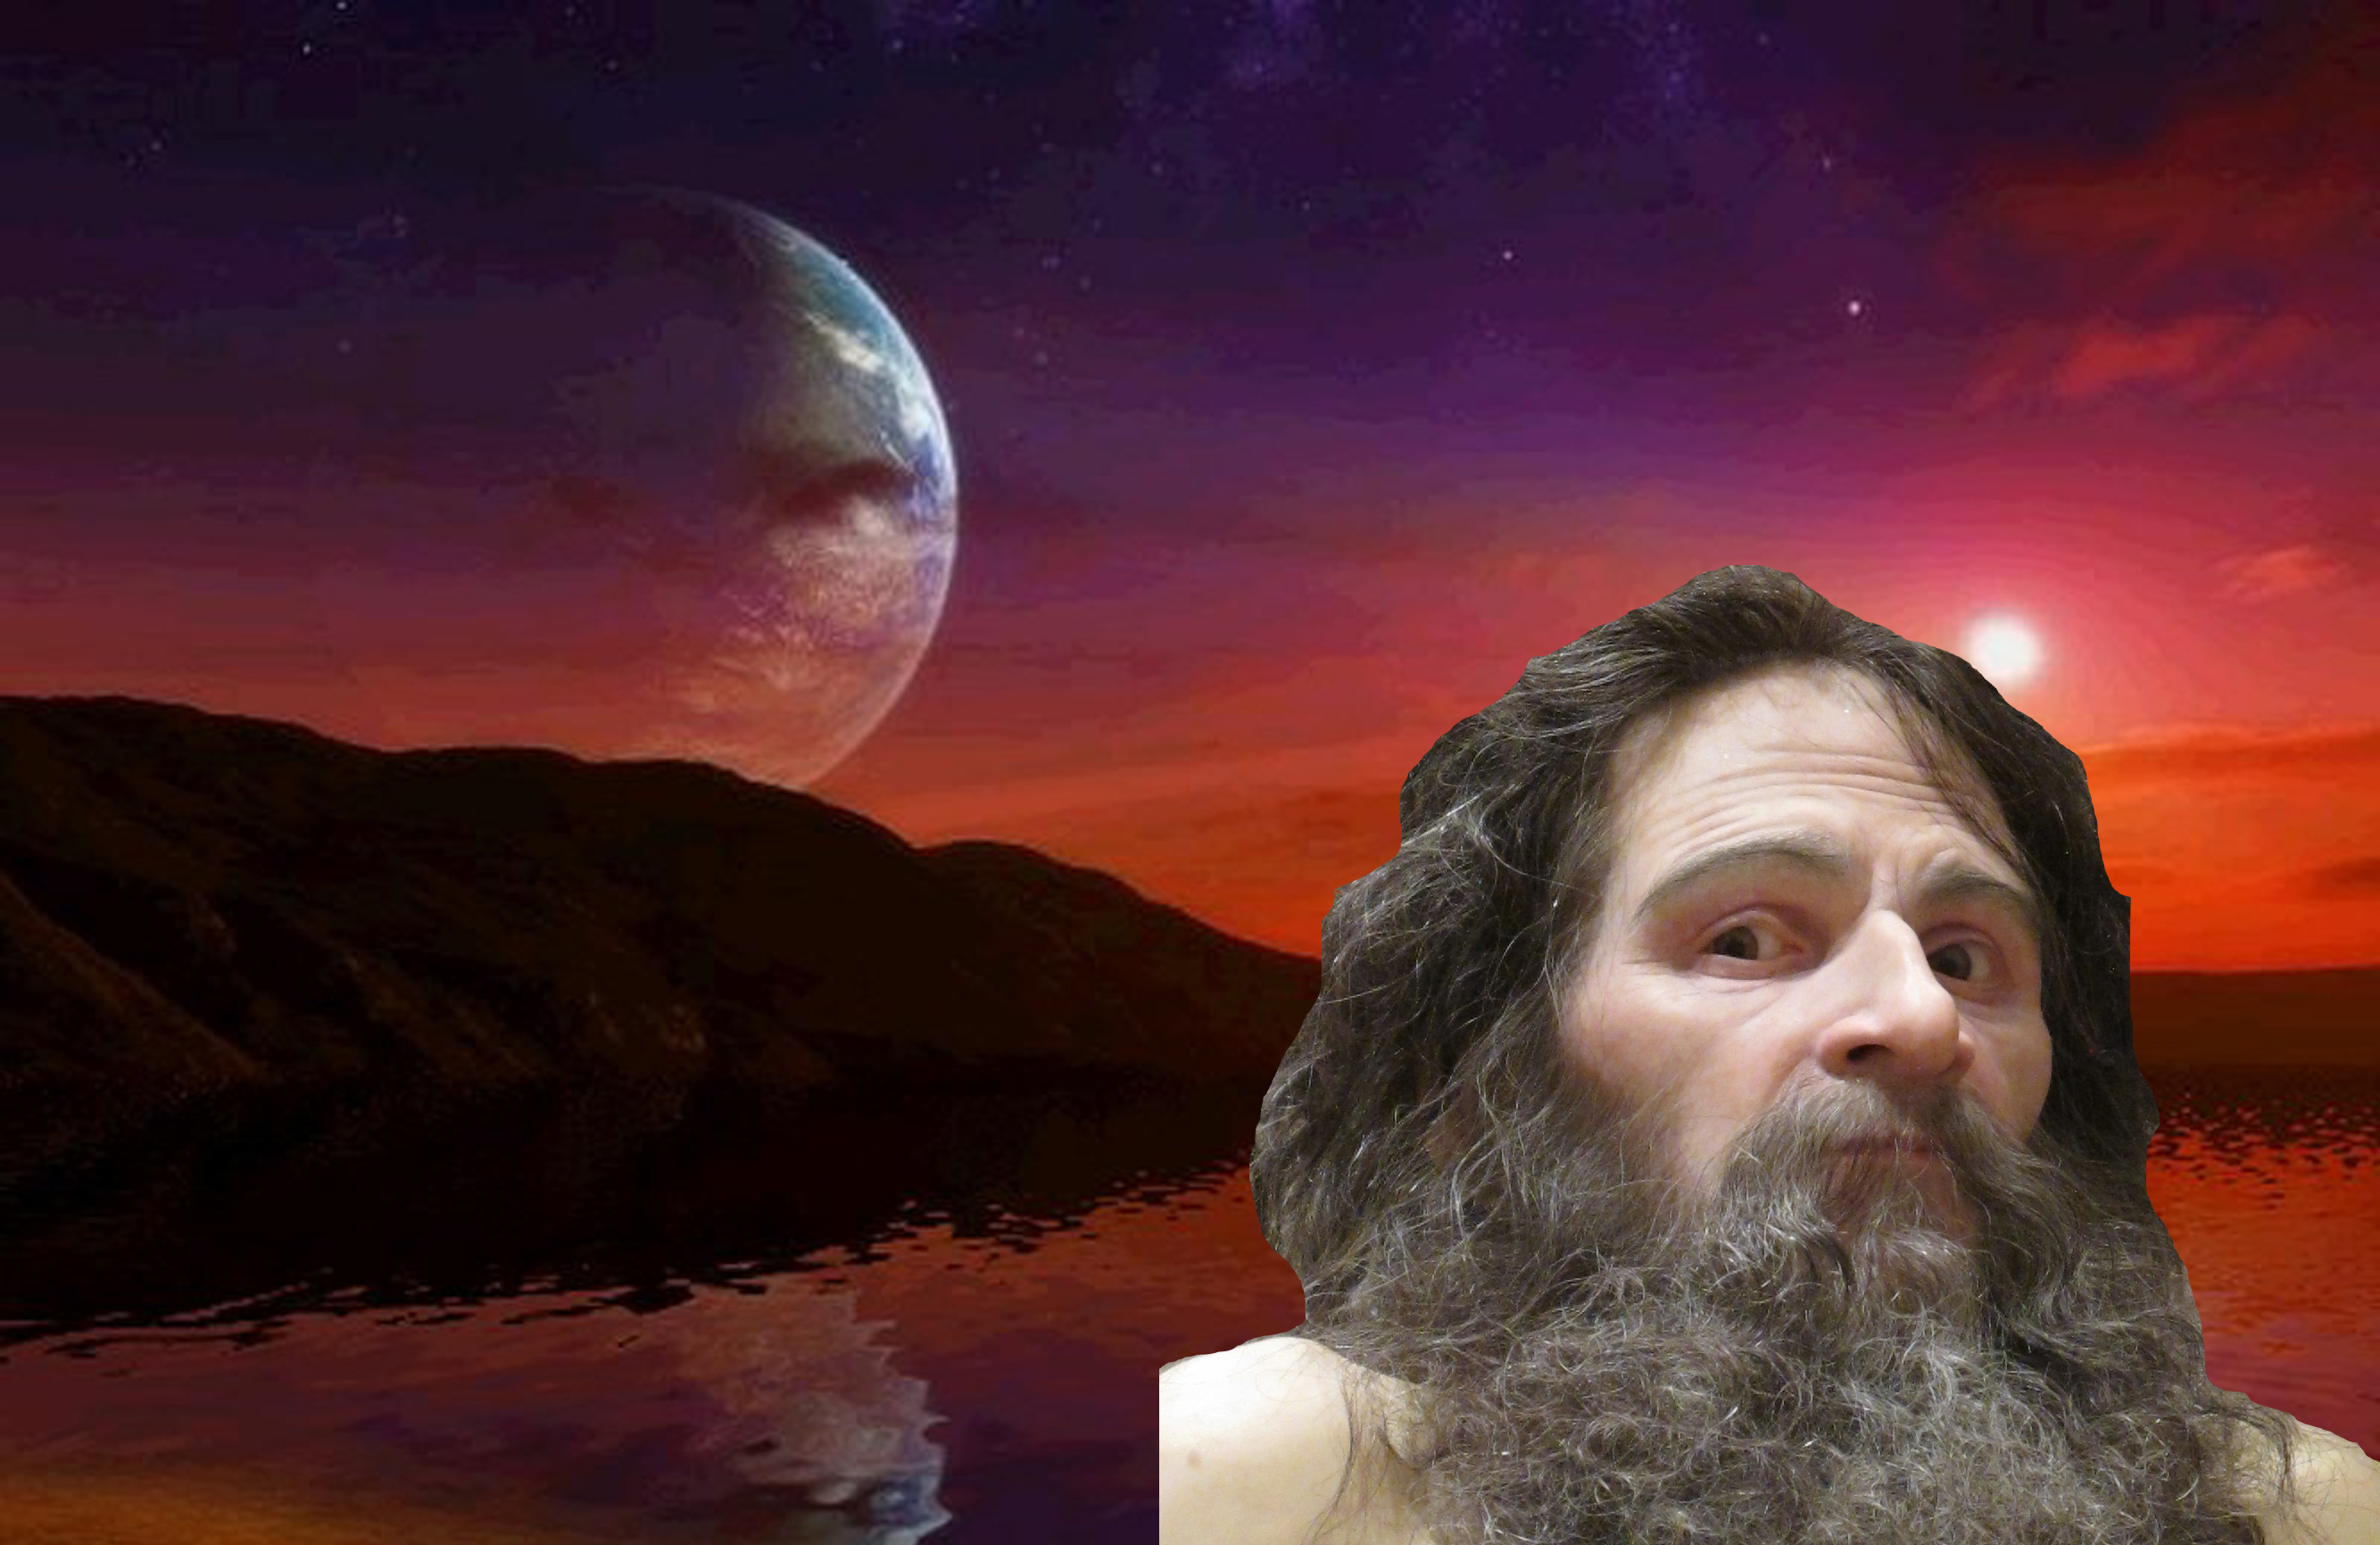
For this image I found it difficult to adjust the hair to make it look not so jaggie and cut out but easy to place on the background.
 For this image I found it really simple to just create a black and white adjustment layer then color cover it with the brush tool.
Children’s Story Poster Research
Story Poster Research
Summary:
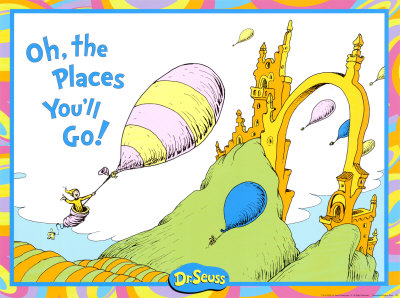
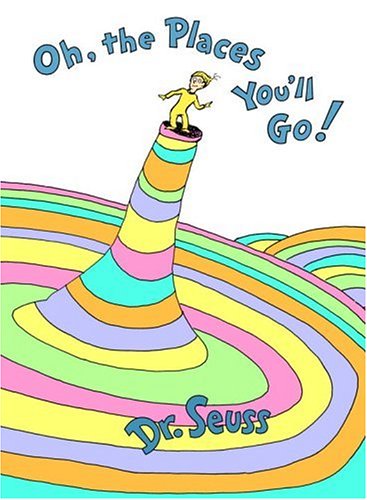
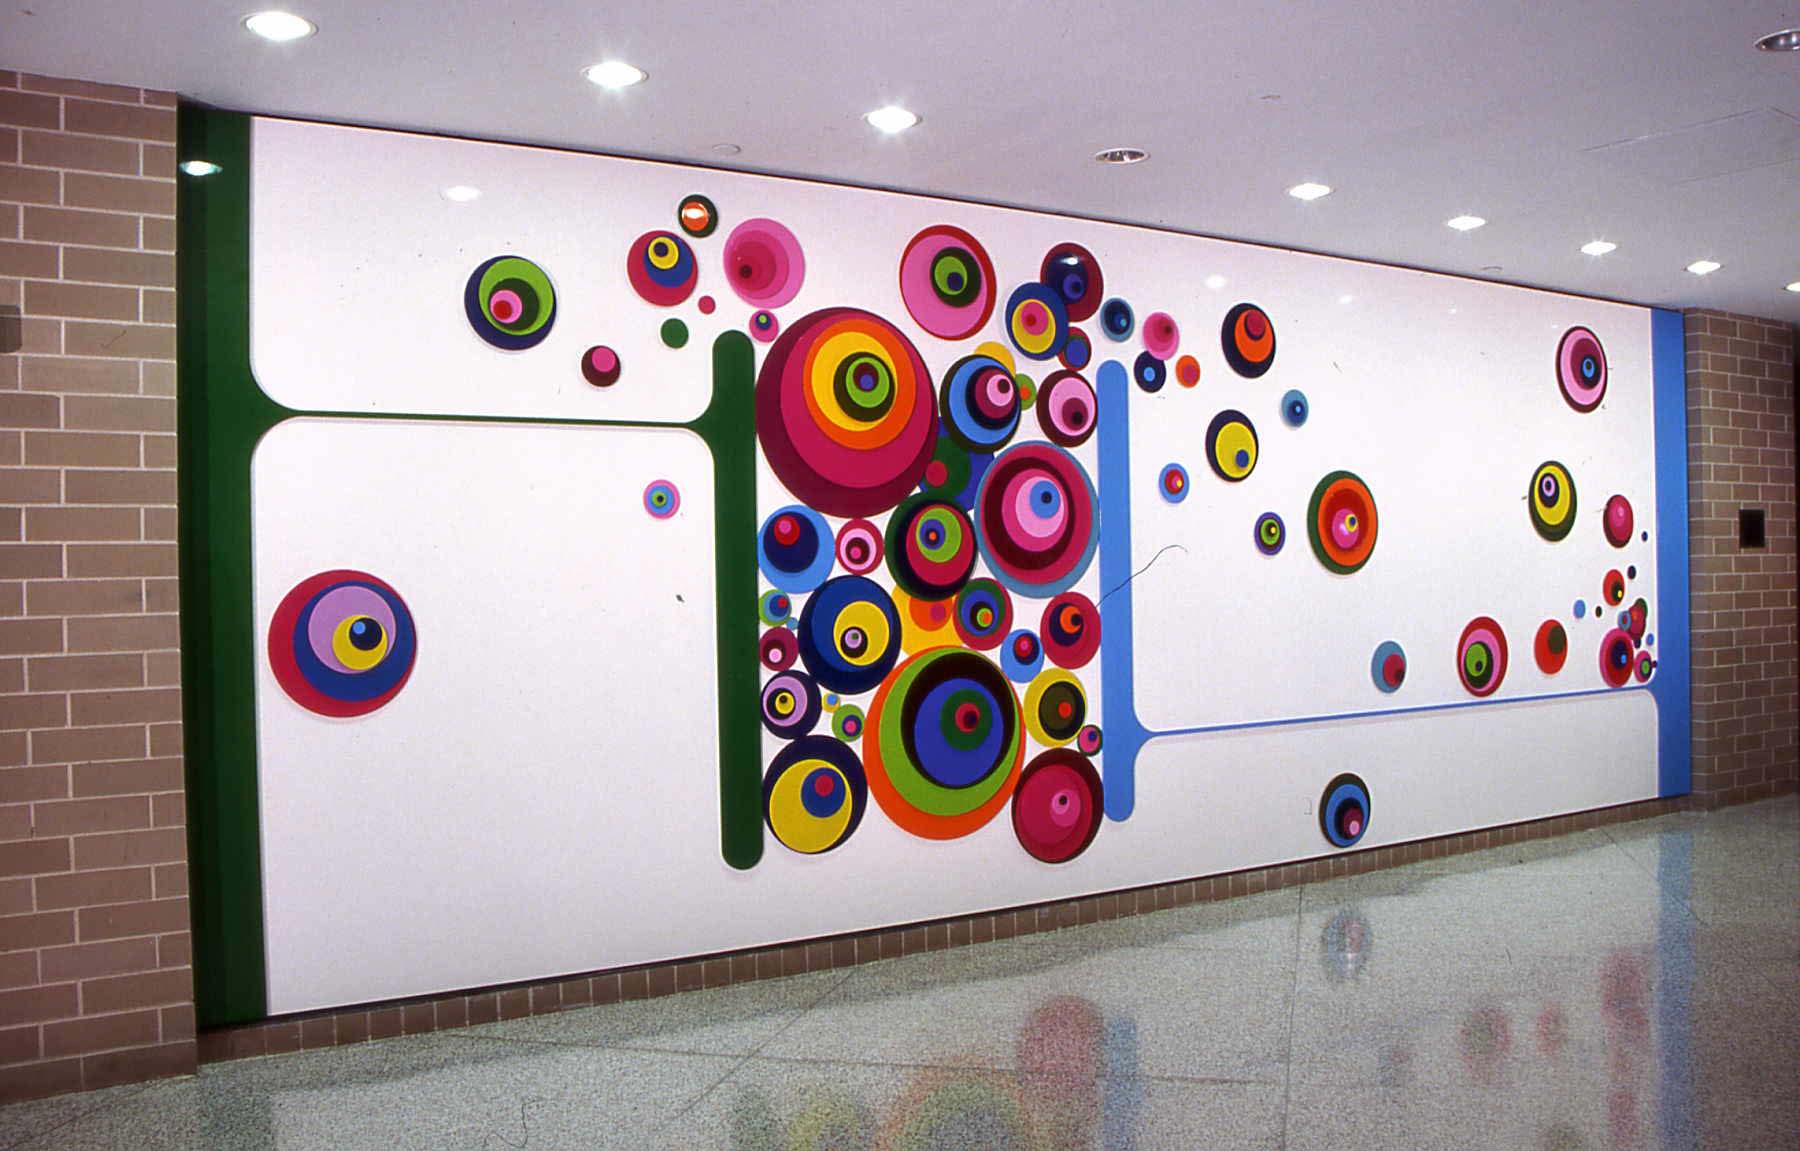
The book that I chose to do my poster on is Oh, The Places You’ll Go! by: Dr. Seuss. In this book Dr. Seuss talks about the ups and downs and stressful times in life. The character in the story, the little boy, who is excited and adventurous about his next challenges in life. This book is about making decisions, moving forward, but most of all it is about no matter what challenges we face, we will succeed.
Images:


How to use info.:
I do not think that I need to use all of the information I think that the most important information from this book is that no matter what you will succeed. I chose to pick what I felt was the most important part of the book out and emphasize that. I will represent the book by using either the hot air balloon or the circles that are on the front.
Colors:
The colors that I will be using are going to be vibrant pastels to represent the colors that are in the book. The contrast and harmony will speak for itself because I will be trying to reenact, without using, the theme from the authors book.
Thumbnails:
Assignment 1 – January 18, 2011
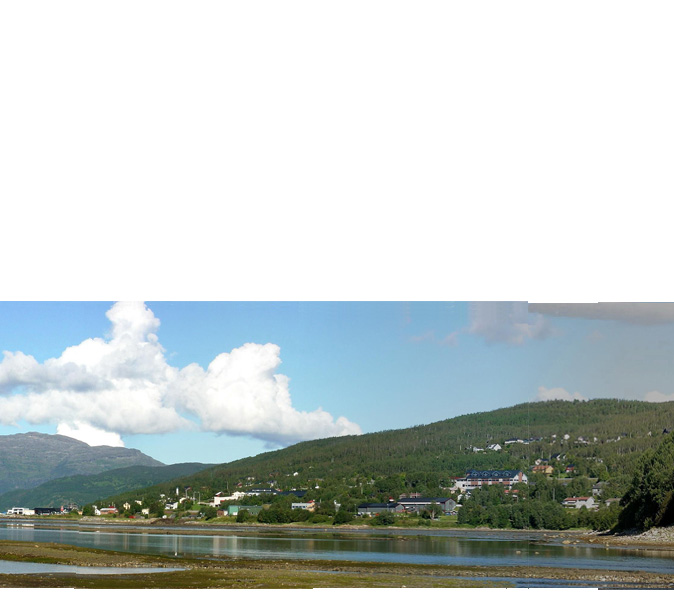
Part 1: To fix this image I used the ruler tool and drew a line to where I felt that the horizon should be.

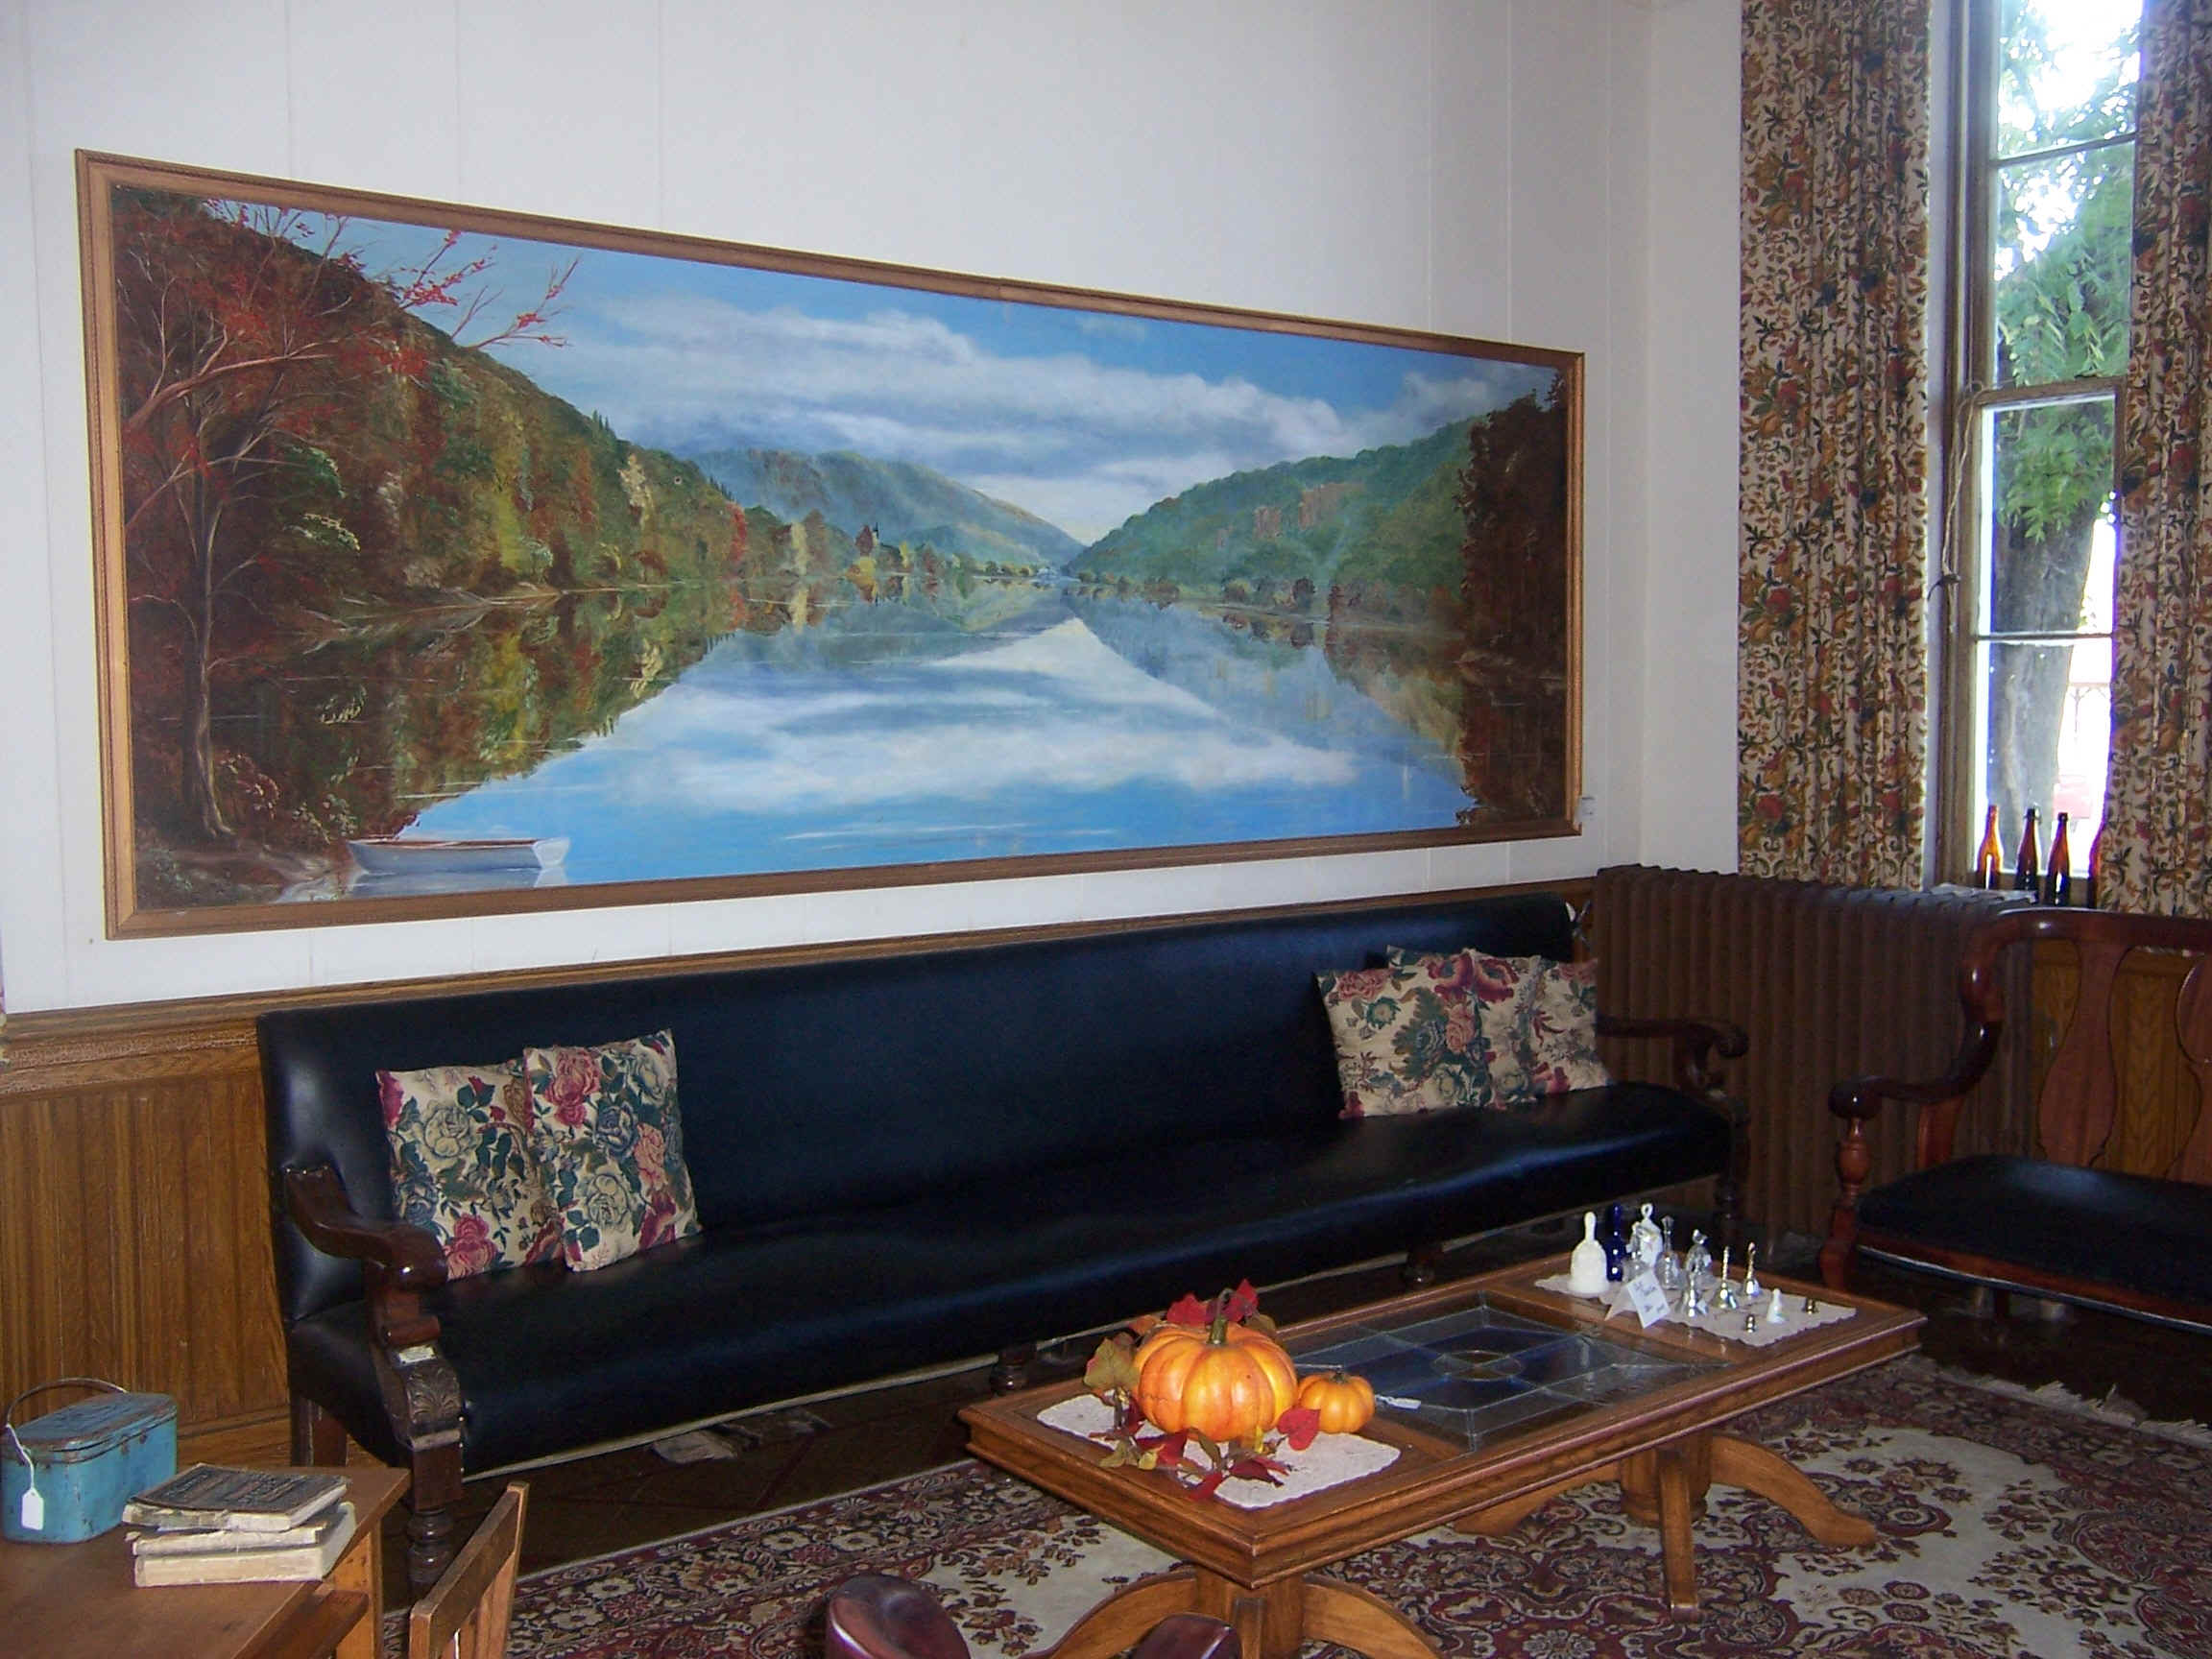
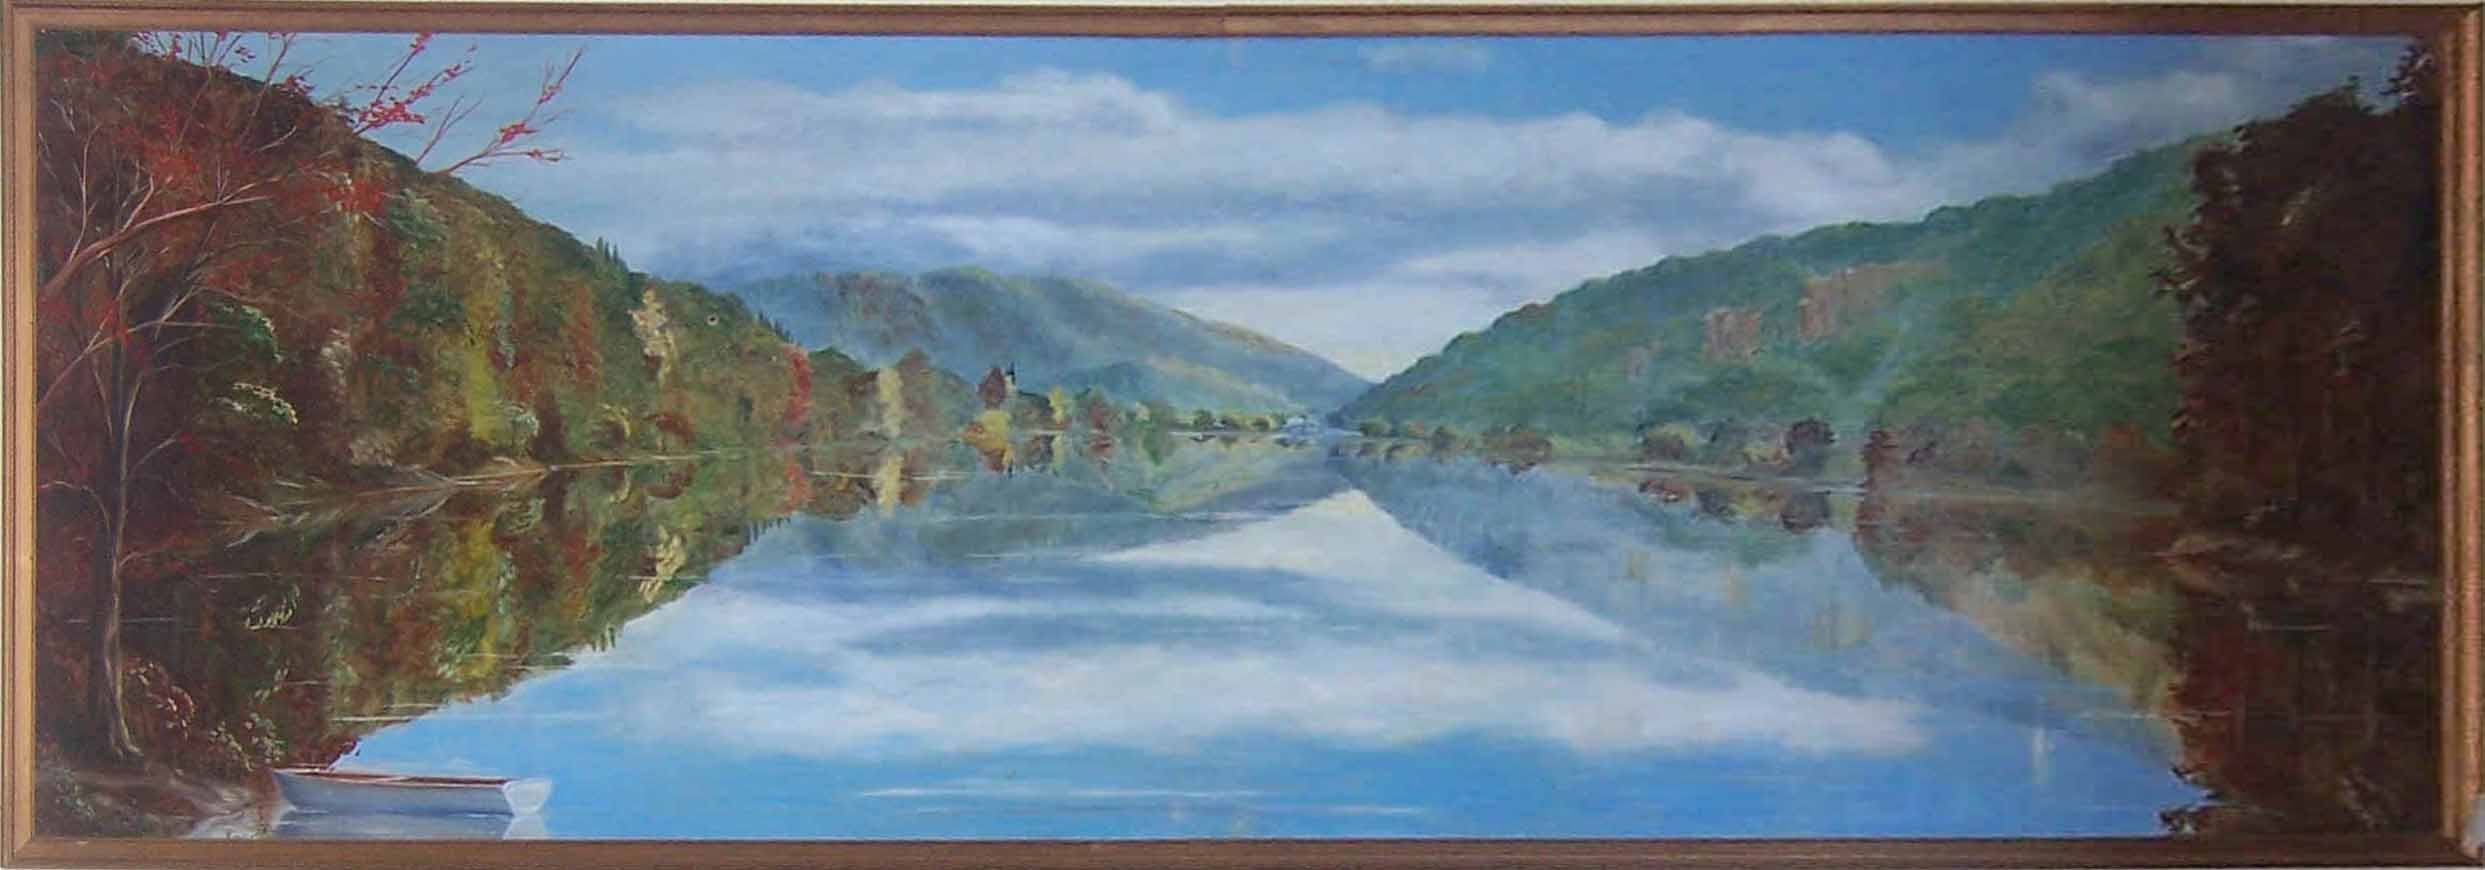
Part 2: To fix all of these in this part I used the crop tool with the specification of perception and then was able to select just the paintings and make them flat.

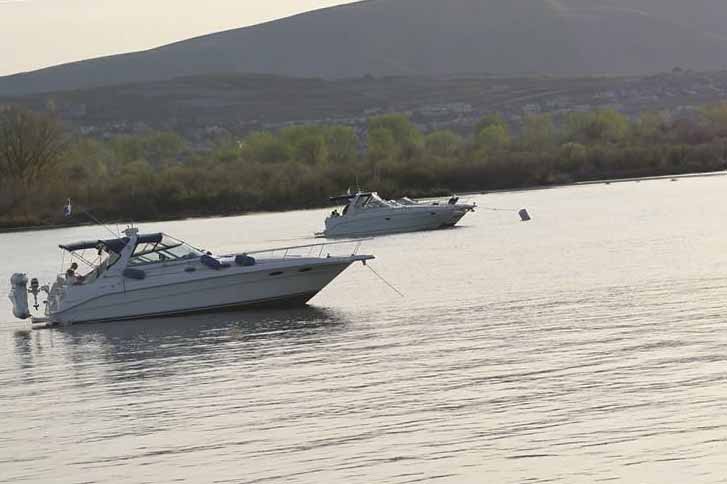
Part 3: This one was a little harder to figure out. I used the quick selection tool to select the cars and that way I could paste them on a new layer and have just the cars with no background. I then placed them into my road background and positioned them accordingly.

Part 4: This one was the same concept as the cars expect that we had to correct some things in camera raw. I adjusted some of the settings such as the blackness, the saturation and white balance. When I took it into photoshop I then used the quick selection tool to select the dogs head so that I could then have a clean background in order to place it into my “backyard” background.
