header image
 

Project 4, Trade Show Display, March 31, 2011

I’m choosing to do my trades show display for Old Spice.  Particularly using the new ad campaign with the “manly man” theme and exotic places/scents (Komodo, Fiji, and Denali).

The above Nokia display was my basis for my designs.  I liked the multiple TV’s (can play various Old Spice commercials). As well as the open floor plan.  Here are my sketches:

As you may be able to tell I also utilized elements of other displays I saw:

In my designs I added shelving for product samples as well as walls sometimes for shelving and other times for displaying Old Spice Imagery.

I want the consumer to feel somewhat enveloped, but free to explore things.


Category:  VCT 3040     

Project 3- March 17, 2011

VCT3040

Zachary M. Ober

Name of Company/Organization for Billboard Project: Toledo Mudhens

Name several messages that this company might want to express in a billboard:


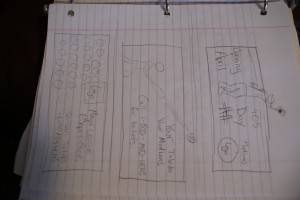
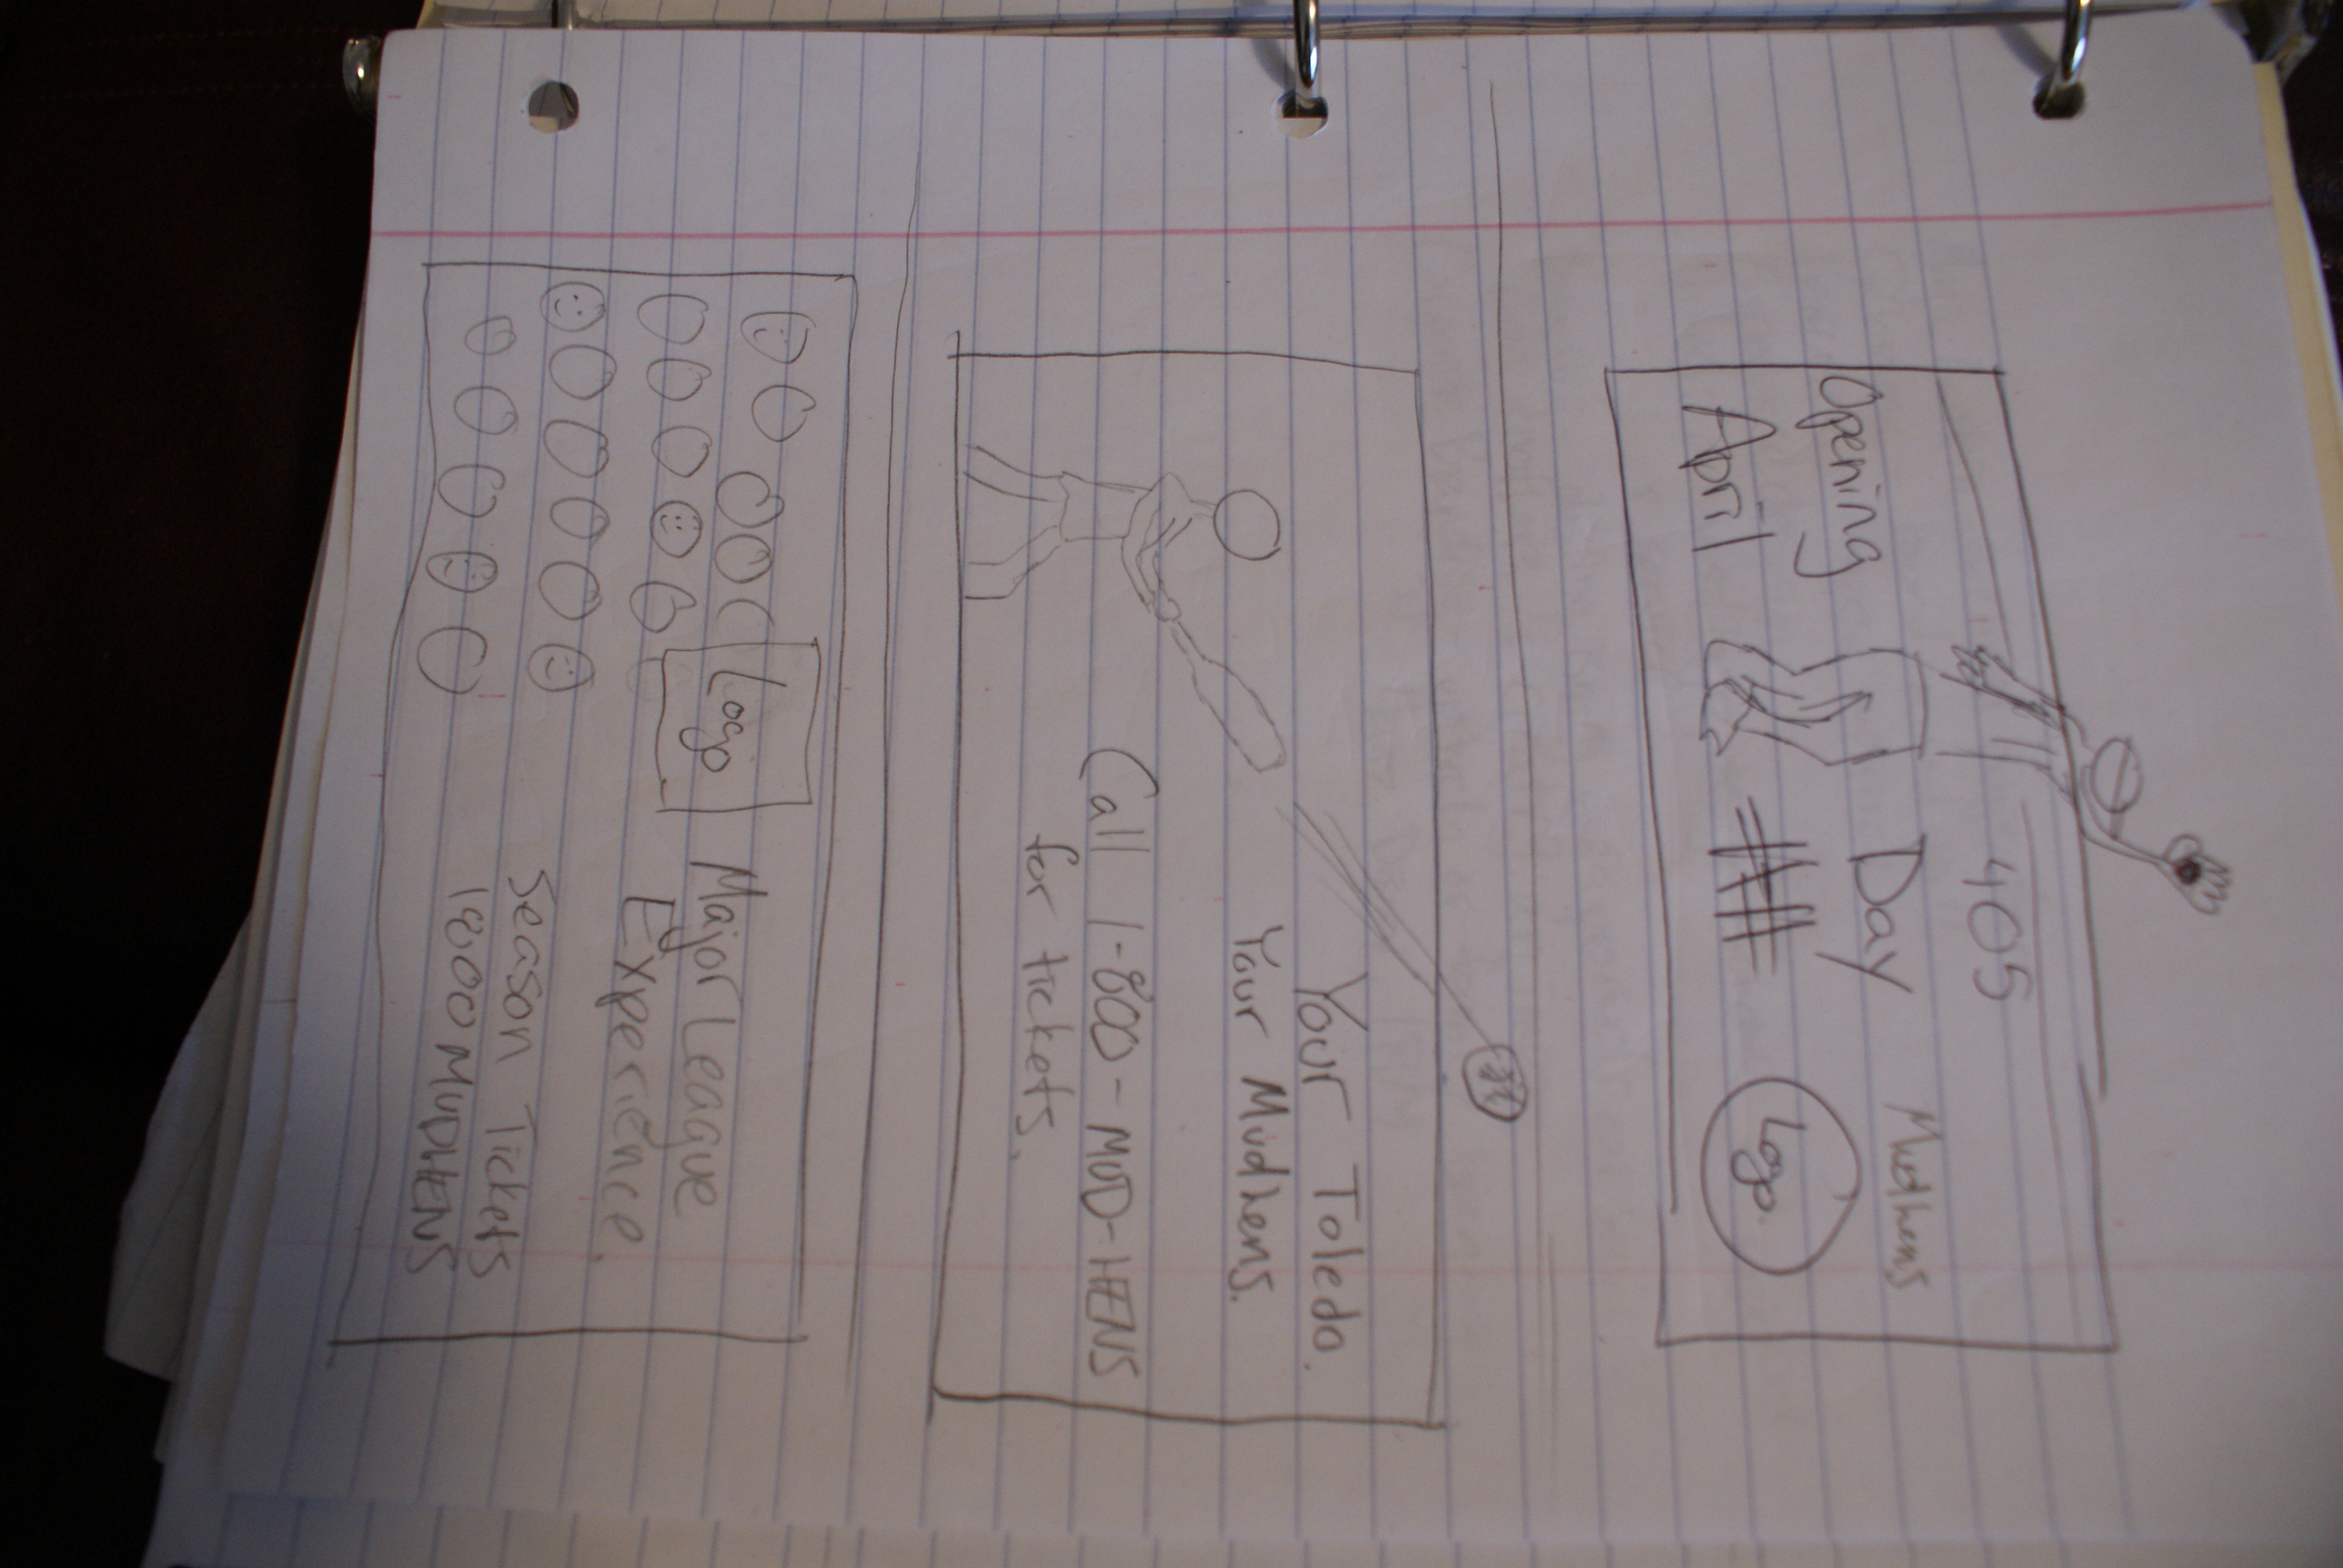
1. Opening of the season

2. Featured series

3. available tickets and prices

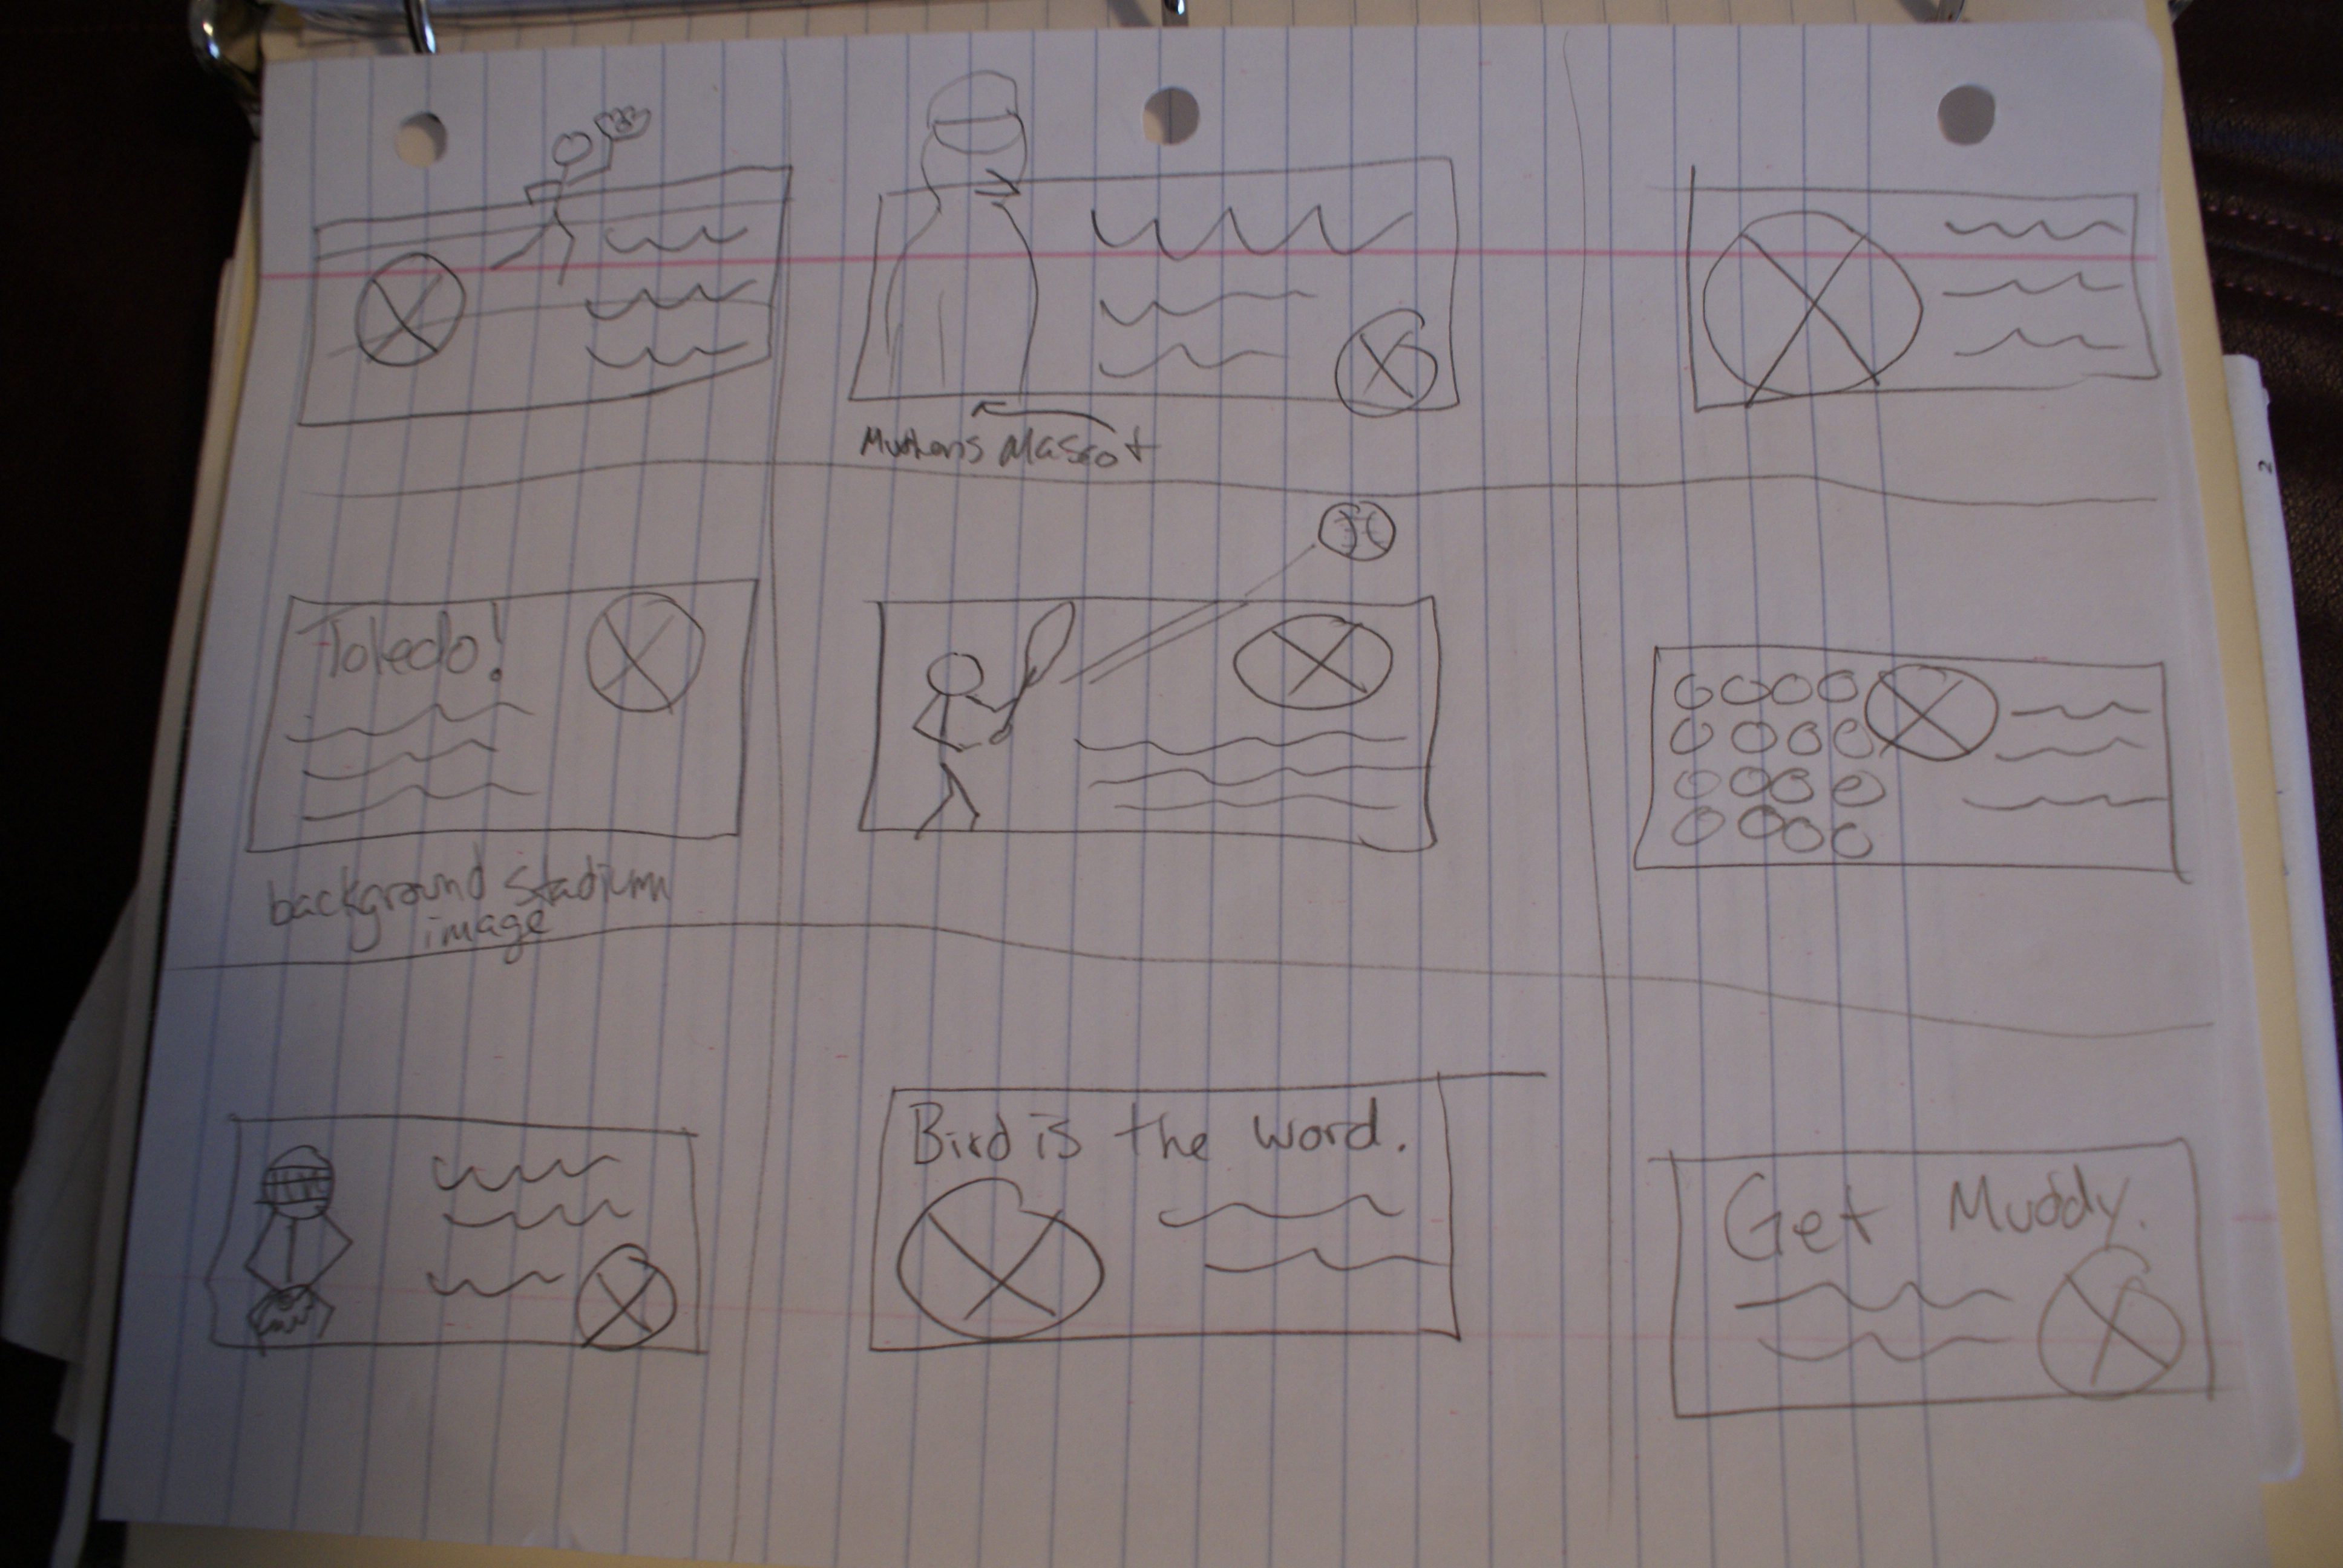
4. excitement of baseball in Toledo

5. Successes of the team

Who is the target audience for this company/organization?

20-80 year old Northwest Ohio residents with expendable income.  All races, ethnicities, etc.  Mostly middle class and higher financially.

What is the message you want to convey with your series of billboards?

Opening of Season, Ticket Prices, Hometown Pride

What do you hope to achieve by advertising on these billboards?

I hope to draw people to become interested in or reminded of the Mudhens in order to boost ticket sales.  (Increase both awareness and ticket sales.)

Will you choose to target your audience demographically or geographically or both and why?

Geographically because baseball is a game that crosses most demographic borders.  Everyone likes going to a baseball game.

Will you be utilizing a major market or a secondary market or both and why?

Secondary- Toledo is not a huge city, but fairly big.

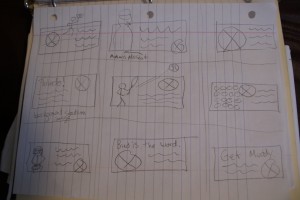
Do you plan on using extensions or spectaculars as a part of your billboard series? How and why?

Yes! I think they draw more attention and can be more creative.  I plan to have players somewhat extending off the billboard.

What types of graphics do you envision using?

Real pictures of players/game situations, Mudhens logos, and clear typography.

Category:  VCT 3040     

Project 1- Research

These are my preliminary sketches for a Blu-Ray display.  It would include a Blu-Ray player which is playing a movie on an HD TV (or two, depending on each design).  Also there would be shelves stocked with various Blu-Ray movies.

My first expanded design was a normal shelving unit with a TV on top of the blu-ray player with a large blu-ray logo on top of a large, replica blu-ray disc (which would be horizontal).  This design would have the back be on the end of an aisle.

My second expanded design is a large replica disc as the base of the display-stand.  Concentric, but smaller, disc replicas act as the shelves to hold the movies.  On top is the blu-ray player as well as two HD TV’s, back to back, so that the display is two-sided.  This design would have no true back or front, but would be positioned to best exploit the two TV’s to customer foot traffic.

The following are images I took at Meijer here in BG of various Displays I liked.

I liked that Pillsbury’s display was also a refrigerator.

It looks like the Frito-Lay display is made right from the box it is shipped in.

A themed St. Patrick’s day shirt display.

Simple Jeans display with clear, bright text.

Interesting round hat display.

Cool background in this aisle.

The actual Blu-Ray display at Meijer.

Bright and Cheery Crayola display that matches the products.

Cardboard Turbo-Tax display

Category:  VCT 3040     

In Class Assignment 6- November 9, 2010

For most of these images I categorized them where they best fit, however in every image I made multiple adjustments.  So although an image may be in the “Clarity” heading, I may have changed the white balance, increased saturation and blacks, and corrected the exposure.

White Balance:

This is the only White Balance specific image, however every other edit I did included some sort of WB alteration.

Over Exposed:

The first 3 images were basically overexposed beyond repair.  Lowering the exposure in Camera RAW helped, but they all still look overexposed.

Underexposed:

For all of these I used the exposure and recovery sliders. The second image was pretty much underexposed beyond repair.  For the 4th image I extensively used the fill light slider and recovery and even a little increased blacks

Fill Light:

I used the Fill Light slider and also WB.

Clarity:

For the flowers I increased clarity to sharpen, for head shots I lowered it to soften.  I also used it in many of the other pictures.

Straighten:

For these photos I used the straighten tool, and in a few cases  cropped them more than “suggested”.  I also added clarity, and changed WB.

Contrast:

I used the Tone Curve tools to improve the contrast in these images.  I also used the Contrats slider in many images, and in a few I used the Tone Curve tool.

Crop:

I used the crop tool with the convenient 2 to 3 ratio.

Category:  VCT 4600     

In Class Assignment 5- October 5th, 2010

Fake HDR

I followed the steps of duplicating the layer, desaturating the copy then making it a Hard Light layer.  Then with the second duplicate layer I added a 4o pixel gaussian blur and made it a soft light blend mode.

Content Aware Fill

I selected what I wanted to replace using the pen tool.  I then Used the content aware fill tool, and the computer did the rest.  I had to use the clone stamp and healing brush tools to clean up some of the edges in my own photo.

3D Water-

I ran out of time to complete this tutorial, and I was not getting very far without being very confused.

Make gloomy picture seem like sunny day

I obviously followed all the steps in the tutorial.  In my own, however, I only had to make a new sky after adjusting curves, vibrance, etc.  I just made a new layer with a gradient blue, then another layer that I painted clouds on, then blurred them somewhat.

Category:  VCT 4600     

In Class Assignment #4- September 28, 2010

My first step was to take the siren and transfer it.  It was relatively easy to just to select it in quickmask mode with the paint brush tool, then just copy and paste it, shrink it, and adjust it to the new image.

Next I did the same selection method for the door.  I copy and pasted it into the new image then reflected it horizontally, and adjusted it for size.  I then used the Transform>Warp tool to do the fine tuning adjustments to get the door to correctly fit over the old door.  I also used the perspective crop option on the word “Sheriff” so that it would not be backwards on the new image.  I then copy and pasted into the new image, then used Transform>Perspective to change the perspective to fit the car.  I then transformed it for size and rotation to look right on the door.

I used the clone stamp tool to get rid of the dice, and to get rid of the lamp-post reflection on the roof of the car.

Lastly, I used a black and white Adjustment layer and left everything that was red, black.  I then fine tuned with the paint brush on the adjustment layer to bring back the color of everything else on the car (chrome, headlights, etc.).  Then I duplicated the adjustment layer and set it to “Multiply” then lowered the opacity some for a better shiny-black-car look.

Bazinga.

-ZMO

Category:  VCT 4600     

Assignment 3- September 14, 2010

Part 1.

I made the selection of the man’s head and hair with the quick mask mode.  Once the selection was finished I used the Refine Edge dialogue box.  I used the smart edge feature to bring back some of the hair.  I also used the decontaminate color feature to get rid of most of the gray background.  Finally, I used the eraser tool with low opacity to edit some of the edges where necessary.

Part 2.

For this image I first used a Black and White adjustment layer.  Then, I used a black paint-brush tool to paint on the parts of the image where I wanted color to come through.  That was pretty much all I did, I just made sure to use a tiny brush in places where i need more attention to detail (like the red tower).

Part 3.

For this part I went into photoshop and went to the File>Automate>Photomerge menu.  From there I used the “auto” setting and browsed for the 5 pictures that were to be combined.  After clicking “merge” all I did was crop the image.

Have a wonderful and fantabulous day!

Category:  VCT 4600     

Assignment 2- September 7, 2010

Picture 1.

I mostly used the clone stamp tool to get rid of the lines and creases.  I also used the clone stamp tool to fix the bottom right part of the photo.  I used a mix of clone stamp tool and healing brush tool to correct the boy’s face.  It was hard to get it to look natural with so much “damage” on the his face.

Picture 2.

For this photo I used a gaussian blur on a layer copy, which I then lowered the opacity.  I also used a mixture of clone stamp and healing brush tools to get rid of most of the “white spots” as best as I could.  I also used the clone stamp tool to make the entire background 1 color.  However, in retrospect I think my version is a bit too blurry.  Although the spots definitely look better.

Picture 3.

First I desaturated the red and yellow channels to get rid of the yellow and red stains.  Then I used the clone stamp tool to get rid of most of the creases and lines.  I also used the clone tool to repair portions of “the man”.  I then used both the dodge and burn tools to make the entire image look more together because of the inconsistencies from using the clone tool.

Category:  VCT 4600     

Hello world!

Welcome to blogs.bgsu.edu by COBL. This is your first post. Edit or delete it, then start blogging!

Category:  Uncategorized     

Assignment 1- August 31, 2010

Part 1- Straightening a crooked image:

I imported the photo from mini Bridge then used the ruler tool (under the eyedropper) to draw a line across the correct horizon.  Then I clicked the “Straighten” option in the top bar. Voila!

Part 2:  Correcting Perspective:

For all three of these images I drew a crop box (using the crop tool) somewhat around each picture.  Then, I clicked the “Perspective” button in the top bar.  This allowed me to then click each corner and independently match them up with the corners of the work of art.  I hit enter once I knew the crop box’s corners aligned with the images.  Donezo!

Part 3: Creating a composite:

For this composition I used one photo of a car and one of an open road.  First I selected the car using the quick mask and paintbrush.  I then drug it to the background image as a new layer.  I duplicated the layer.  I then chose one of the cars and selected all the red using “Color Range” under the “Select” menu.  Once the red was all selected, I used the “Hue/Saturation” controls under “Image” to change the red to blue!  Then I resized and repositioned both cars and tried to make them look as real as possible.  I also duplicated the shadow of the blue car and created a black shadow layer to make the shadow look more real, as well as hiding the unmatching concrete from the original image. Woo!

Part 4:  Using Camera Raw:

For this part the first thing I did was increase the “Blacks”, “Contrast”, “Recovery”, and “Exposure”.  I lessened the “Brightness” and increased the “Vibrance” a little.  I basically just played with the controls til it looked good.  I then used the “Magnetic Lasso” tool to select the dog’s head (worked great for this, although I usually stay away from the lassos).  I then imported the dog head to my background image and sized/positioned it to my liking.  I also touched up a few places around the dog’s head to get it to blend better and look more natural. Cha-ching-a!

Category:  VCT 4600