White Balance
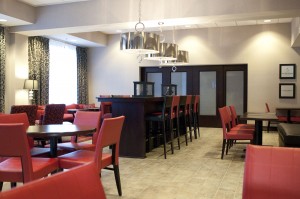
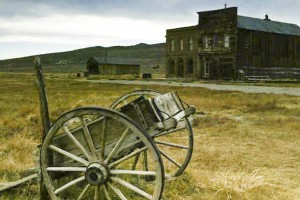
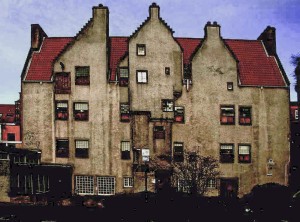
I opened the image up as a camera raw image. I changed the white balance drop dow menu to auto. THen I when into the temp. slider and typed in 2959 and added +2 to the tint. I then took the white balance tool and clicked on the doors. Below is the final image.
Exposure
For the first image I used the “clipping” triangle to point out the problem areas. I held the option key and moved the exposure slider get see more about it. I dragged the exposure slider to -.o5 and the recovery slider to the right until all the red warning was gone.
For the second image it I used the black slider to fix the shadow areas and to add more color and depth of field so the image was not too washed out.
Adding impact
For this image all I had to do was adjust the clarity slider up to +75.
Soften image
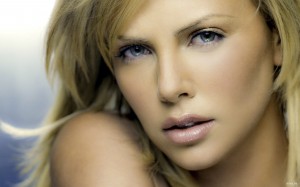
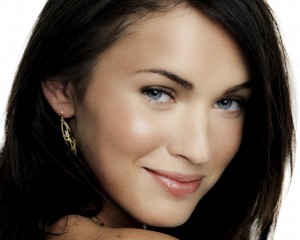
For this image I just adjusted the clarity slider to -50 to soften the look of the skin.
Backlighting
For this image I just moved the fill light slider to the right to 54 to fix the dark shadowing.
Adding contrast
For the first image I opened up the Tone Curve bar and went to the Point Curve. In the drop down menu I clicked on Strong Contrast.
For the second image I opened up the Parametric Curve and adjusted the highlights and lights sliders to the right, and and darks and shadows to the left.
Cropping
For this image I clicked on the crop tool and adjusted the crop until I liked it.
Straighten image
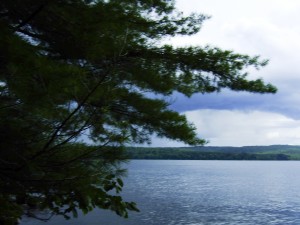
For this image I took the straighten tool and I dragged in it along the horizon and hit enter.
Overexposed images
For the first image I tried to find a happy medium between the exposure and the brightness slider.
This next image is very very hard to adjust. I worked on it for a while, but there was just no way to completely fix it. I adjusted the brightness, exposure, I added a little bit of black, and I added some saturation to the image. Then I used the white balance tool to adjust the white balance the best I could.
For this next image I adjusted the exposure, brightness, recovery, and contrast sliders. I then brought down the clarity a bit to soften the skin. I took the white balance tool and used it in her eye to help correct the coloring.
For the next image I brought down the exposure and brightness just a little. I added a little bit of vibrance and saturation to the image. I also straightened the image a bit.
Potted Plants
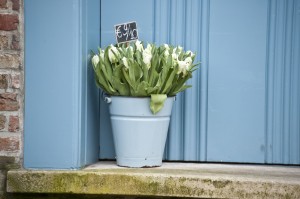
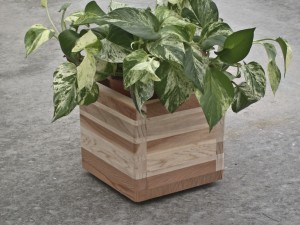
For this first image I added a lot of clarity to the image.
For this next image I added clarity and brought down the exposure a bit.
For this next image I brought down the exposure some and added the clarity.
Soft Portraits
For this first image I brought down the clarity and added some contrast.
For the next image I brought down the exposure just a little and I brought down the clarity. I added just a bit of contrast.
For the next image I brought down the clarity a lot. I adjusted the exposure just a bit. I added a little contrast and vibrance to the image.
Straighten Image
For the first image I straightened the image. I brought down the exposure just a bit. I added some clarity to the image as well.
For the next image I straightened it, brought down the exposure some. I brought up the clarity a lot to show details in the water.
For the next image I straightened it and brought up the exposure and brightness some.
Underexposed
For this first image I brought up the exposure and brightness some. I added some contrast and I brought up the clarity and vibrance.
For this next image I brought up the exposure, brightness, and clarity. I took the contrast down some and added a bit of fill light.
For this next image I brought up the exposure, brightness, and the fill light. I added a little vibrance to it as well.
For the next image I brought up the exposure, fill light, and the brightness.
For the next image I brought up the exposure, fill light, and brightness. I took the vibrance and saturation down some.

