Assignment 1 – January 18, 2011
Part 1
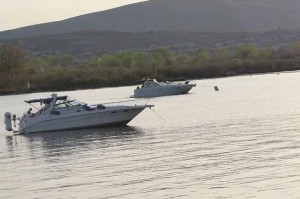
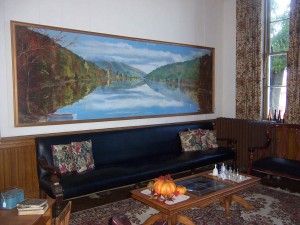
Before
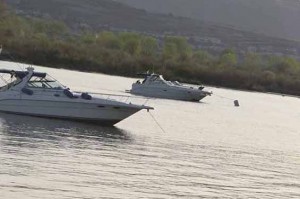
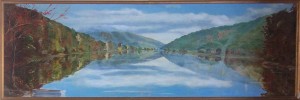
After
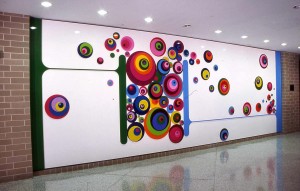
To straighten this photo I used the ruler tool and I made a line going across the top left corner. After I pushed enter the image automatically straightens into the image shown above.
Part 2
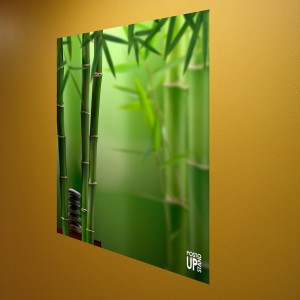
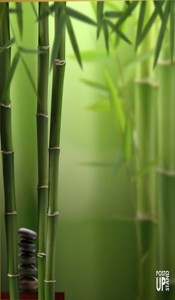
To make this image look straight, I took the crop tool and made sure the perspective box was checked. With this box being checked I was able to drag the corners to the picture and make the crop fit the picture exactly. After I clicked enter the picture looked like it was taken straight on.
Part 3
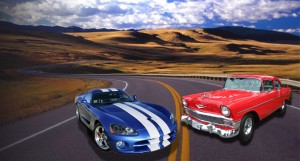
What I did first was take the quick selection tool and cut each car out of the background of it’s original image. After I did that I used the refine edge tool to soften the edges. After that I placed each car on the background image of the road. I added a drop shadow to the cars to make it look like they are on the road instead of just placed on the page and separated from the background.
Part 4
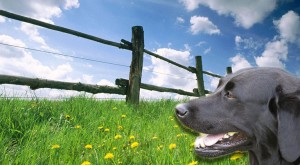
For this photo I added some clarity and vibrance in Camera Raw to make the dog more rich in color. Then I used the quick selection tool to cute the dog out of the background and refined the edges to make them look smooth. Then I placed the dog in to the background image and added a drop shadow to make him look like he is actually supposed to be in the image.
