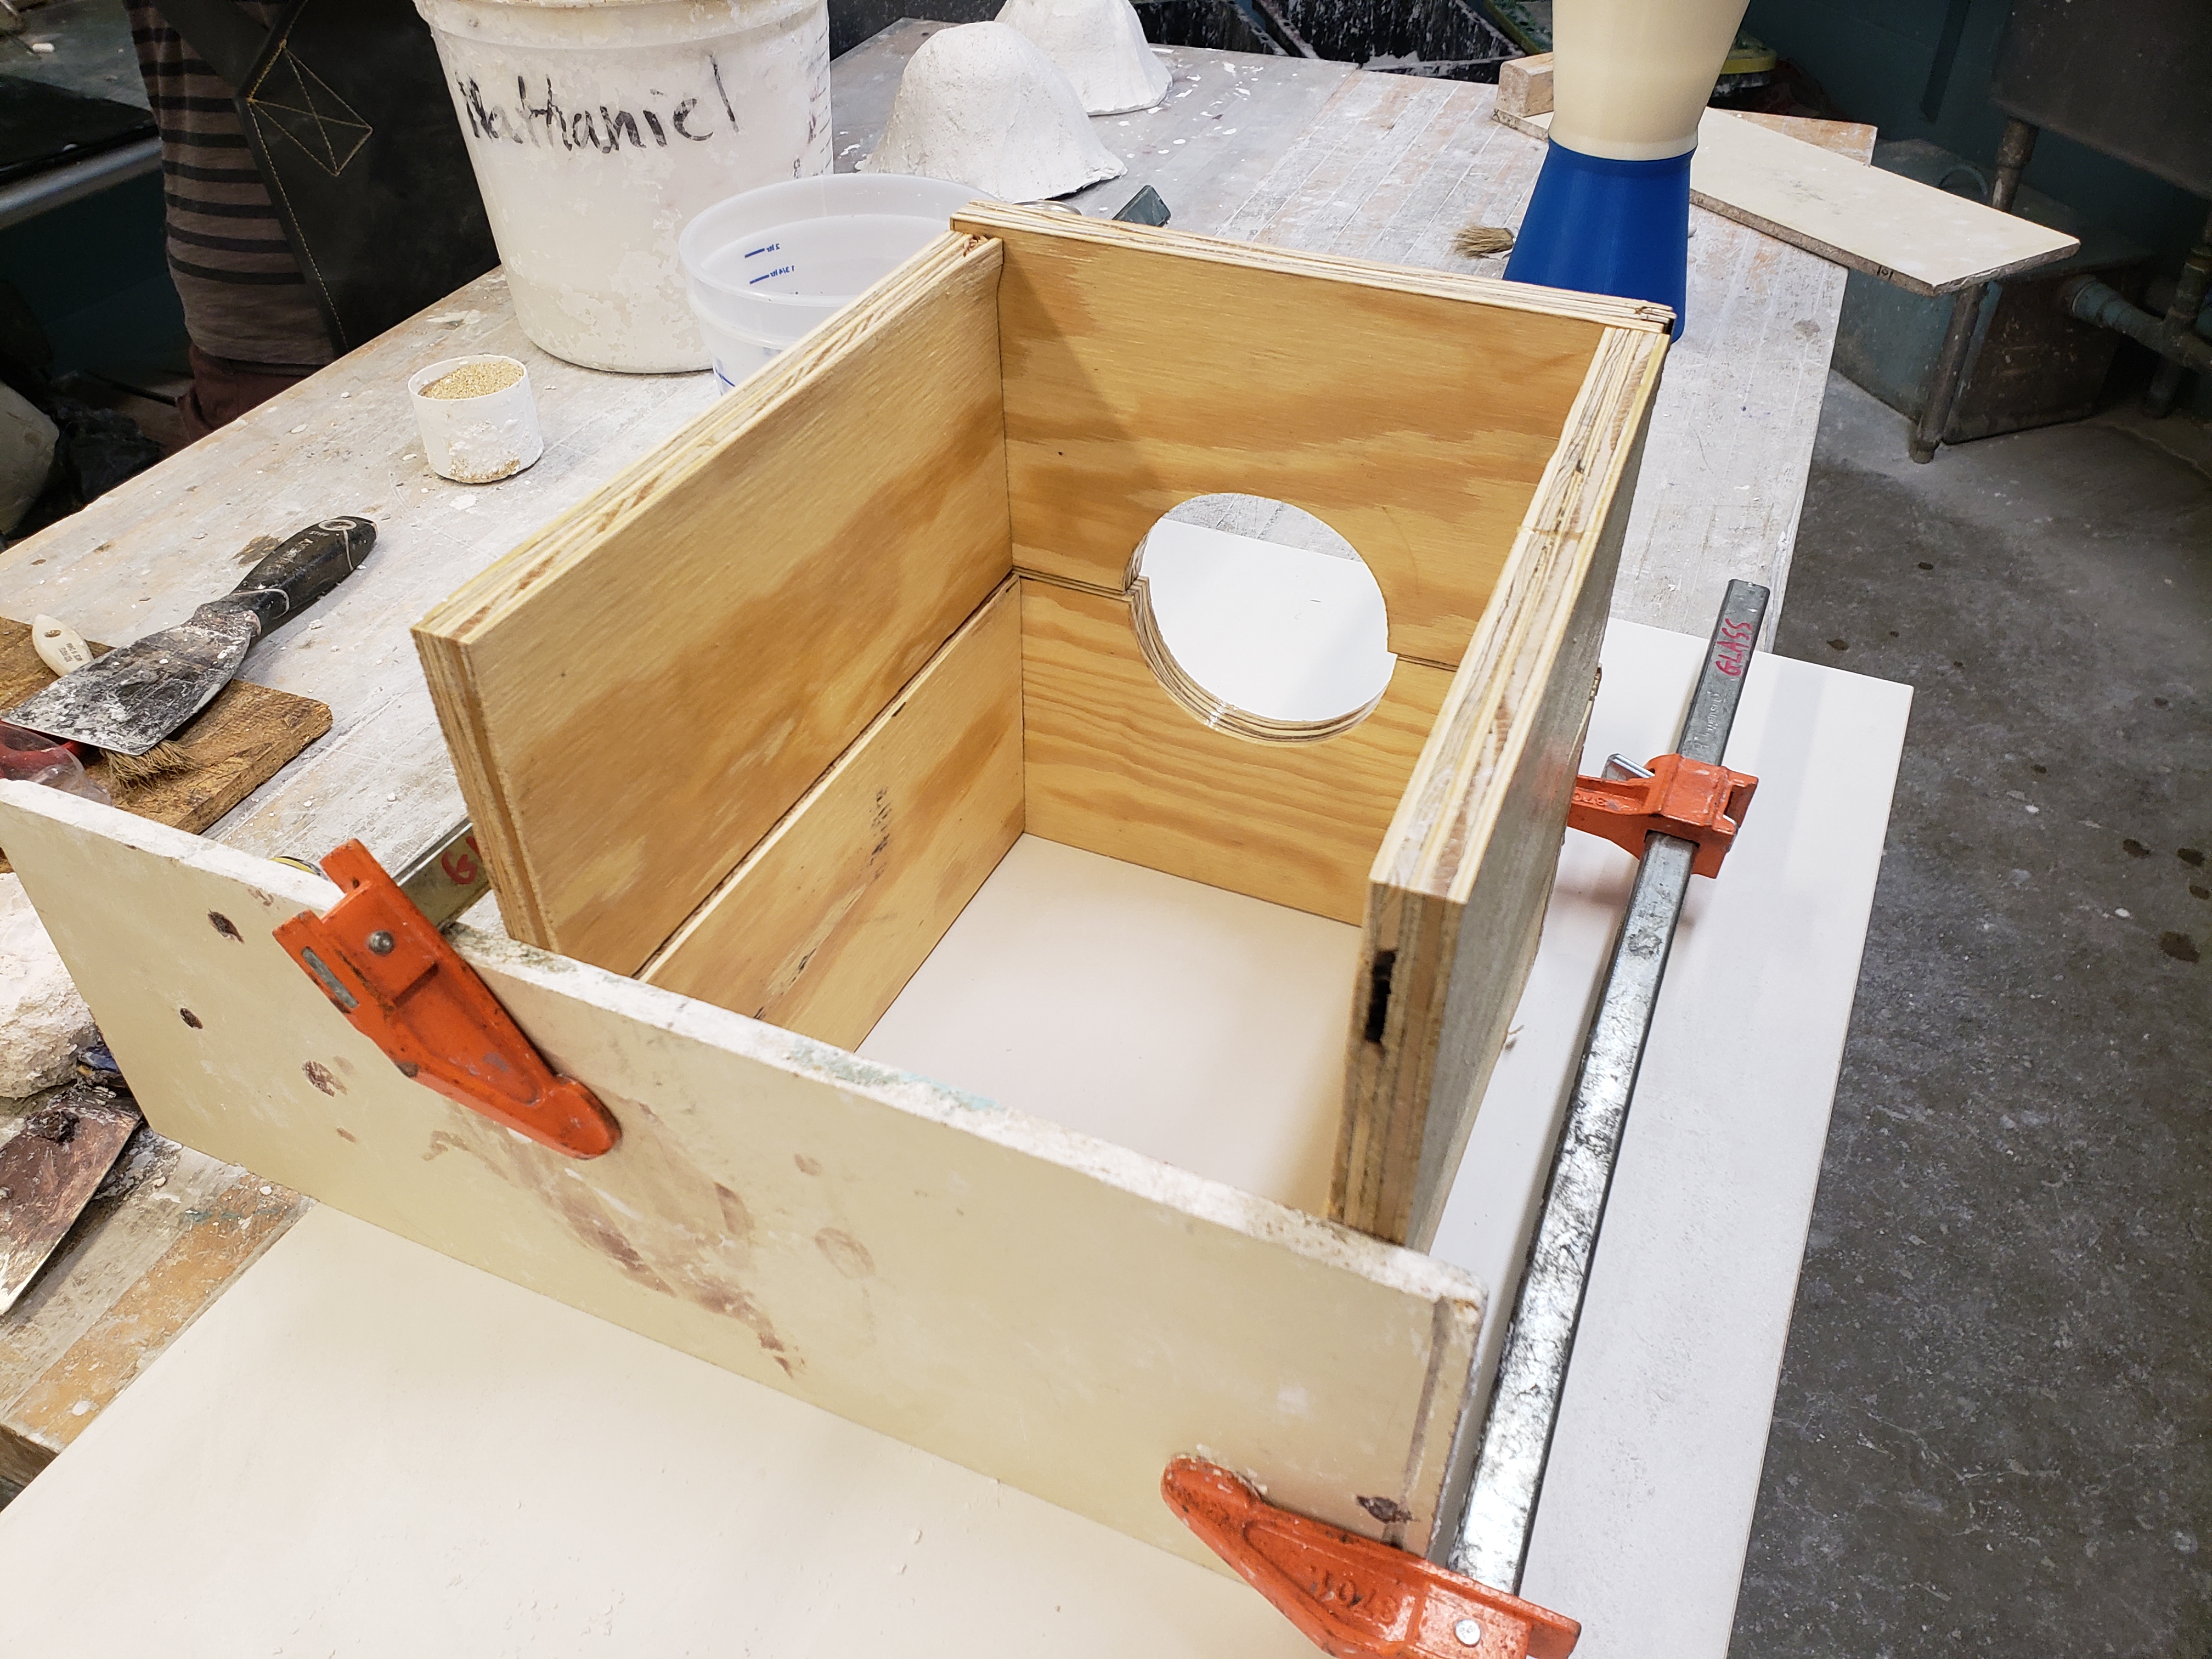
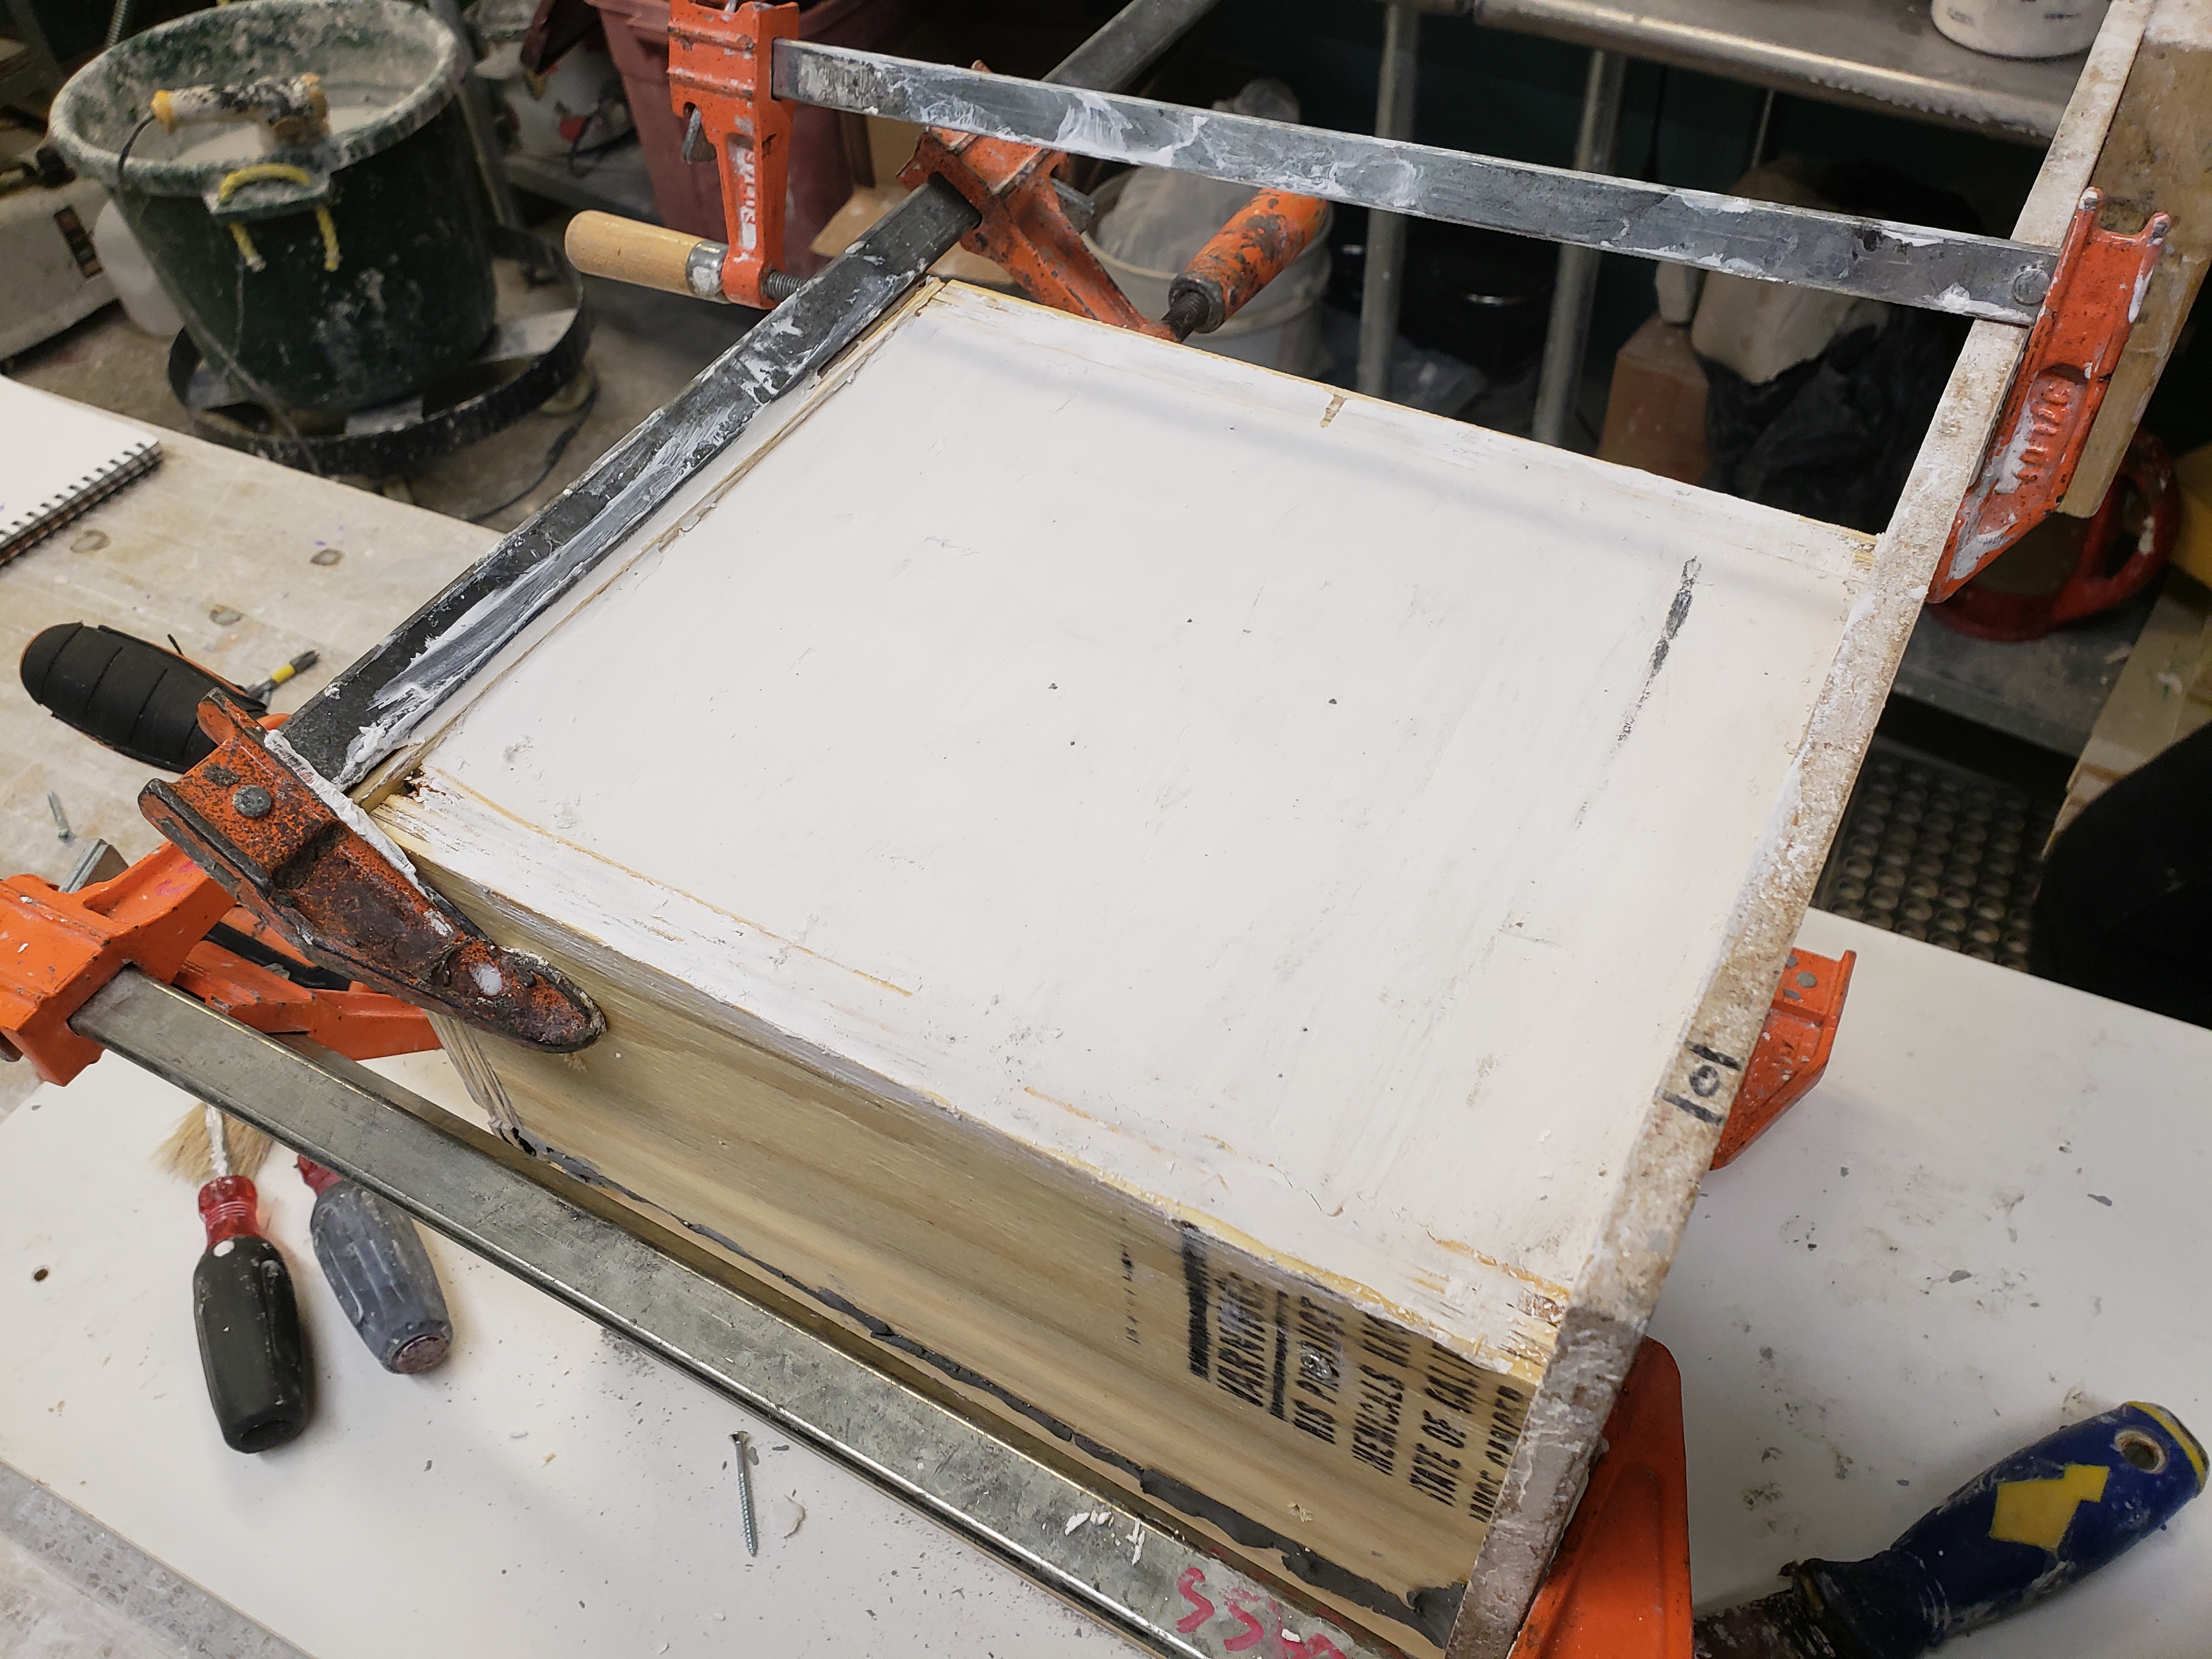
The first step in producing the mold is cutting the boards to the exact dimensions that I need. Once I have the walls cut and lacquered, they act as coddle boards to pour the plaster within.
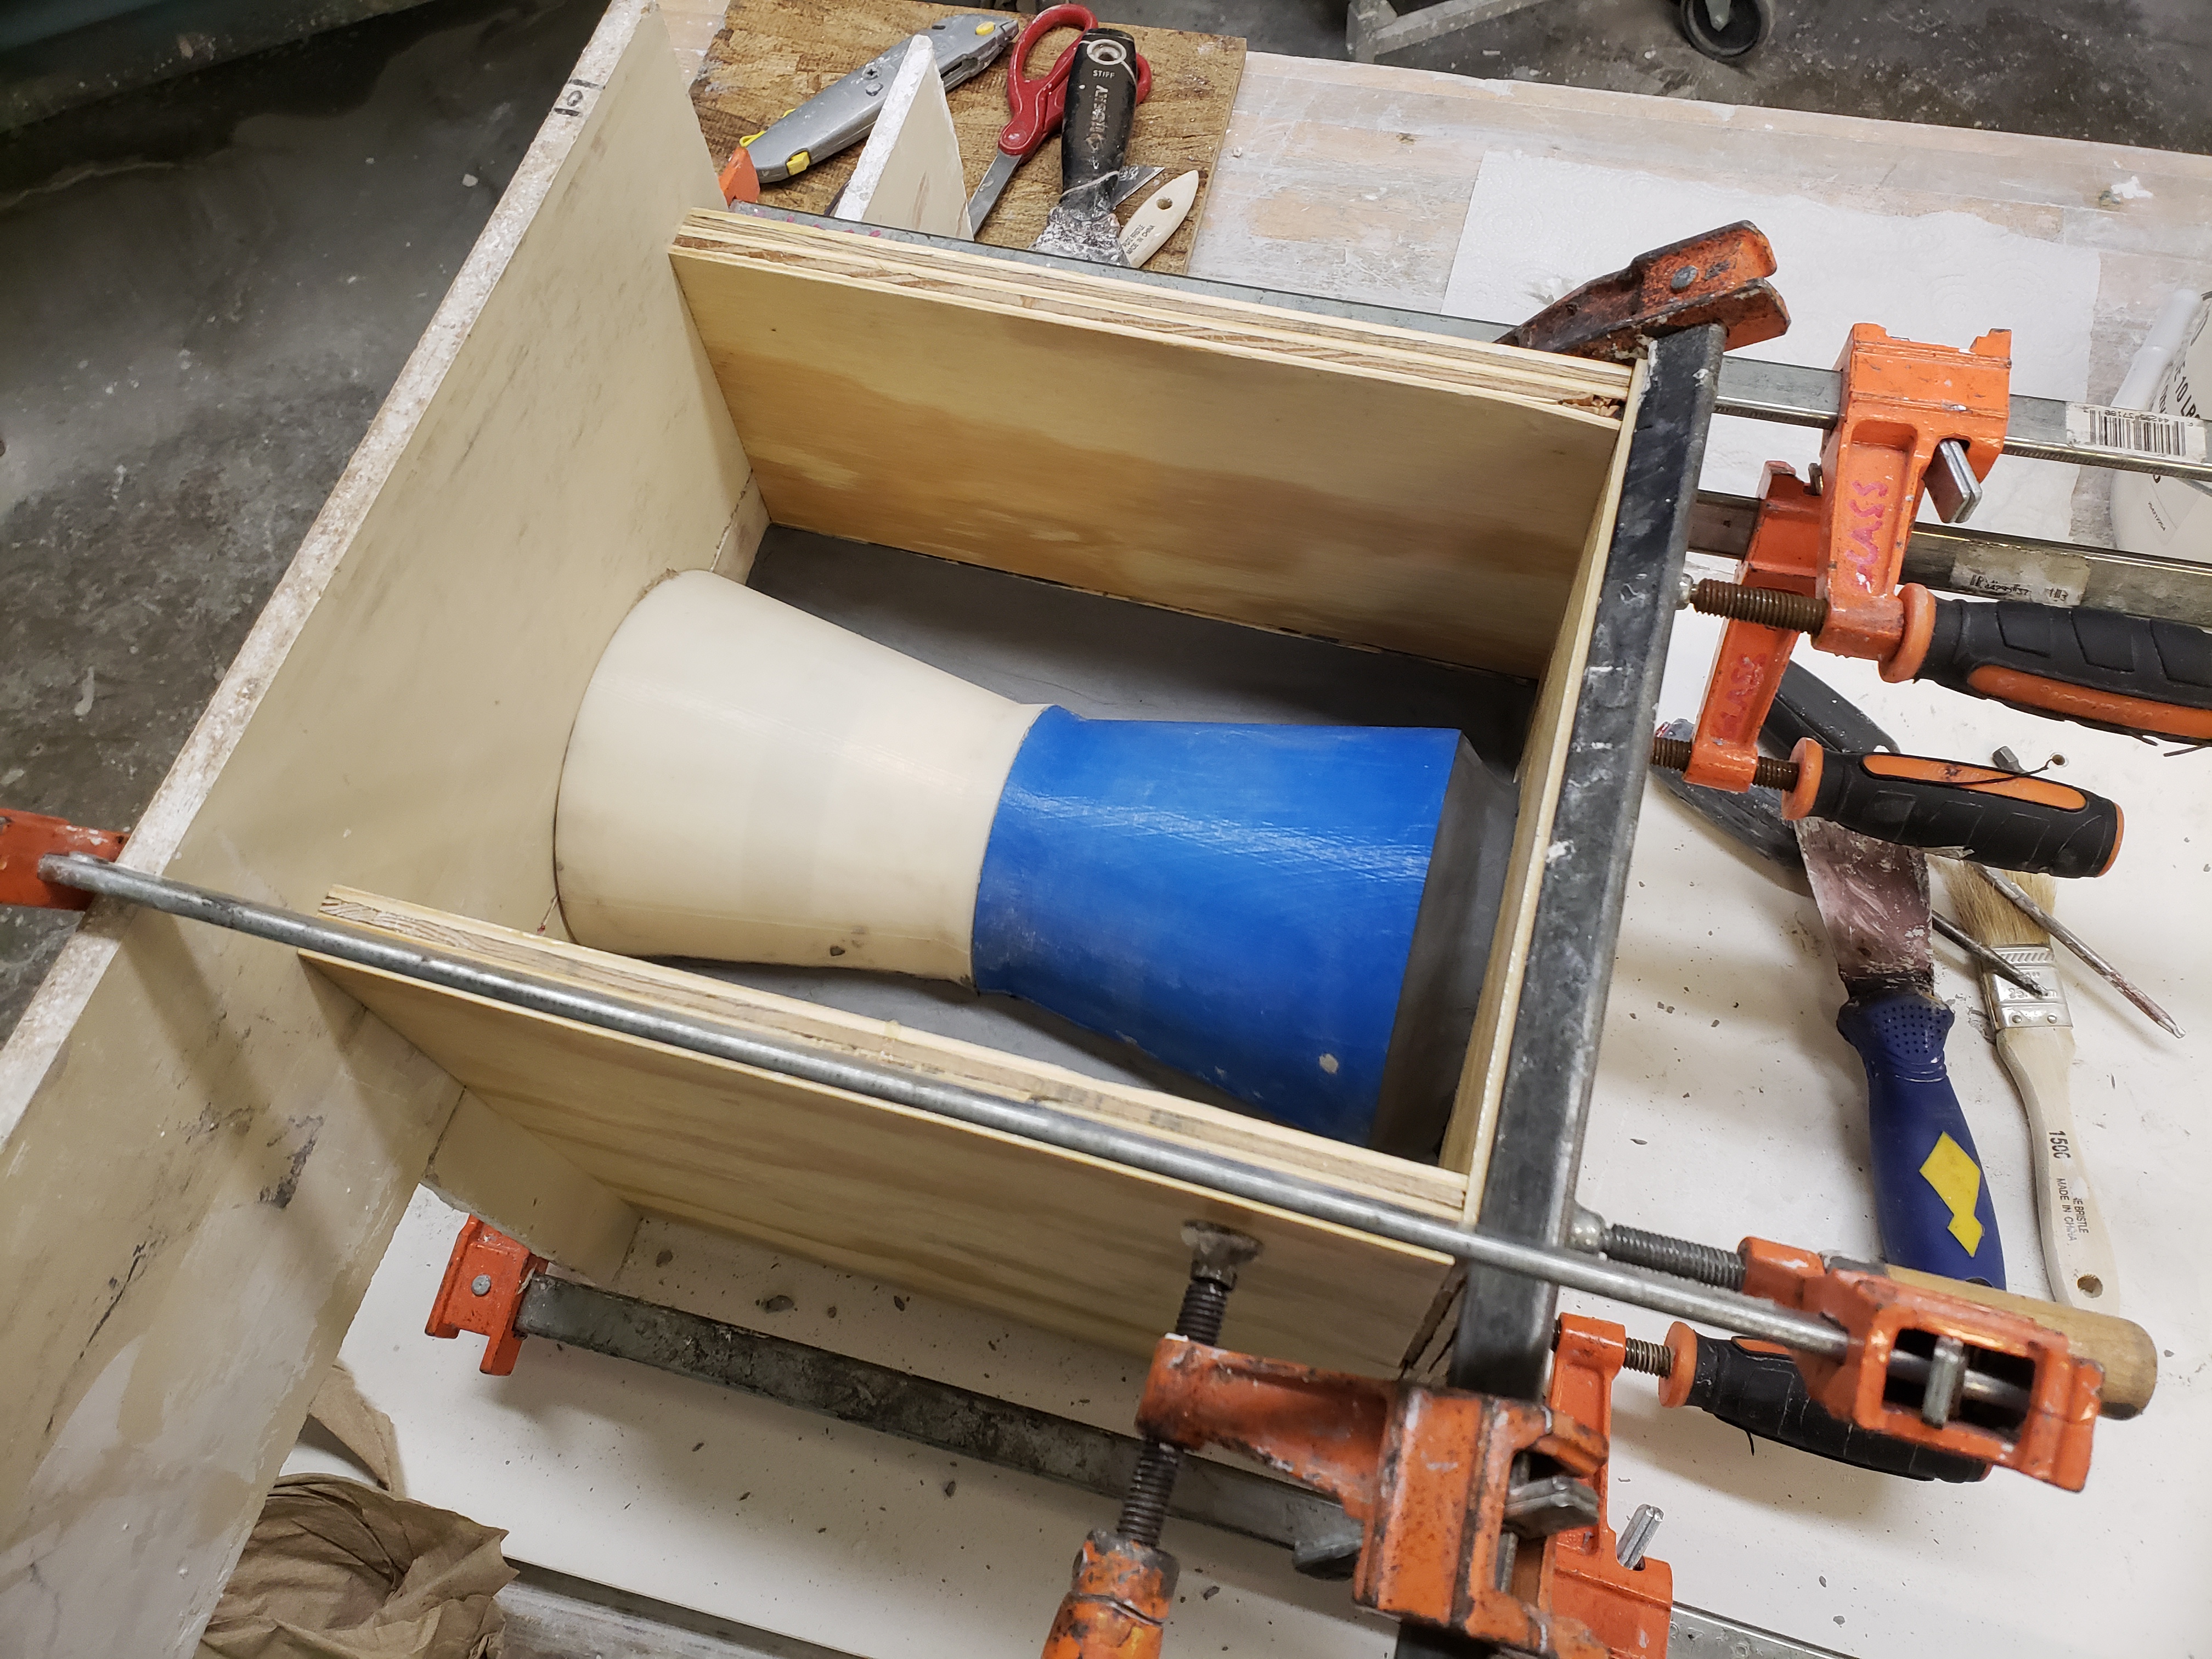
Once the the boards are in place, I put the 3D print within the mold and build up clay to the middle point of the mold walls. This allows for the plaster to only fill up to the half way point of the piece.
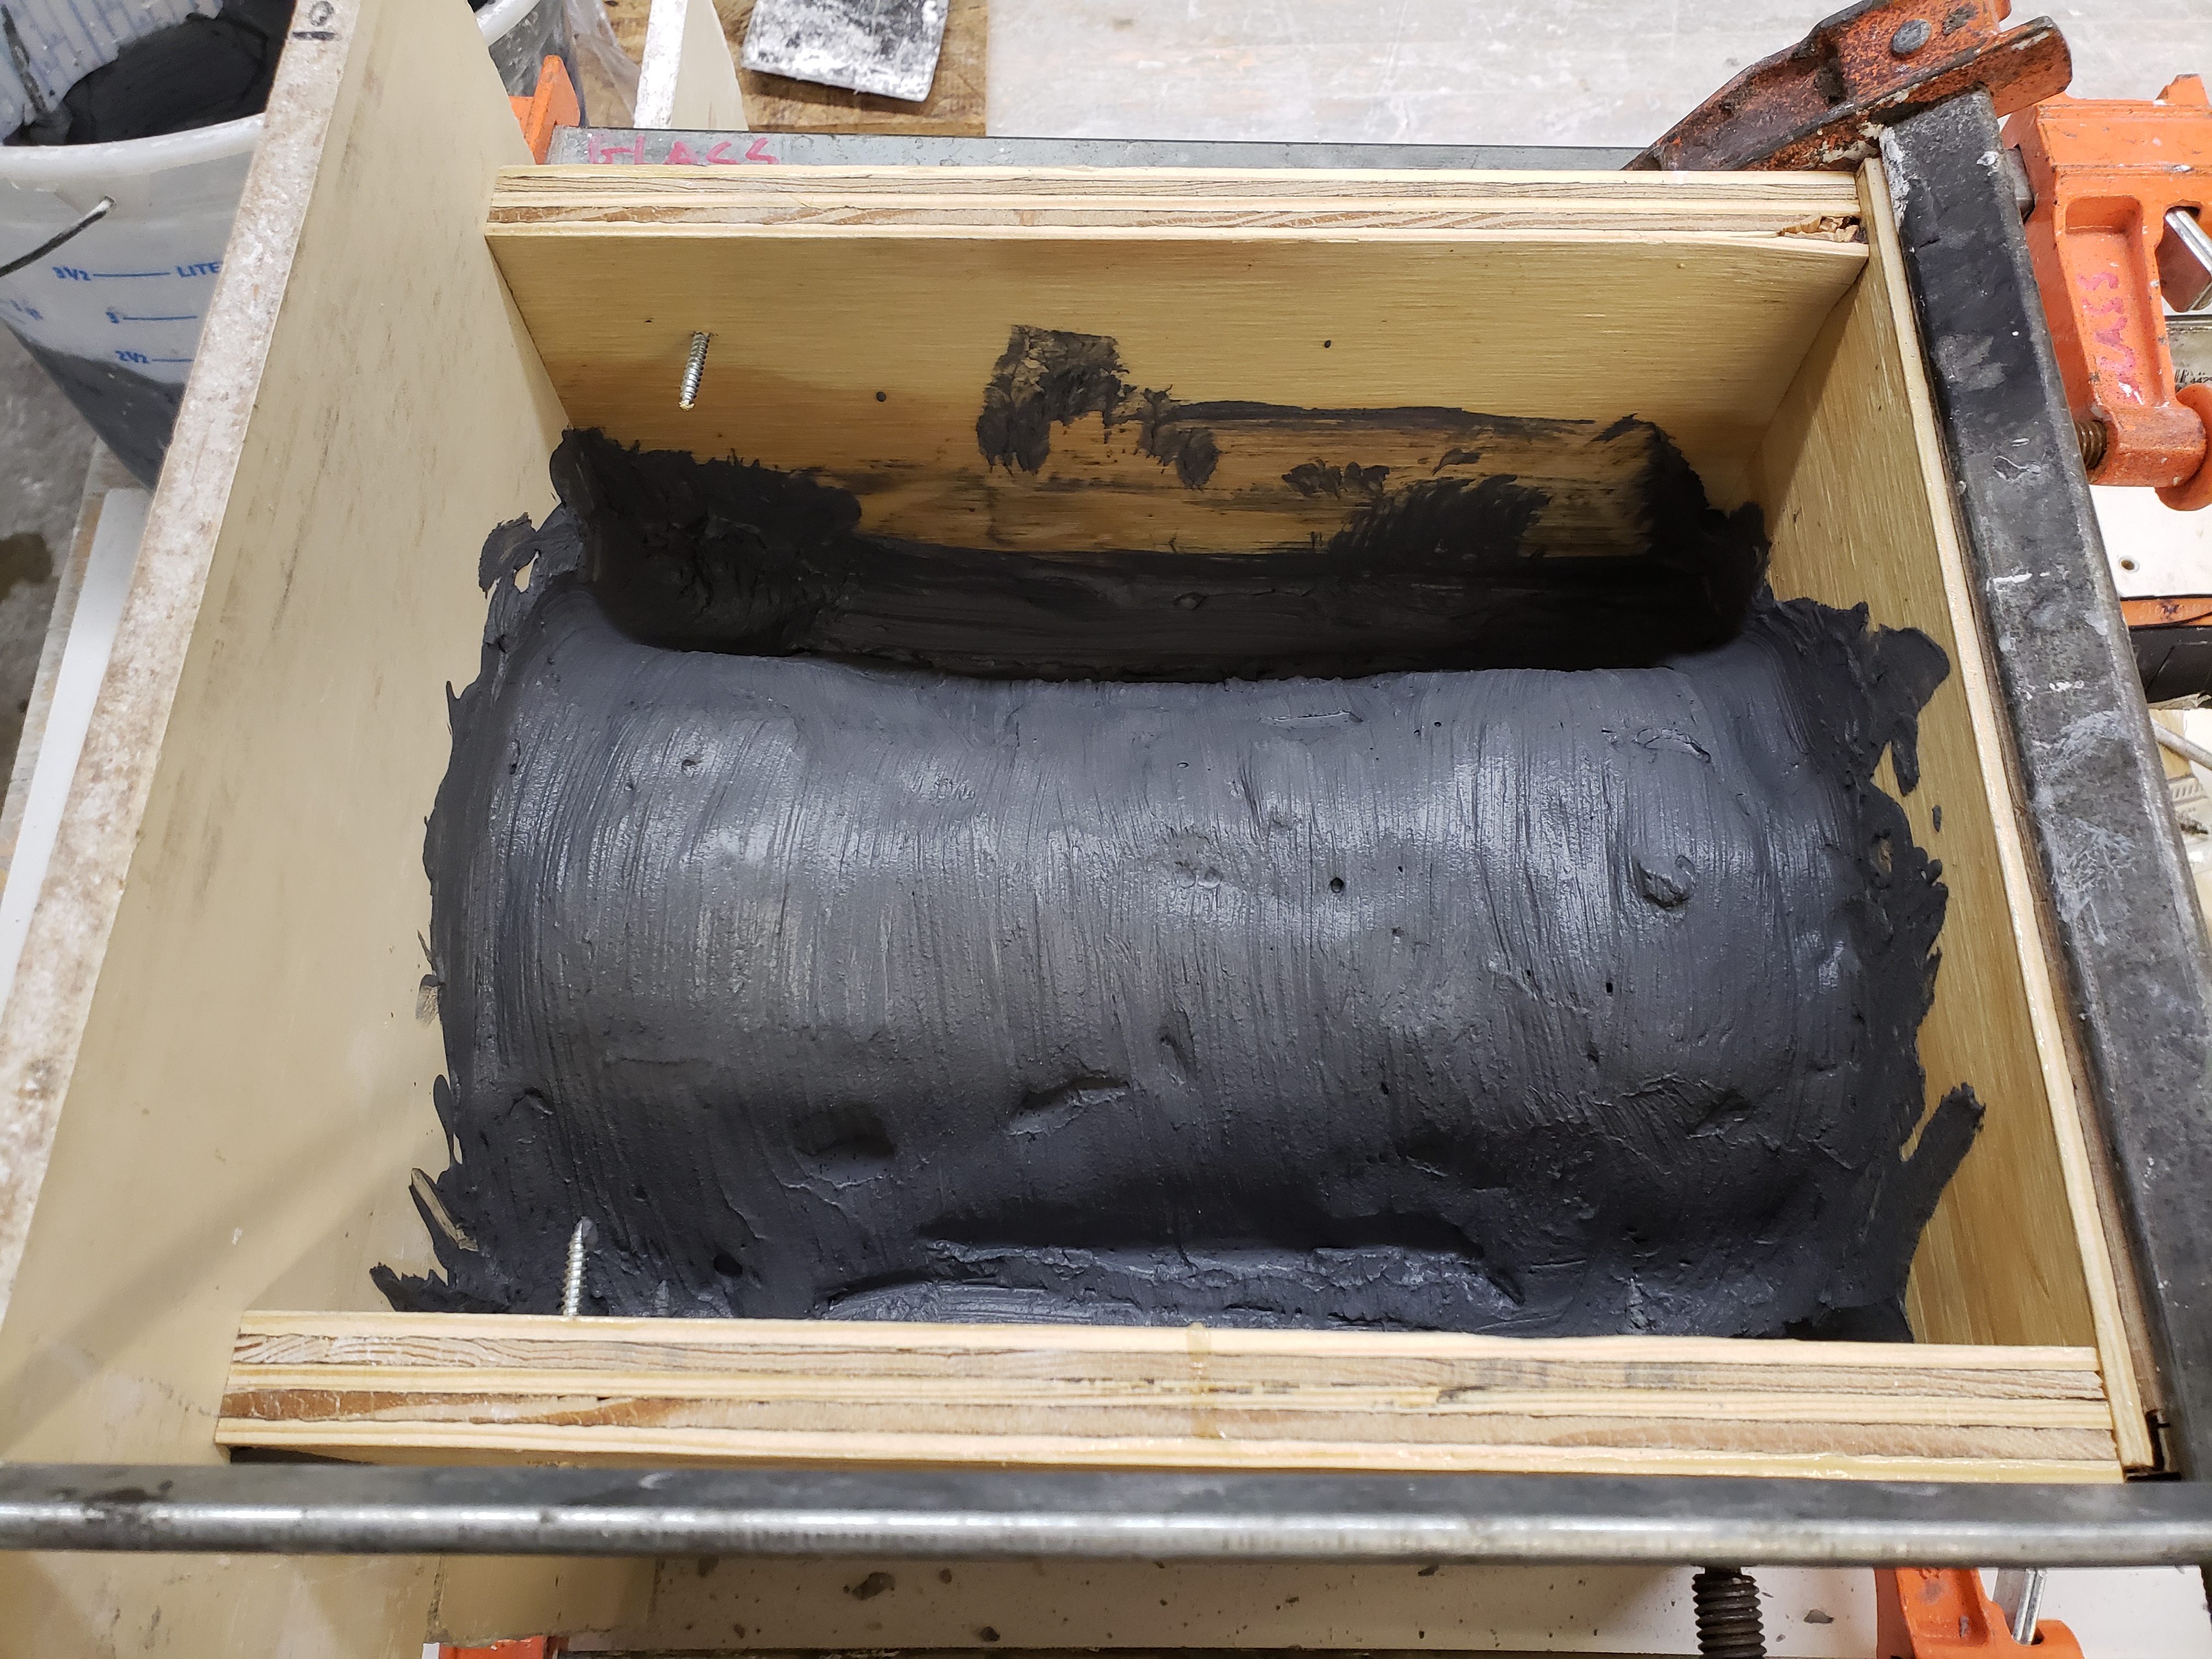
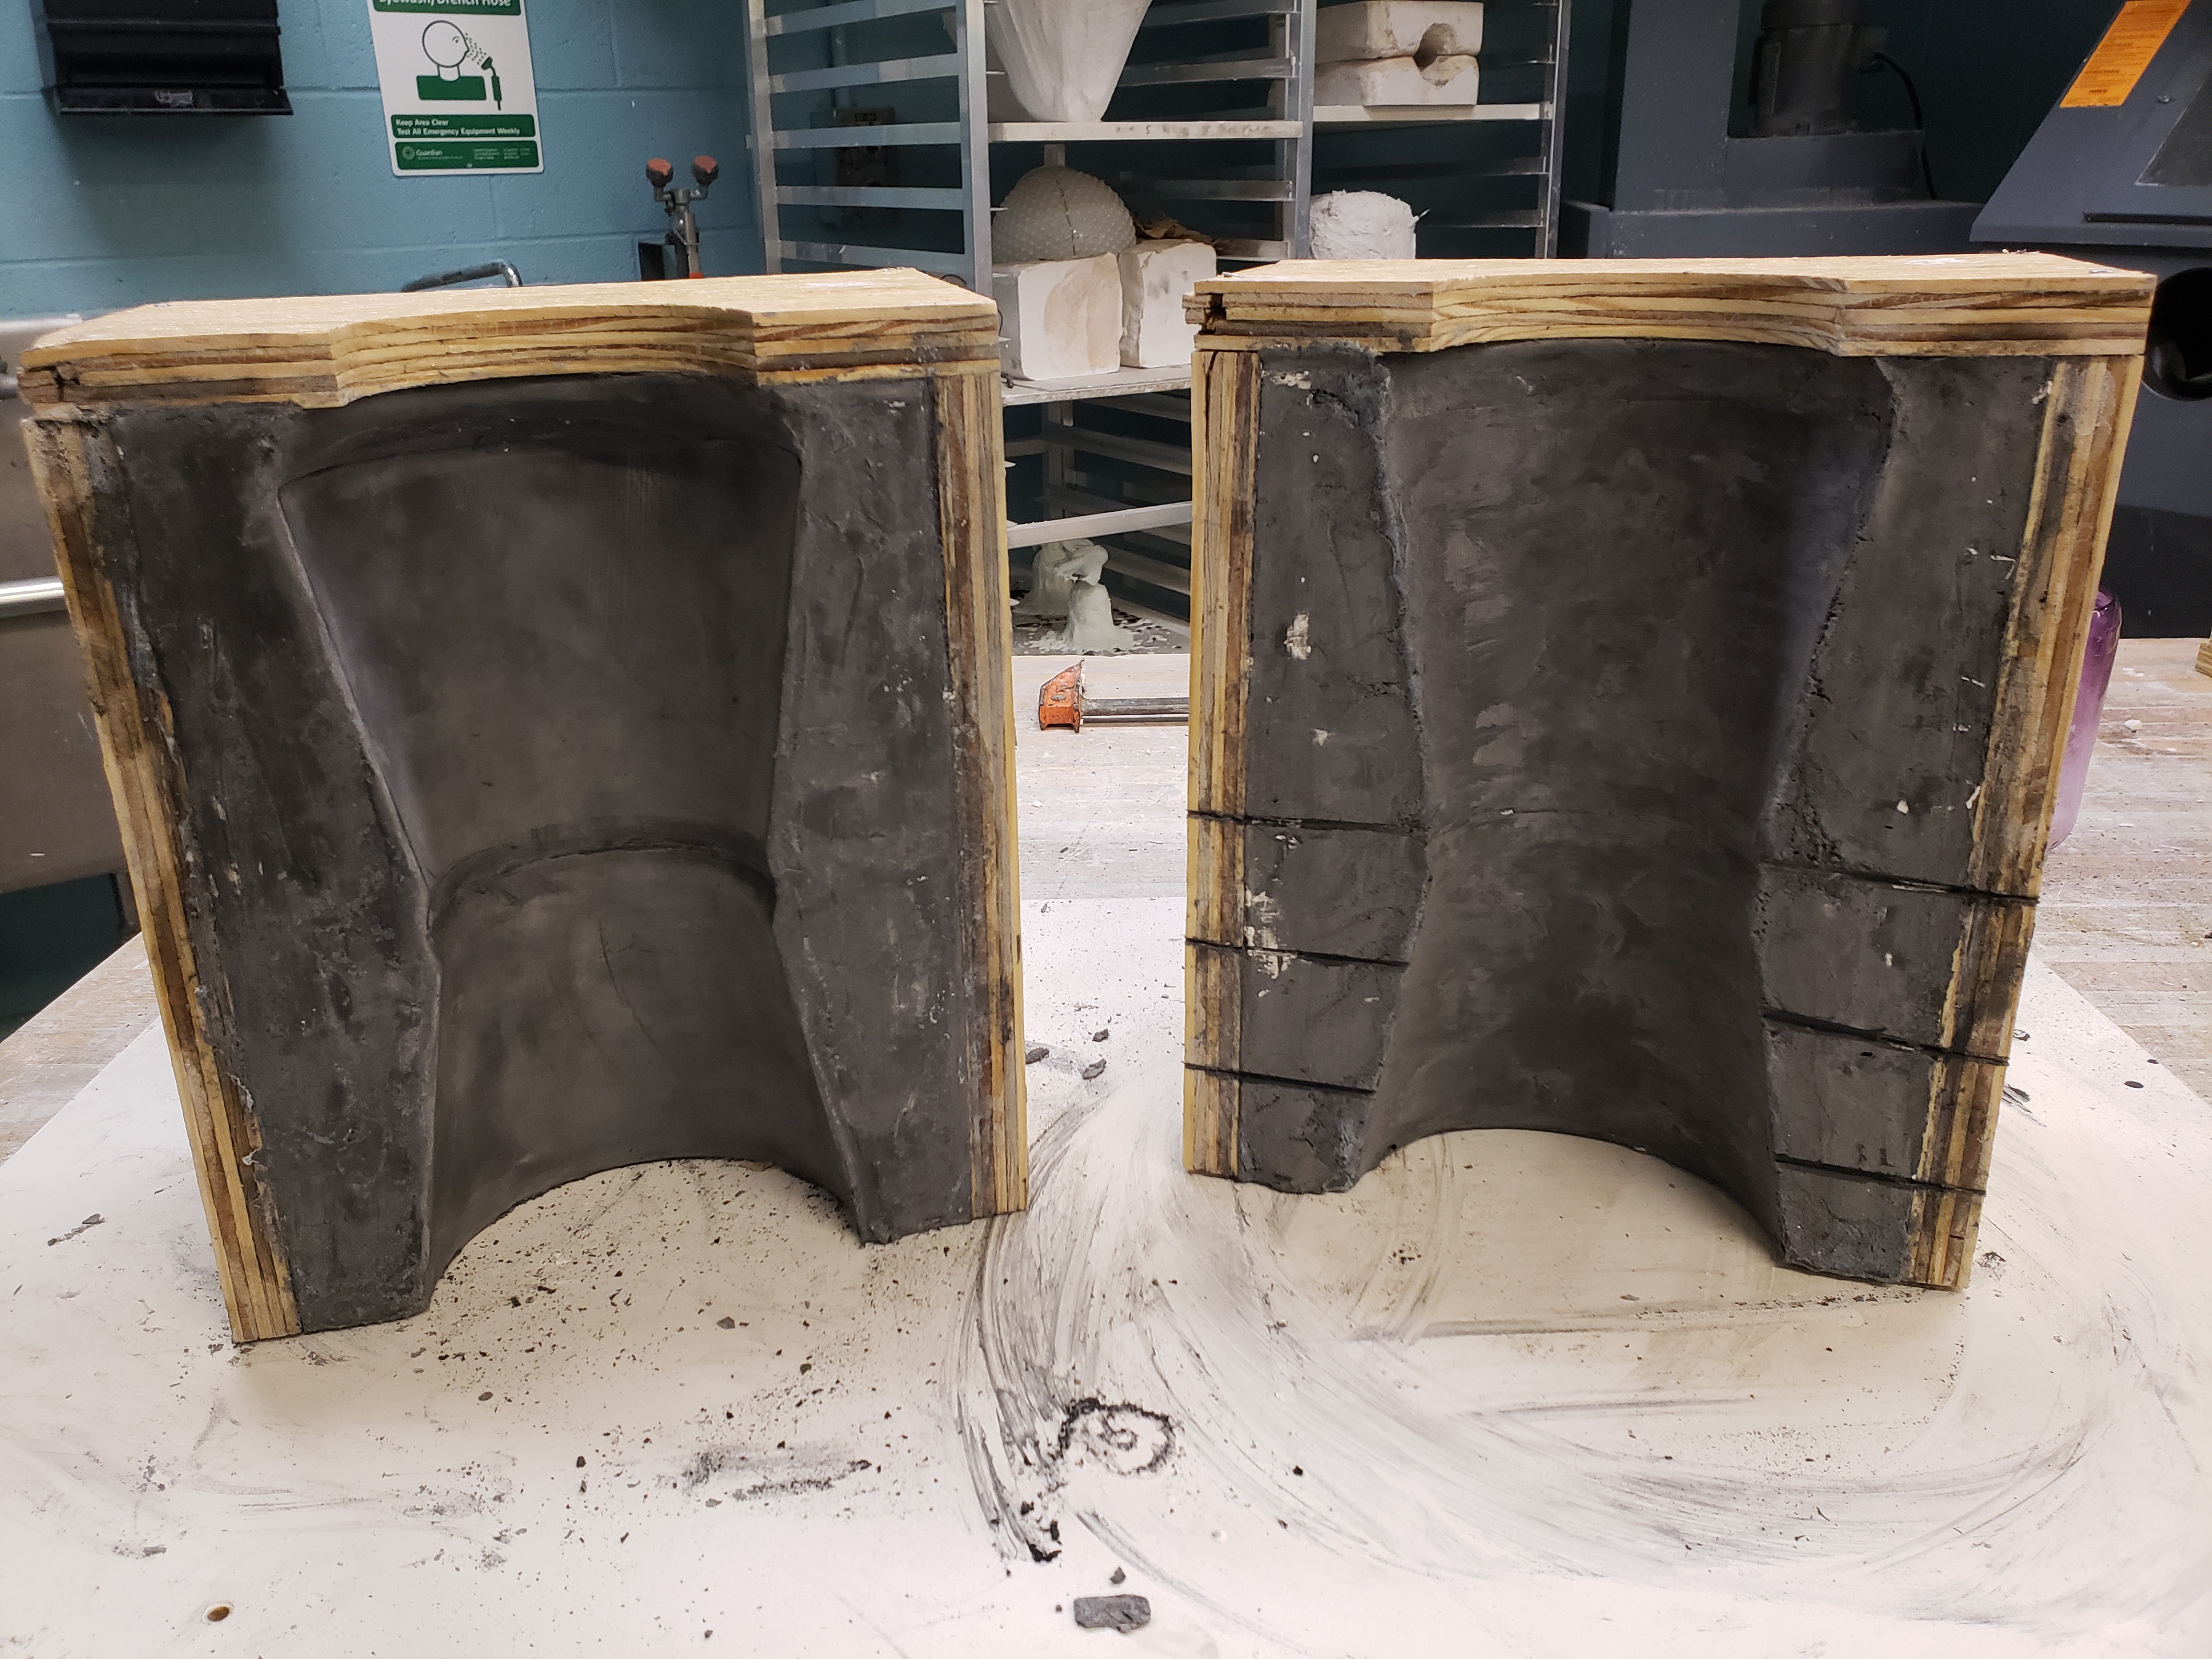
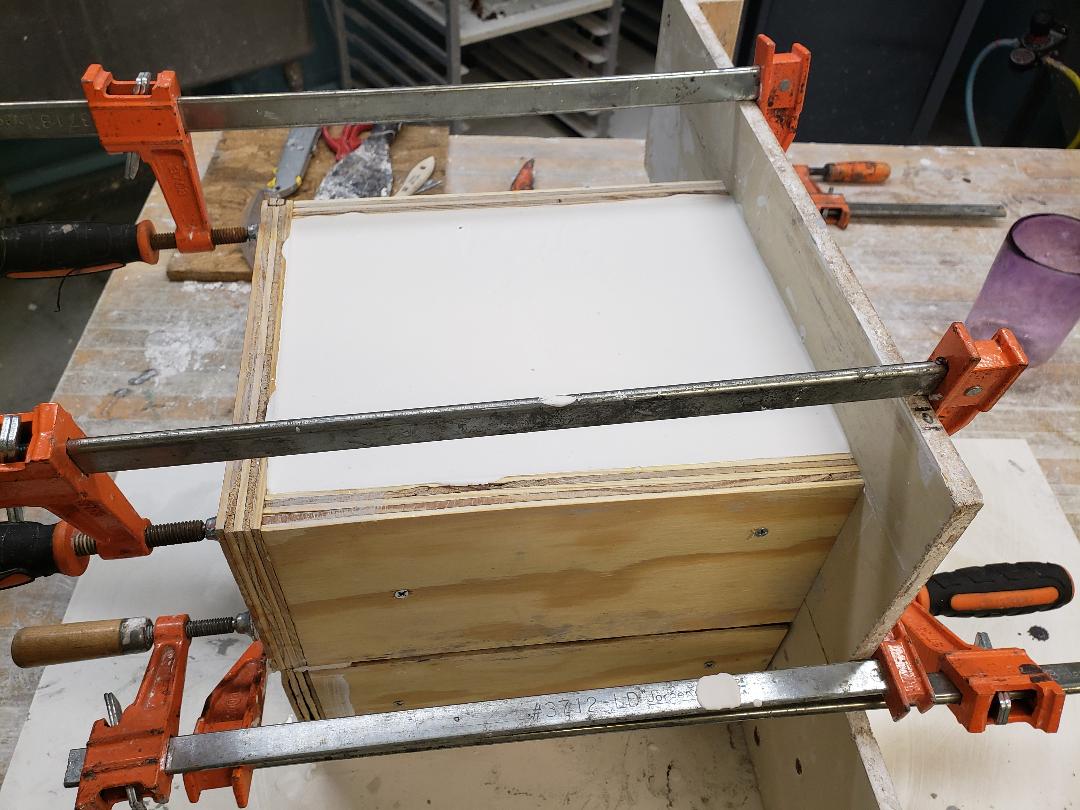
Next, I apply the inner layer of the mold to the surface of the print. This inner layer consists of graphite impregnated plaster. The ratio for this is 1 part graphite powder, 6 parts water, and 8 parts plaster. This particular mold called for 75 grams of graphite, 450 grams of water, and 600 grams of plaster, but this number can change depending on how much surface area needs covered.
After the first layer is applied, I back this up with a pour to the top of the boards with 100% plaster which acts as support for the graphite layer. This first half of the mold weighs around 15 pounds.
Once the first layer is set and the plaster has gone through its endothermic reaction, I flip the mold over, divest the clay, and repeat the process of layering the graphite plaster and plain plaster.