VCT4600 In Class Assignment 1
Part 1 – Straighten a crooked image
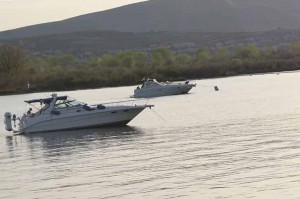
Original Image:
Adjusted Image:
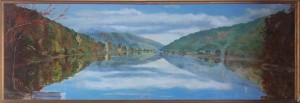
In order to correct the slant of this image, I used the ruler tool. I made a line along the horizon line in the image, then selected ‘Image’ > ‘Image Rotation’ > ‘Arbitrary.’ Photoshop will then automatically rotate the image so that the line made previously by the ruler tool is straight across the image. I then cropped the image down so that the white edges don’t show.
Part 2 – Correcting Perspective
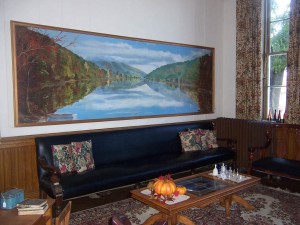
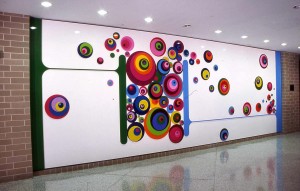
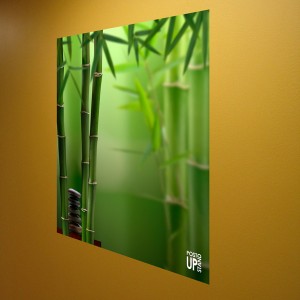
Original Images:
Adjusted Images:
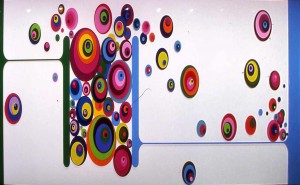
For this part of the assignment, I began with the crop tool. I used this to make a rough crop rectangle of each image. I then checked the ‘Perspective’ option at the top of the window. This allowed me to position the corners of the crop so they make odd angles instead of just 90 degree angles. Once this was done I hit the Enter key, which cropped down the image to just what was selected, as well as adjusting the image to make it appear straight on.
Part 3 – Creating a Composite
Original Images:
Composited Image:
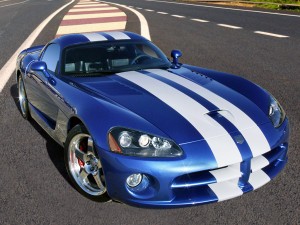
For this part, I first had to select just the cars from their original backgrounds. I did this with the polygonal lasso tool with a 1px feather. This created a fairly spot on selection without an extremely harsh edge. Once I did this for both cars, I copy & pasted them onto the background I selected. I then used the scale tool to adjust the size of each car to make them fit into the image. Finally, I masked both car layers, then used the brush tool at 30% to smooth out the shadows the cars casted.
Part 4 – Using Camera Raw
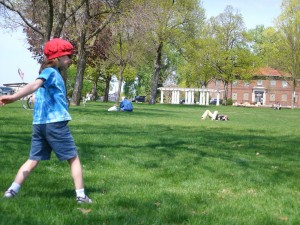
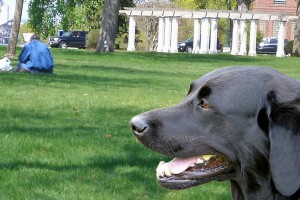
Original Images:
Adjusted & Composited Image:
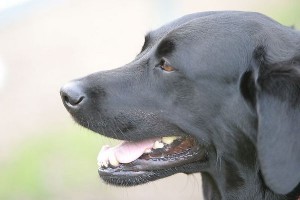
For this final part, I first had to adjust the image of the dog in Camera Raw in order to make it look as similar as possible to the other image provided. I made several changes, including adjusting exposure, recovery, blacks, vibrance, & saturation. Once I was happy with my adjustments, I opened the image in Photoshop. I also opened the background I chose as a layer beneath the dog layer. Once again I used the polygonal lasso tool with a 1px feather to make an initial selection of the dog, then chose ‘Refine Selection’ at the top of the window. This allowed me to refine the selection & edges of the dog. When I got it to where I wanted it to be, I just used the Scale tool to adjust the sizes of both the dog & background images. Finally I flattened the image, & I was finished.
