VCT4600 In-Class Assignment 3
Part 1
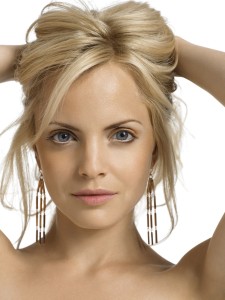
Original Images:
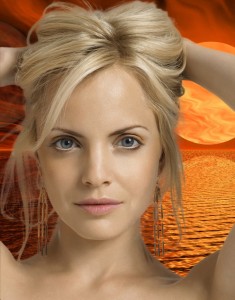
Composite Image:
The first thing I did for this part of the assignment was to make the image of the model a layer over the background layer. Then I made a rough selection of the woman, & clicked the Refine Edge option at the top of the workspace. I chose the On Layers option in order to view the selection over the new background. Then I adjusted the radius slider to where I thought looked good, as well as checked the Smart Radius option. I also smoothed the edge just a touch in order to make it look more natural, & finally I checked the Decontaminate Colors box and increased that slider. Once I was satisfied with these settings, I hit OK then cropped the image down to size.
Part 2
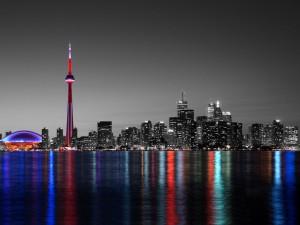
Adjusted Image:
For this part of the assignment I used adjustment masks to perform non-destructive adjustments to the given image. I started by duplicating the original image. I then created a channel mixer adjustment layer over the bottom layer & changed the settings to monochrome. This made the bottom layer appear to be in grayscale. I then created a layer mask over the top layer. Using the polygonal lasso tool, I made a rough selection of the sky & buildings I wanted to make grayscale, then used the paint brush on the layer mask to paint out that part of the image. I then went in with a smaller brush to touch up any places I wanted to look smoother.
Part 3
Panorama:
For this part, I simply went to File>Automate>Photomerge in Photoshop. I then chose the 5 images to merge, & stuck with the automatic settings. This created most of the panorama, but it left out 2 pieces on the right side of the image. So I manually went in & added the last pieces to the panorama, & used the skew tool to adjust the perspective of the left out images to match that of the rest. Finally I cropped down the image to make the image seen above.


